
How I edit for Instagram!
Hello!
I wanted to share a blog post about my editing style! This is probably the question I get asked the most on Instagram [what filter do you use!?] so, I figured its easiest to share all my secrets and tips via my blog! I know, very different to the kind of content I would normally share here, buttt I know when I was starting out, this was the kind of stuff I really wanted to know about and struggled to find useful information on the internet. I don't know if you would have seen on my Instagram, but I actually mentioned that I really wanted to start a YouTube channel, and most (86%) of you agreed that I should! So, I can't give too much away right now, but it is definitely the next thing I want to do! I think it will be another level of communicating with you guys! It's a lot easier and quicker to share information, educate people, teach you how to cook my recipes, or show you guys a bit more of my life than just the pretty [filtered] pictures you see on Instagram.. But anyway, I'll get back on topic for this blog post.. 'How I edit my photos for Instagram'
SHOOTING
Okay, so let's get started from the top... I don't use my iPhone for my Instagram feed. Nope, unfortunately if you want to create photos like mine, you'll want to invest in a good camera set-up. You definitely don't need to splash a lot of cash, but at the least I would recommend getting a camera that shoots 'RAW' files and have access to a desktop/laptop computer to edit! I shoot on the Canon 5D Mark IV, it's my favourite camera but very $$$, so if you are just starting out, go for a lower range canon (or your preferred make) and aim to upgrade your setup as you feel you need.
[Note: for almost all of my IG stories and a couple of posts on my Instagram I have used my iPhone and edited using VSCO filters - a great app for beginners in photography and Instagram, or my NEW lightroom MOBILE FILTERS! ill go into more detail on this later.]

STORAGE AND IMPORTING
The next step is transferring all the photos (RAW files) from my camera to my computer/laptop, and then importing them into Abode Lightroom (if you don't have Lightroom yet, click the link below)
TIP: I store them all on my external hard drives, in folders so that I can organise my photos into either months or trips/countries. I use external hard drives because the files are large and will fill your computer up very quickly! and your computer will be snail pace.. or that dreaded rainbow circle of death from apple operating systems. AAGGGHHHH.
Adobe have some great Black Friday Deals
CLICK HERE
PRESETS
From here I apply my own custom presets that I have created on Lightroom. [BTW 'presets' is kind of like another word for 'filters']. These are presets that I have developed over the past 2 years, as I have experimented and refined my editing style into what you see on my Instagram feed and blog currently. Presets are absolutely essential if you are just starting out OR want to create your feed to look somewhat like someone else's feed that you like, without wasting hours trying to figure out how to get your photos like theirs, and most likely you'll never be able to recreate their edits unless you have their presets. Once you are confident using presets you can begin to tweak them to suit your preferred editing style and even better- create your own editing style. Plus it's really awesome because you can tweak a preset (for example you might want this photo to look really vintage and grainy so you might tweak the grain and dull the colours then you can re-save the preset and rename it to something you will remember next time you want to give a photo a vintage vibe.)
Lucky for you guys, I have decided I would share my presets with you all. I have collaborated with Jack & Lauren from doyoutravelXgypsealust with a 'FOODIE' pack of my 10 favourite presets that I use on all of my photos. There is a good mixture of presets suitable for vibrant food photography, cafe spreads, food + fashion shots, and even travel, beaches or sunsets. CLICK HERE to check it out. They also have a really resourceful website with a FAQ page on how to add presets to Lightroom and how to add them to your photos as well as tips for tweaking them, as well as a mini tutorial on their YouTube page.
Note: these presets are designed for optimal use on RAW files, but also work on JPEG files which means you can use them to edit your iPhone photos (but must be transferred to your desktop/laptop computer).
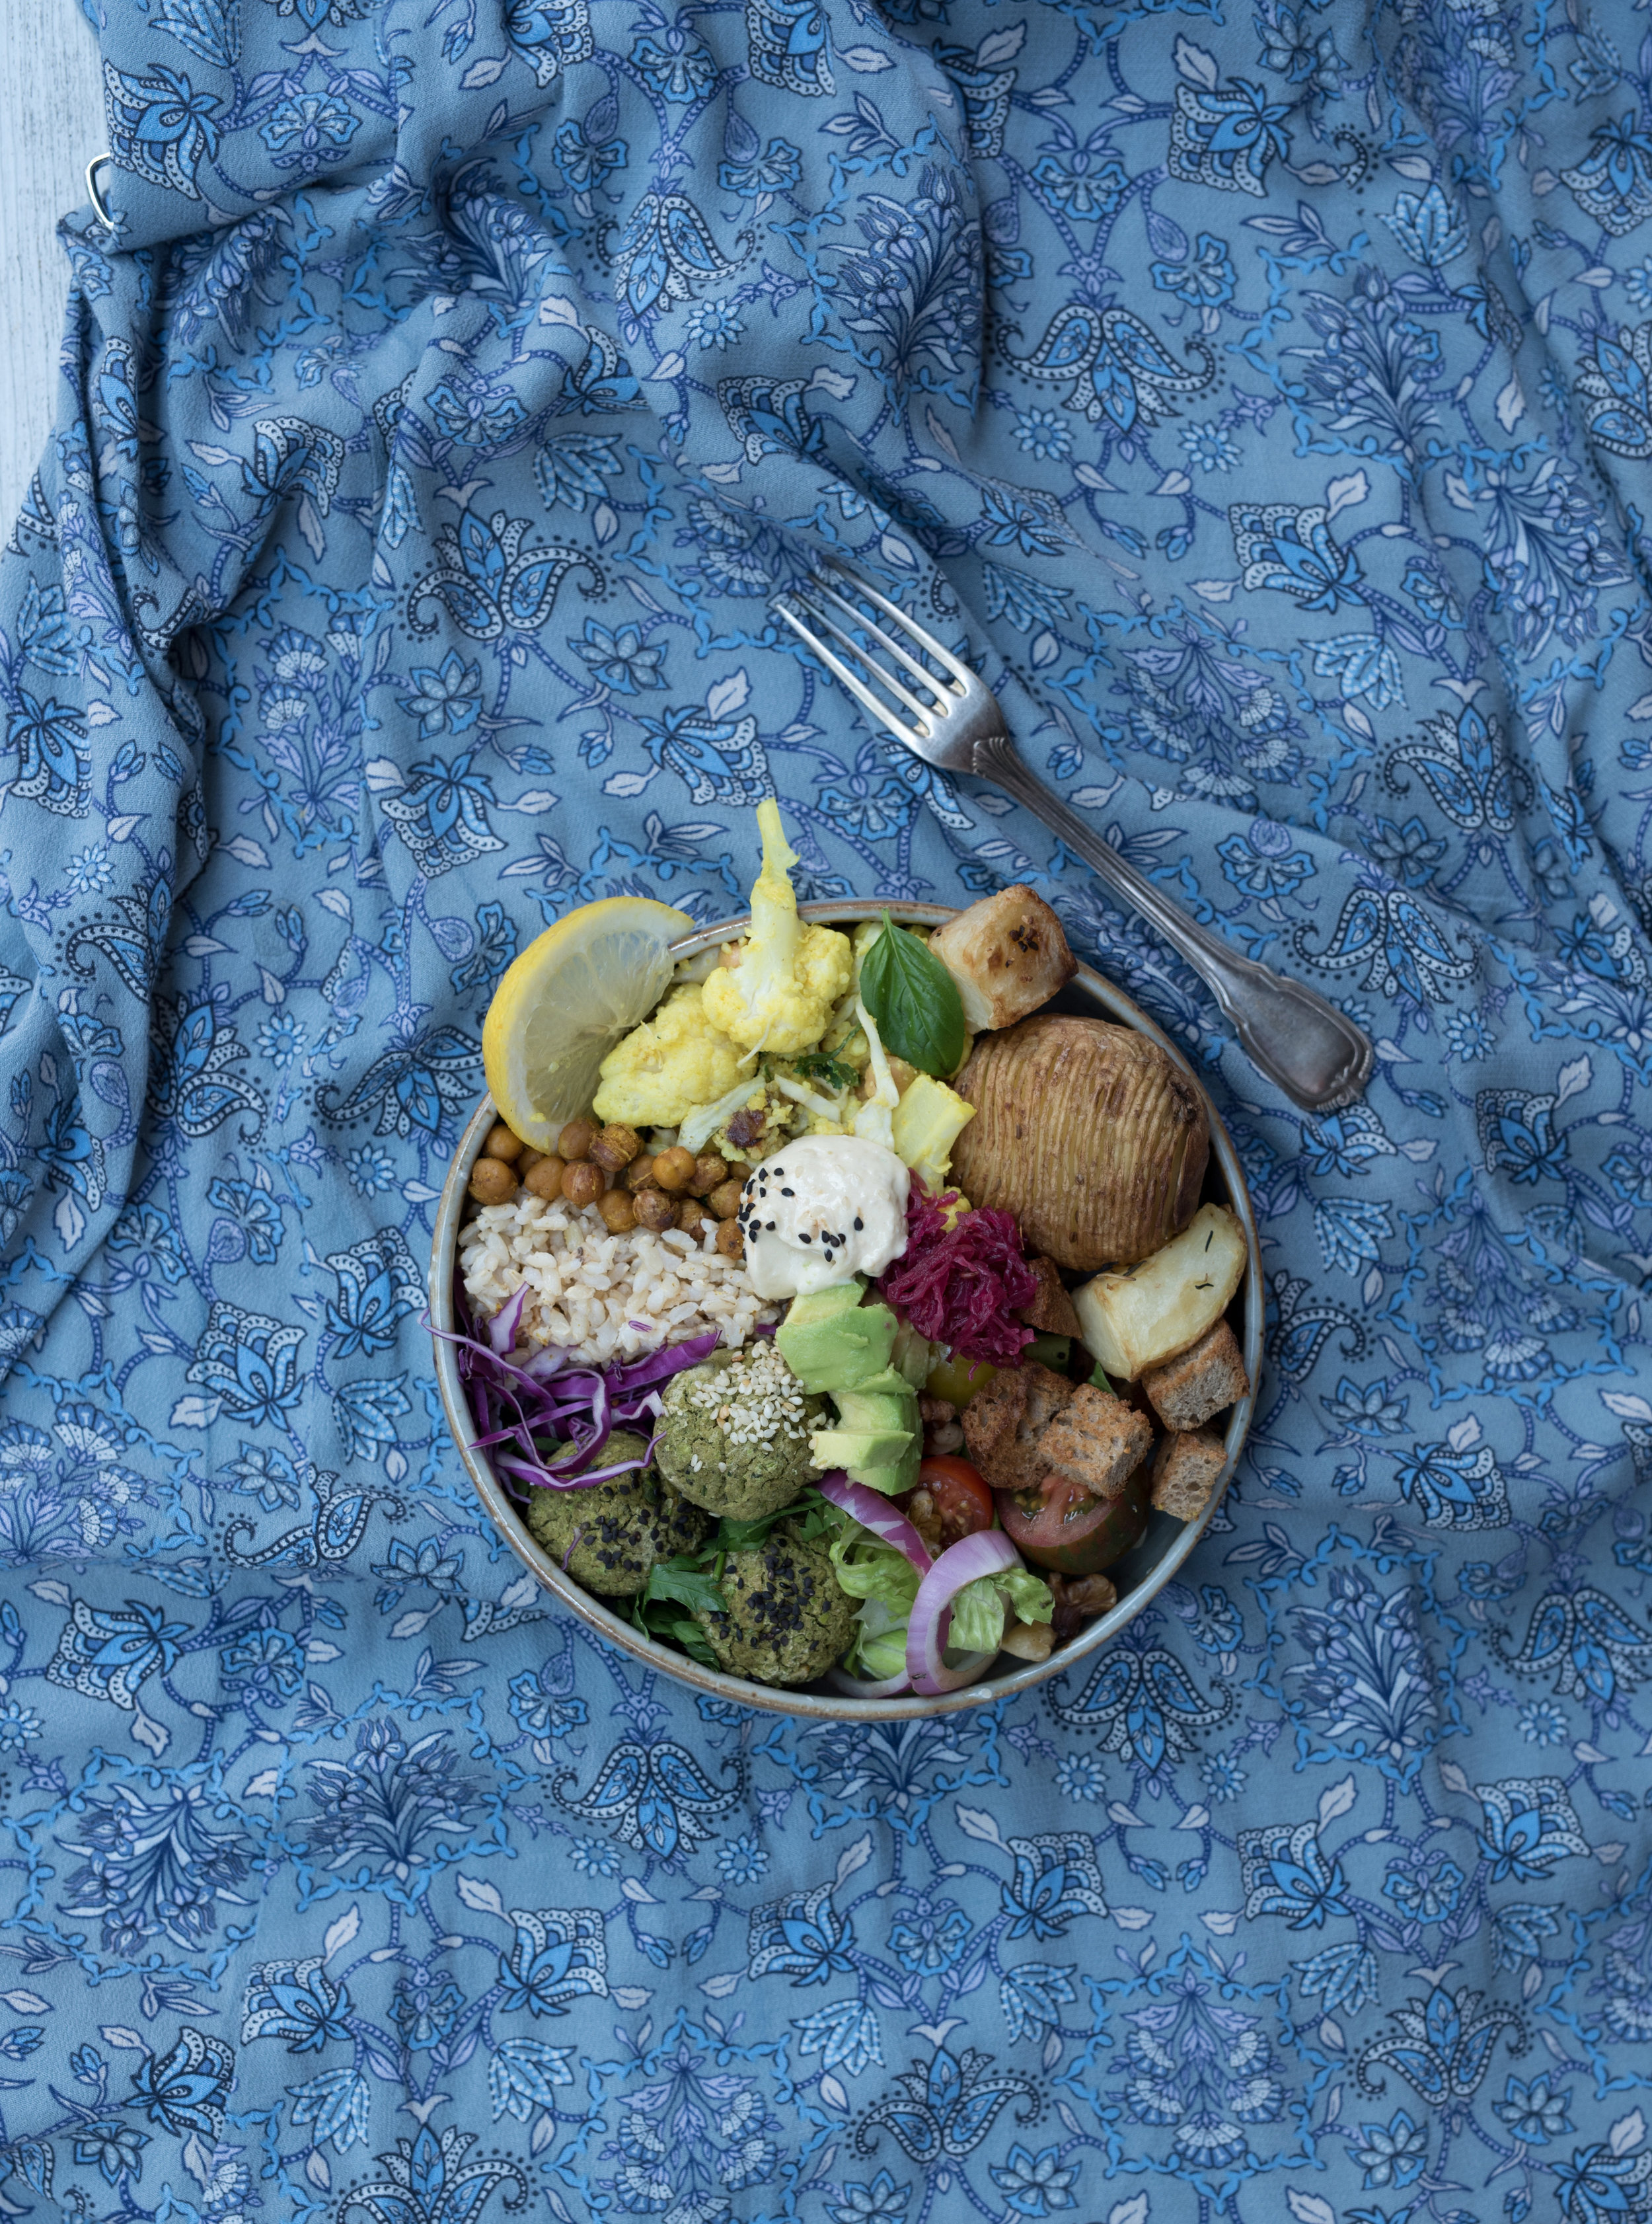
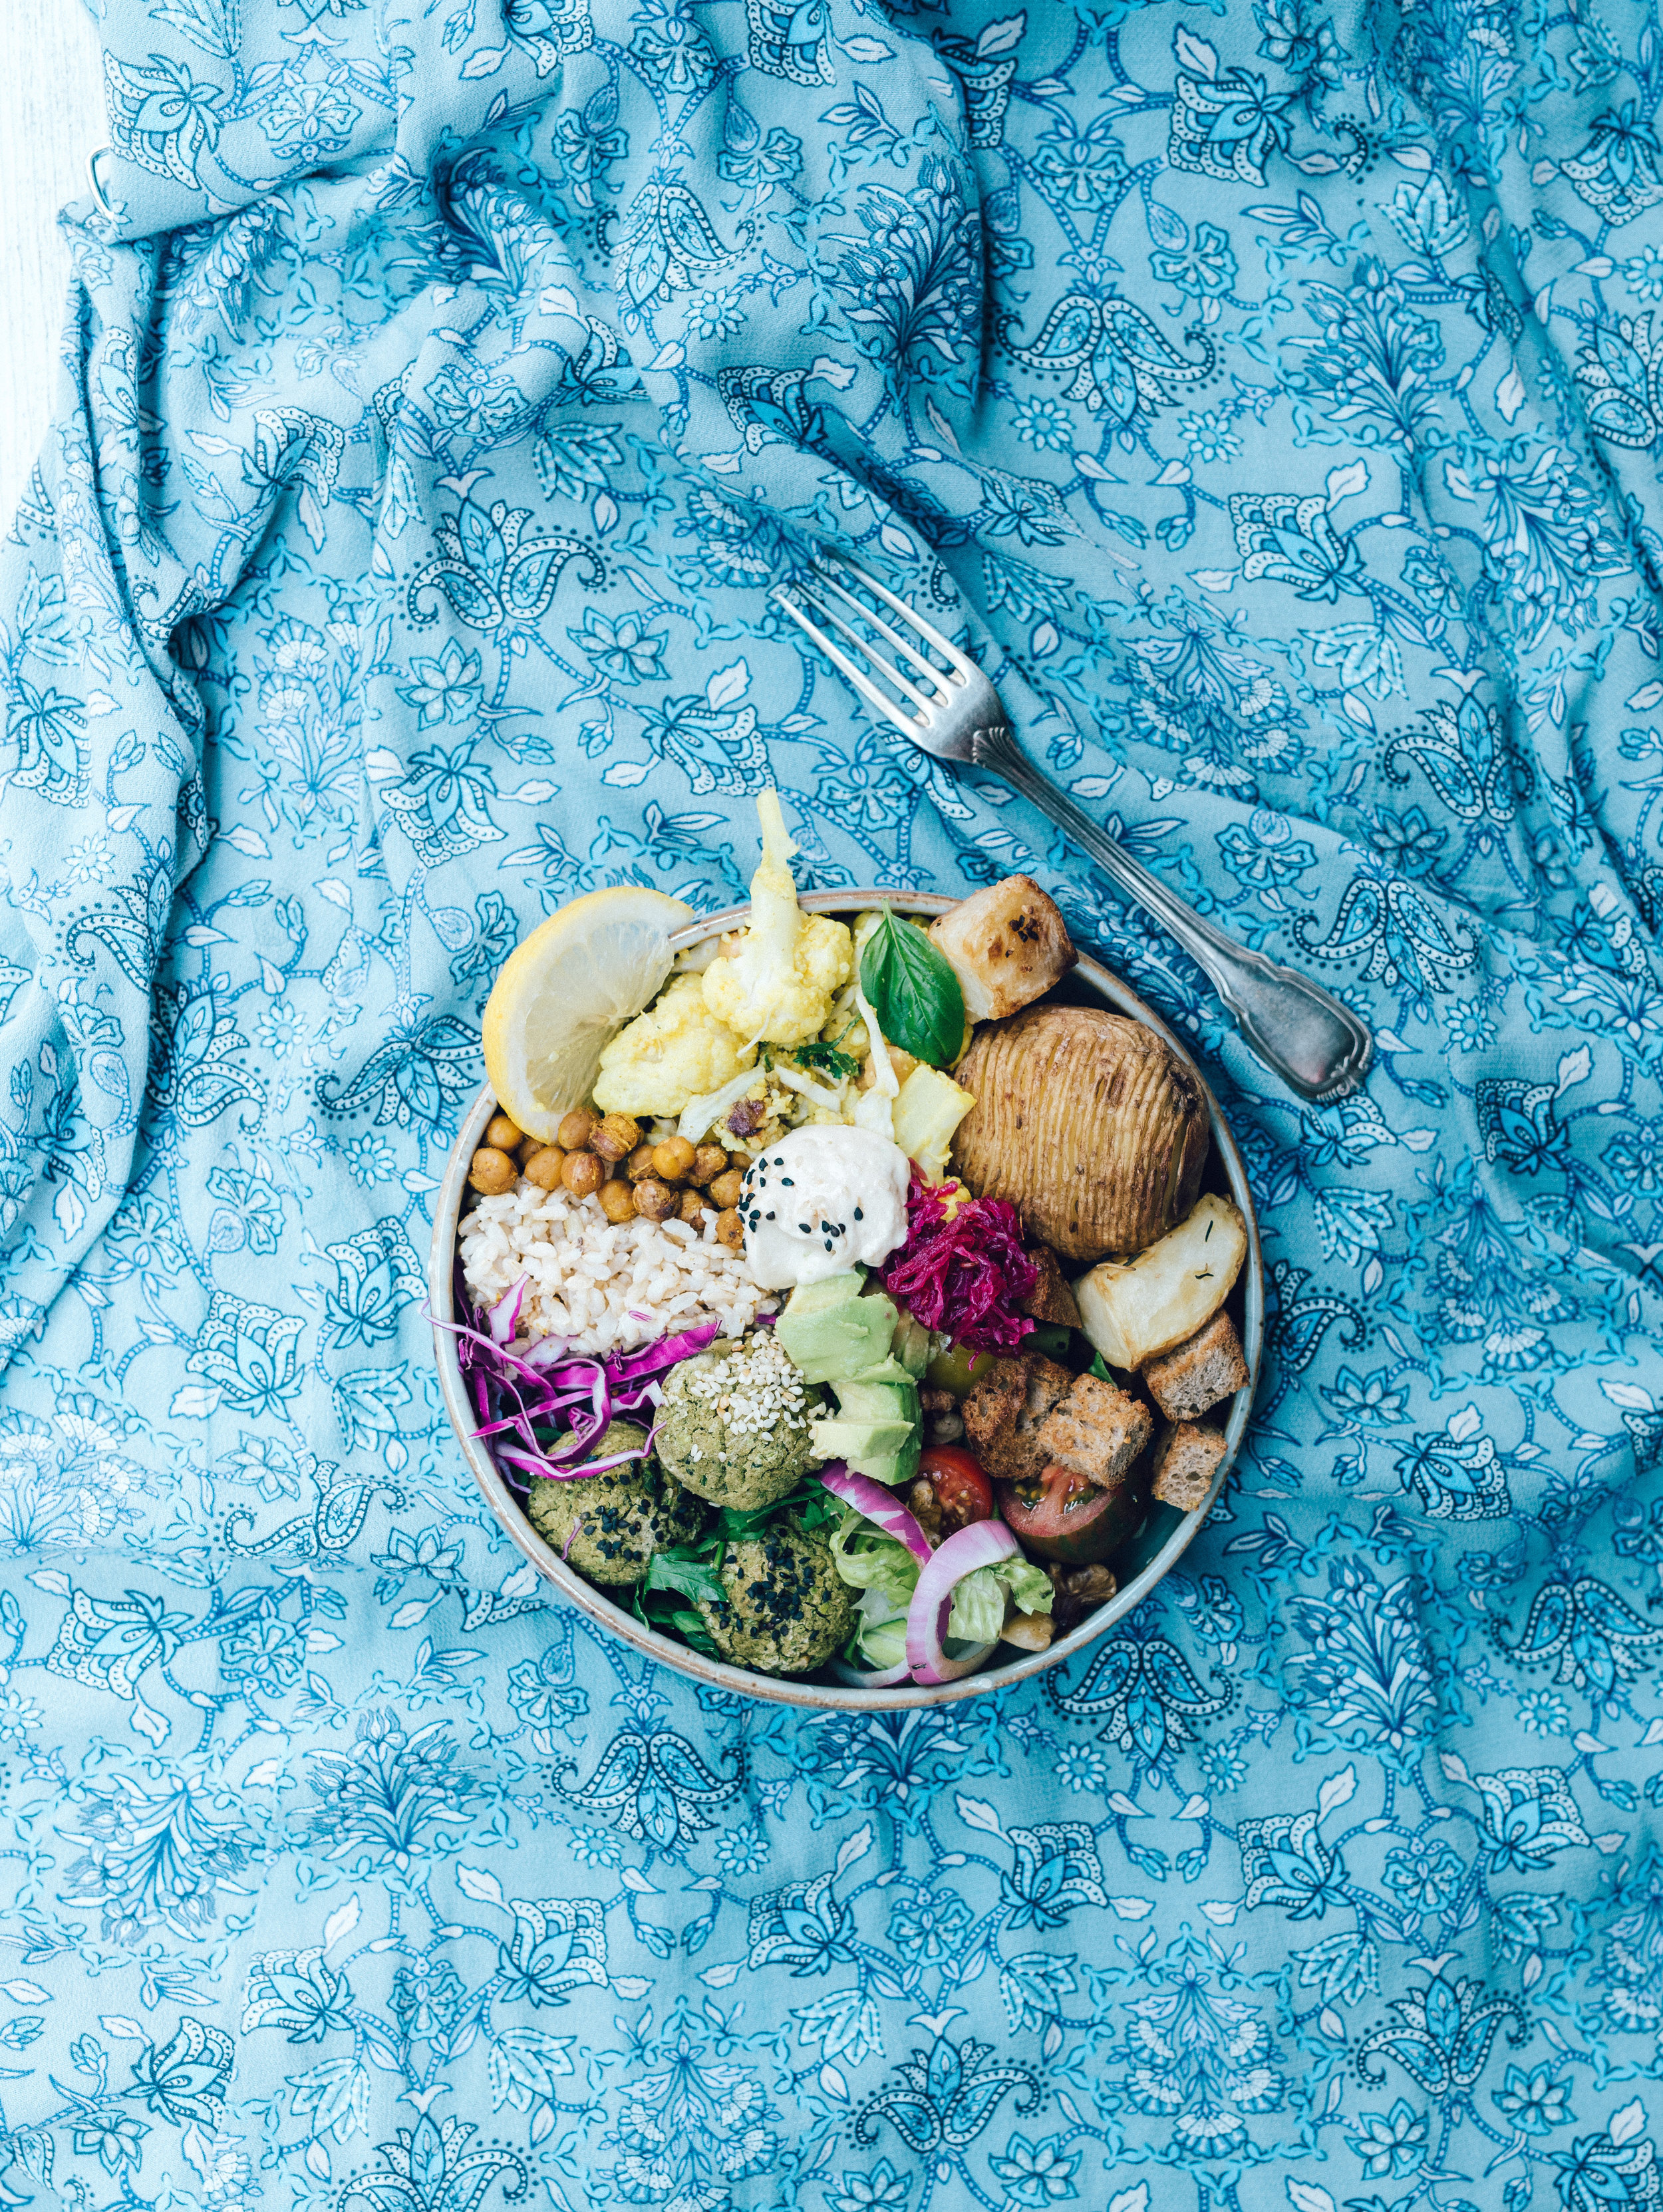
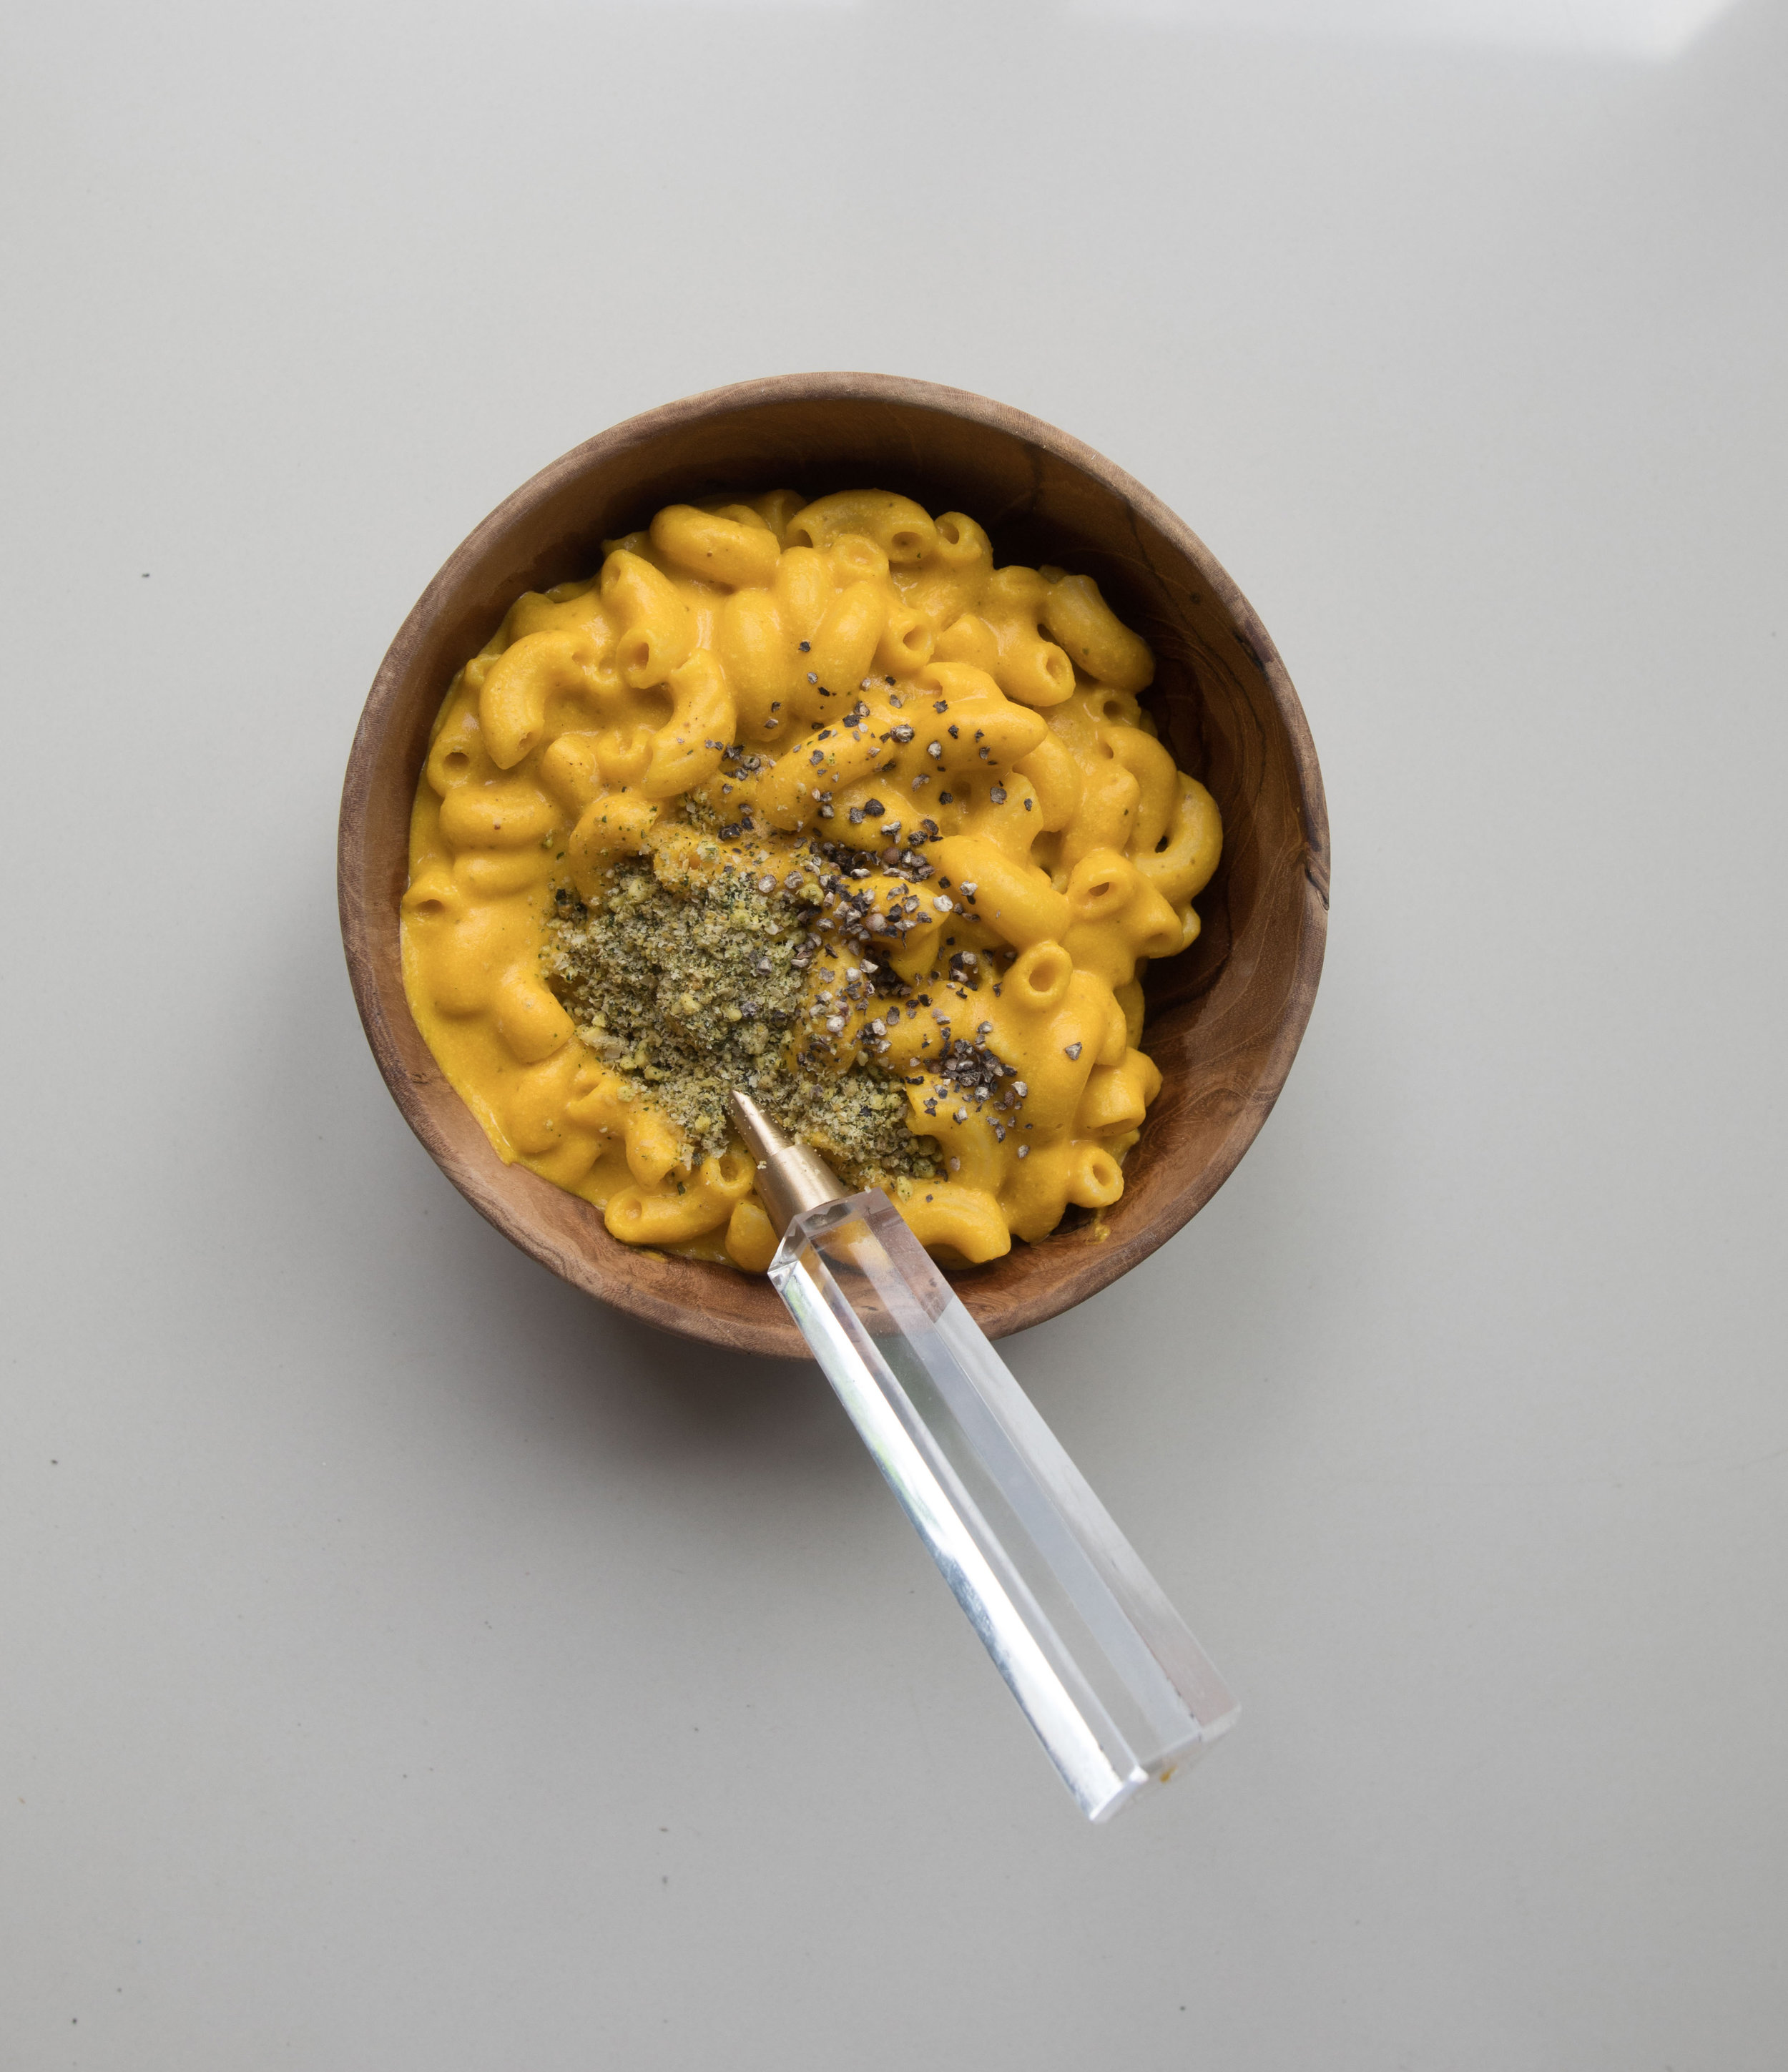
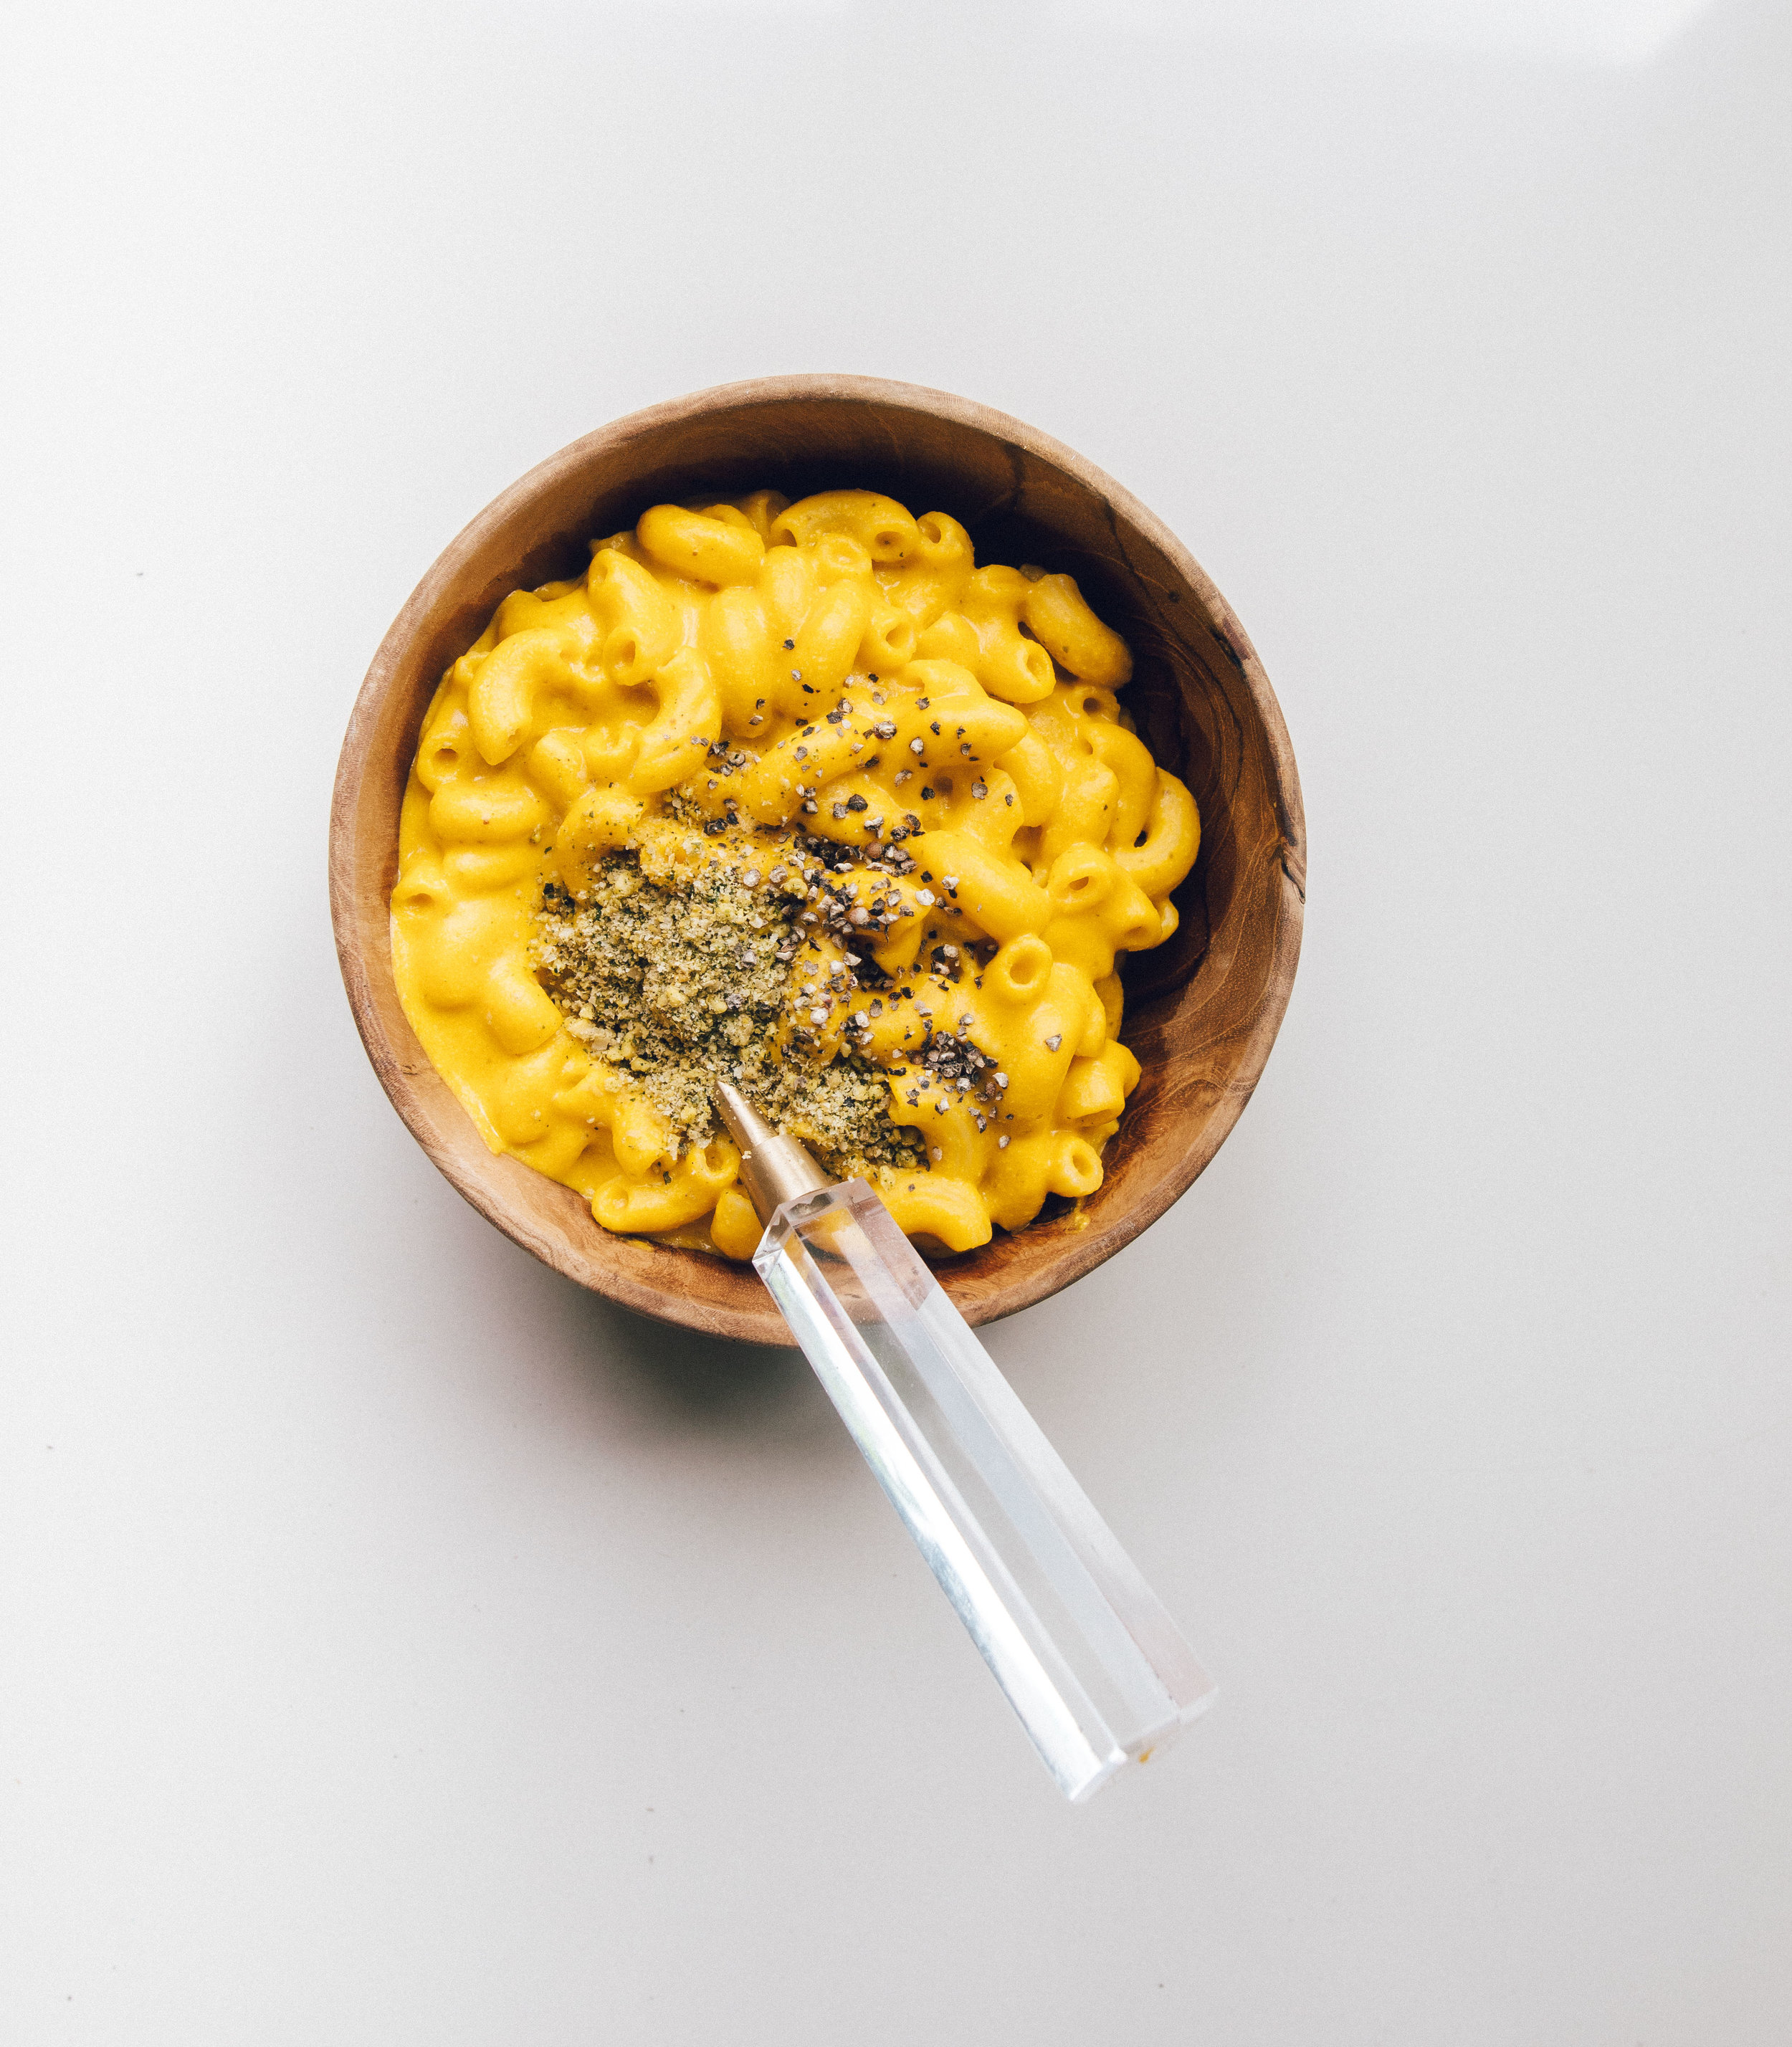
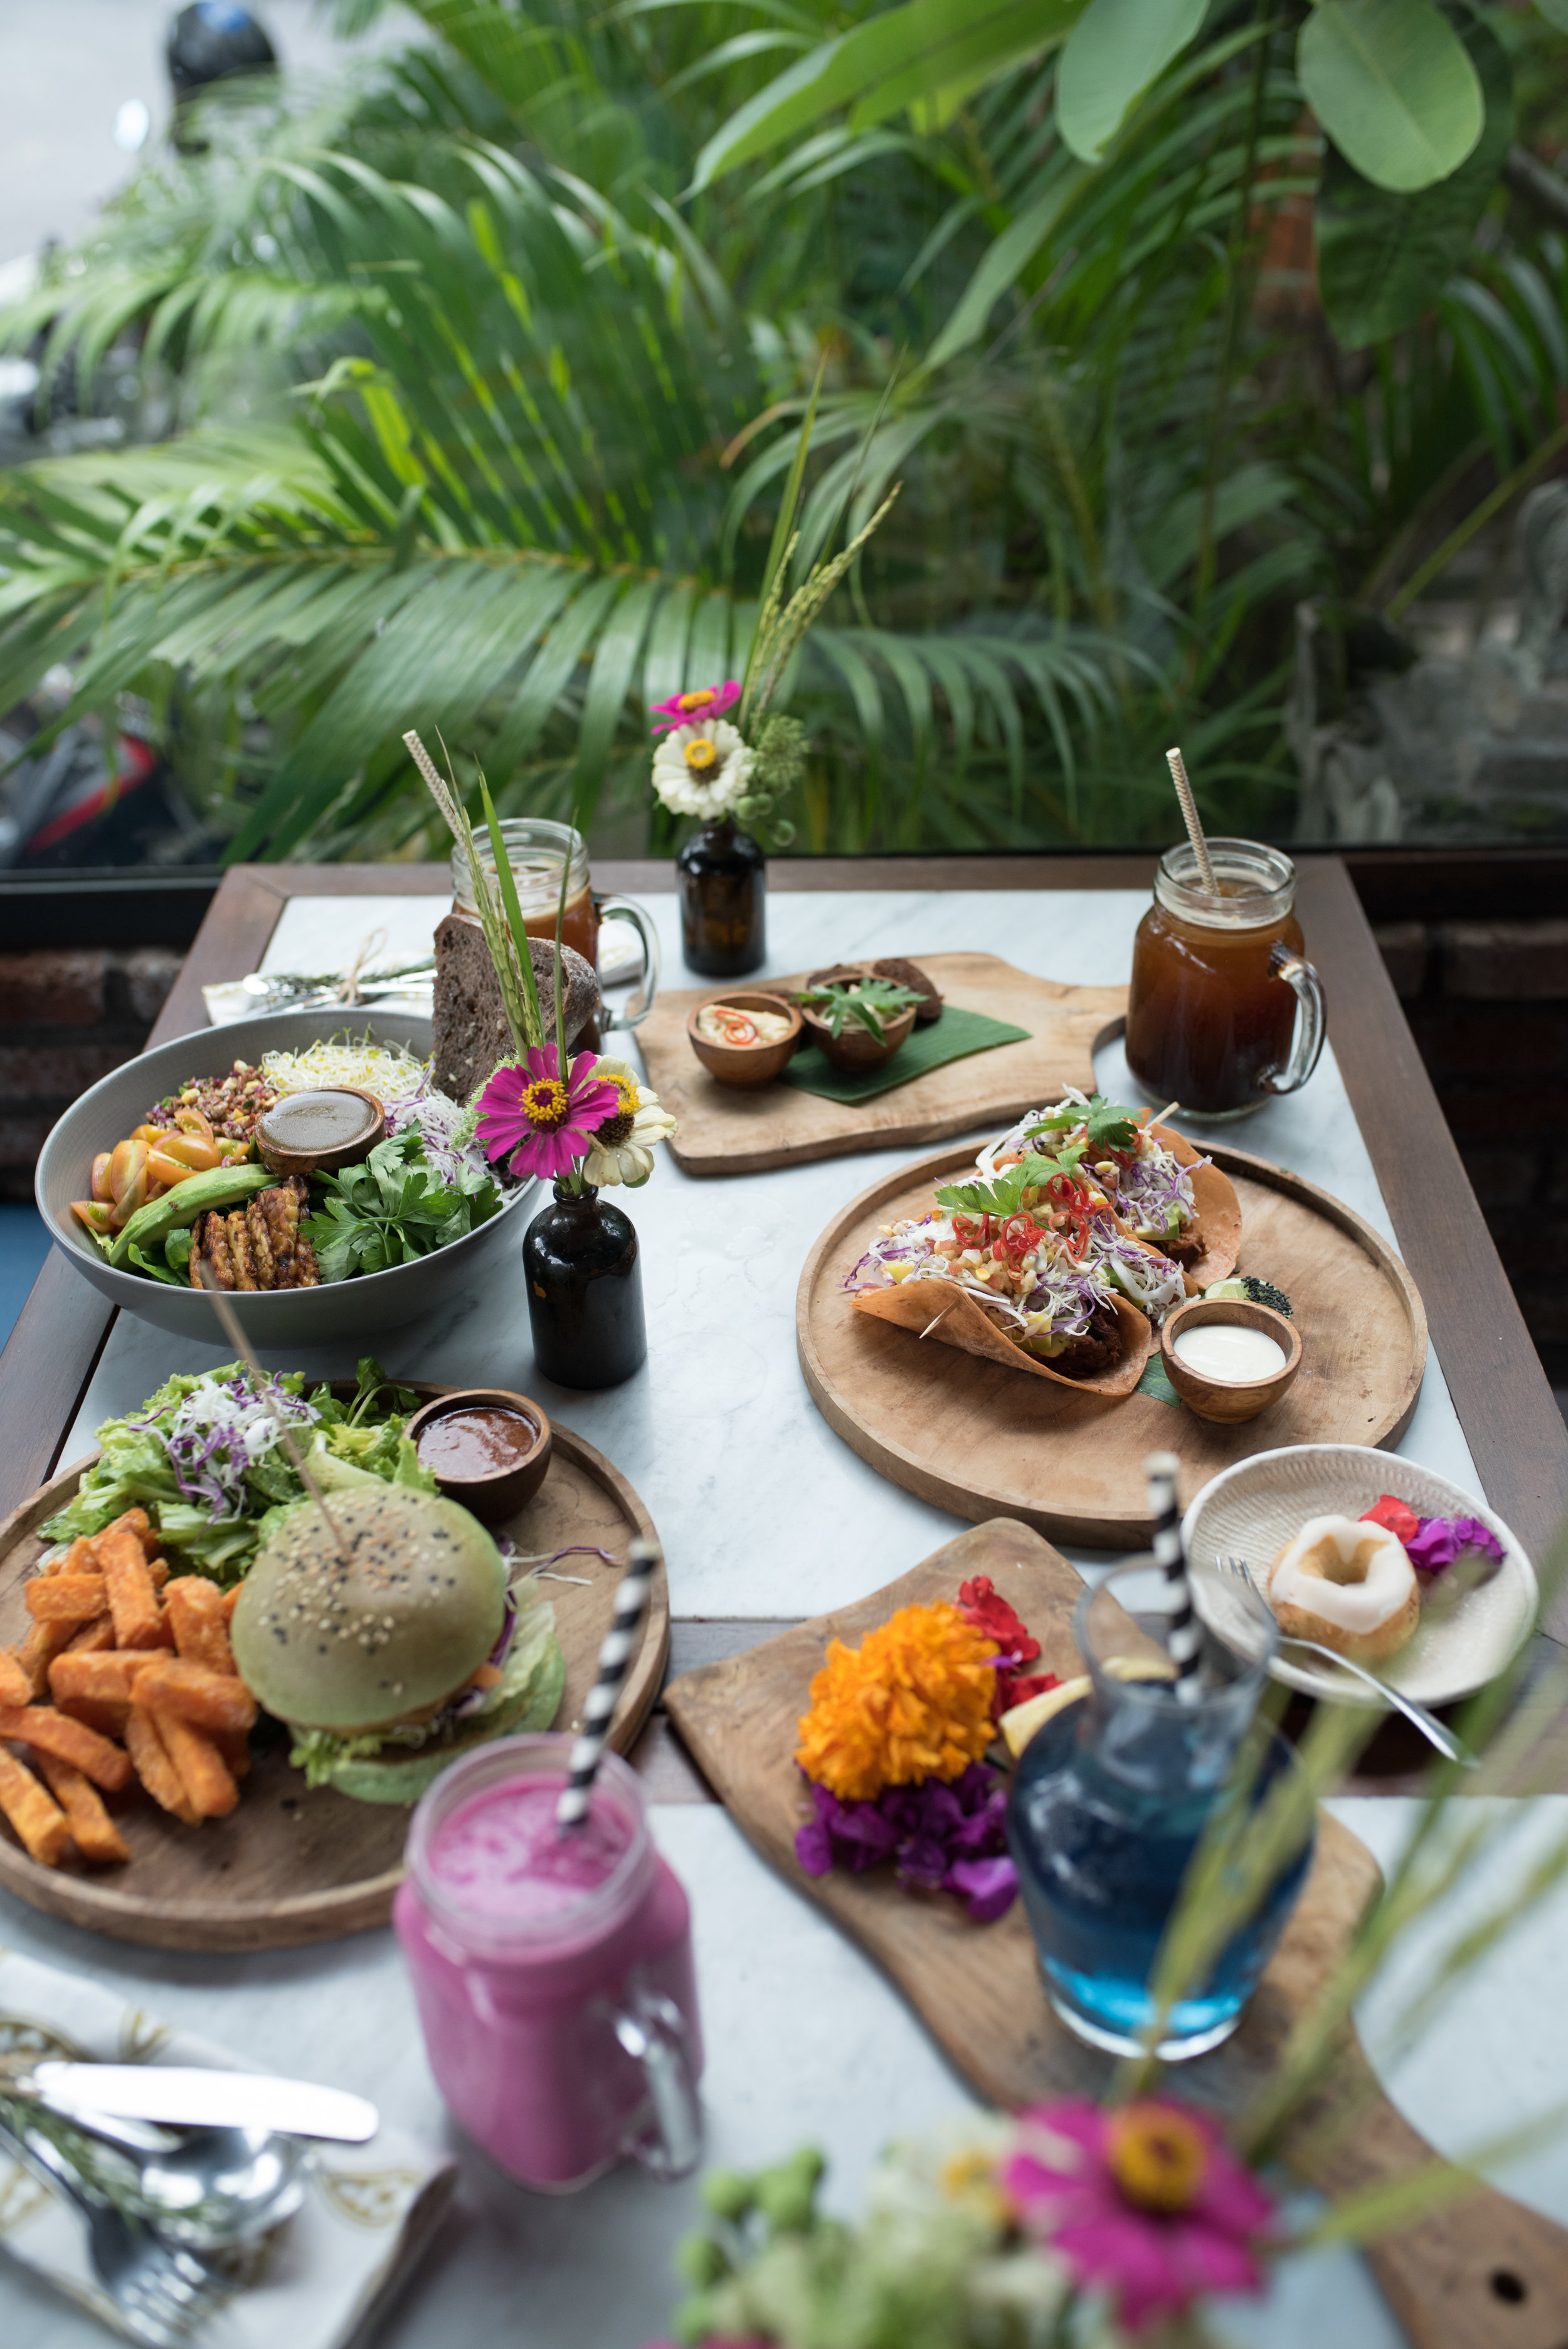
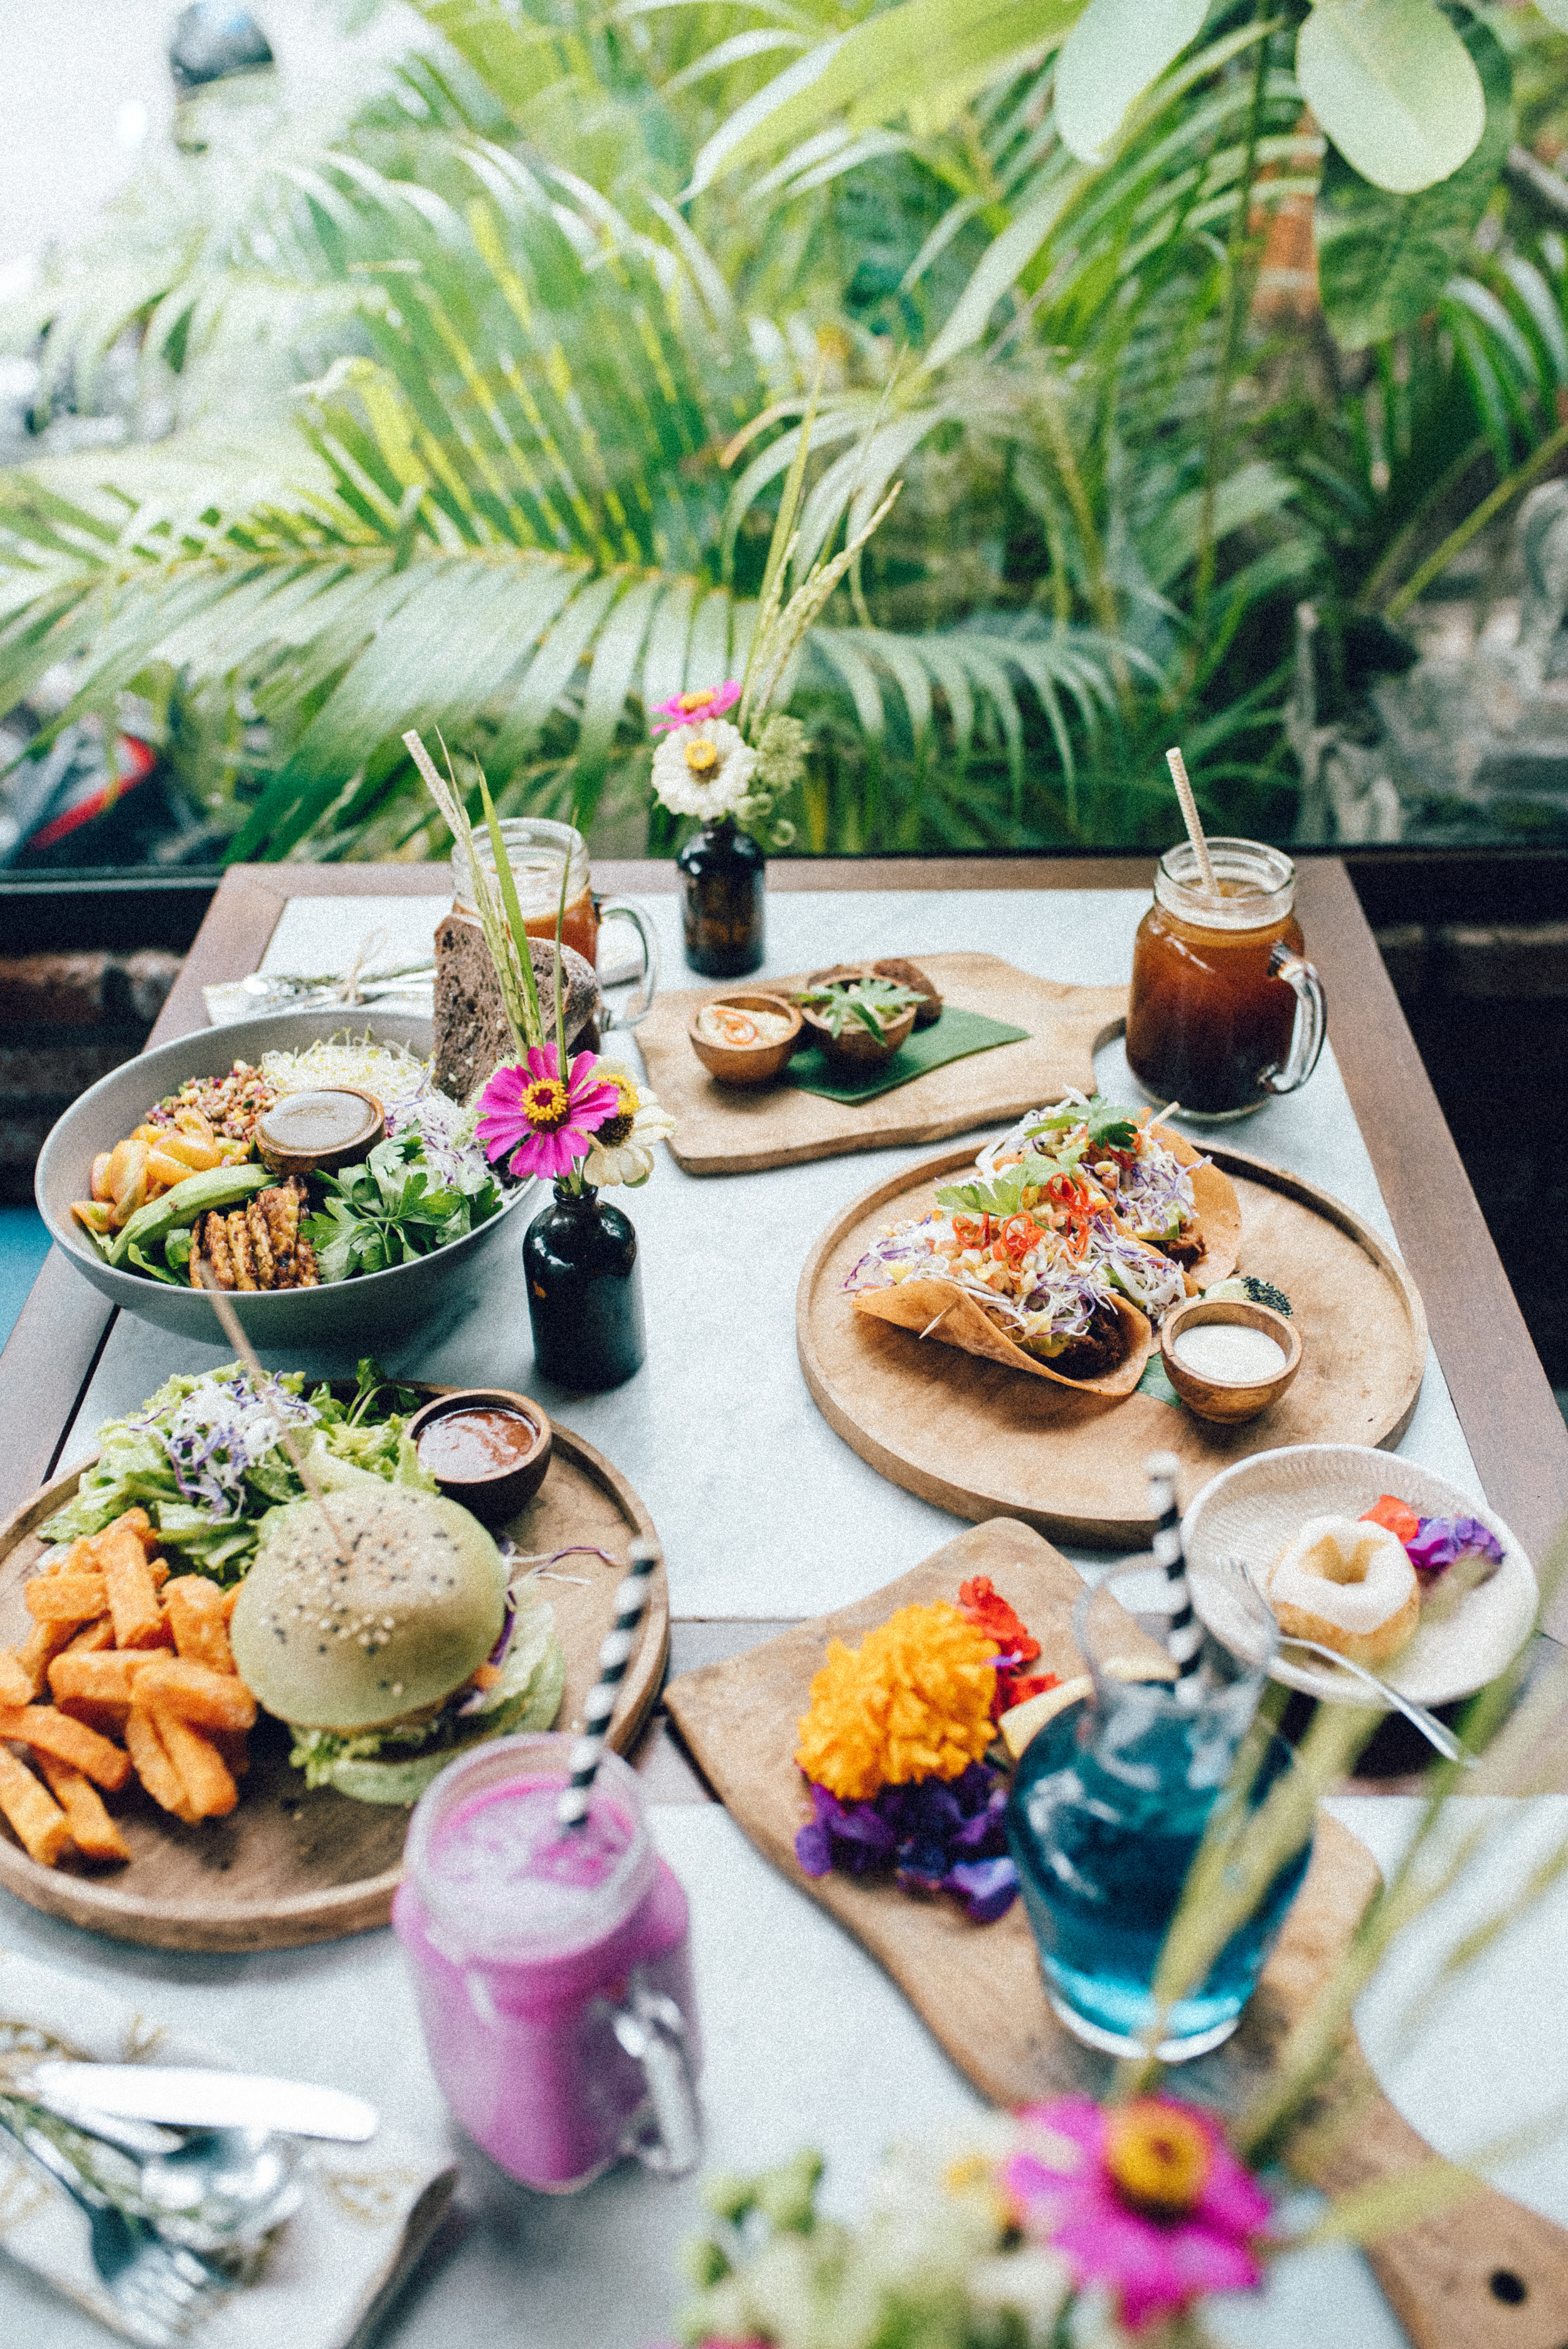
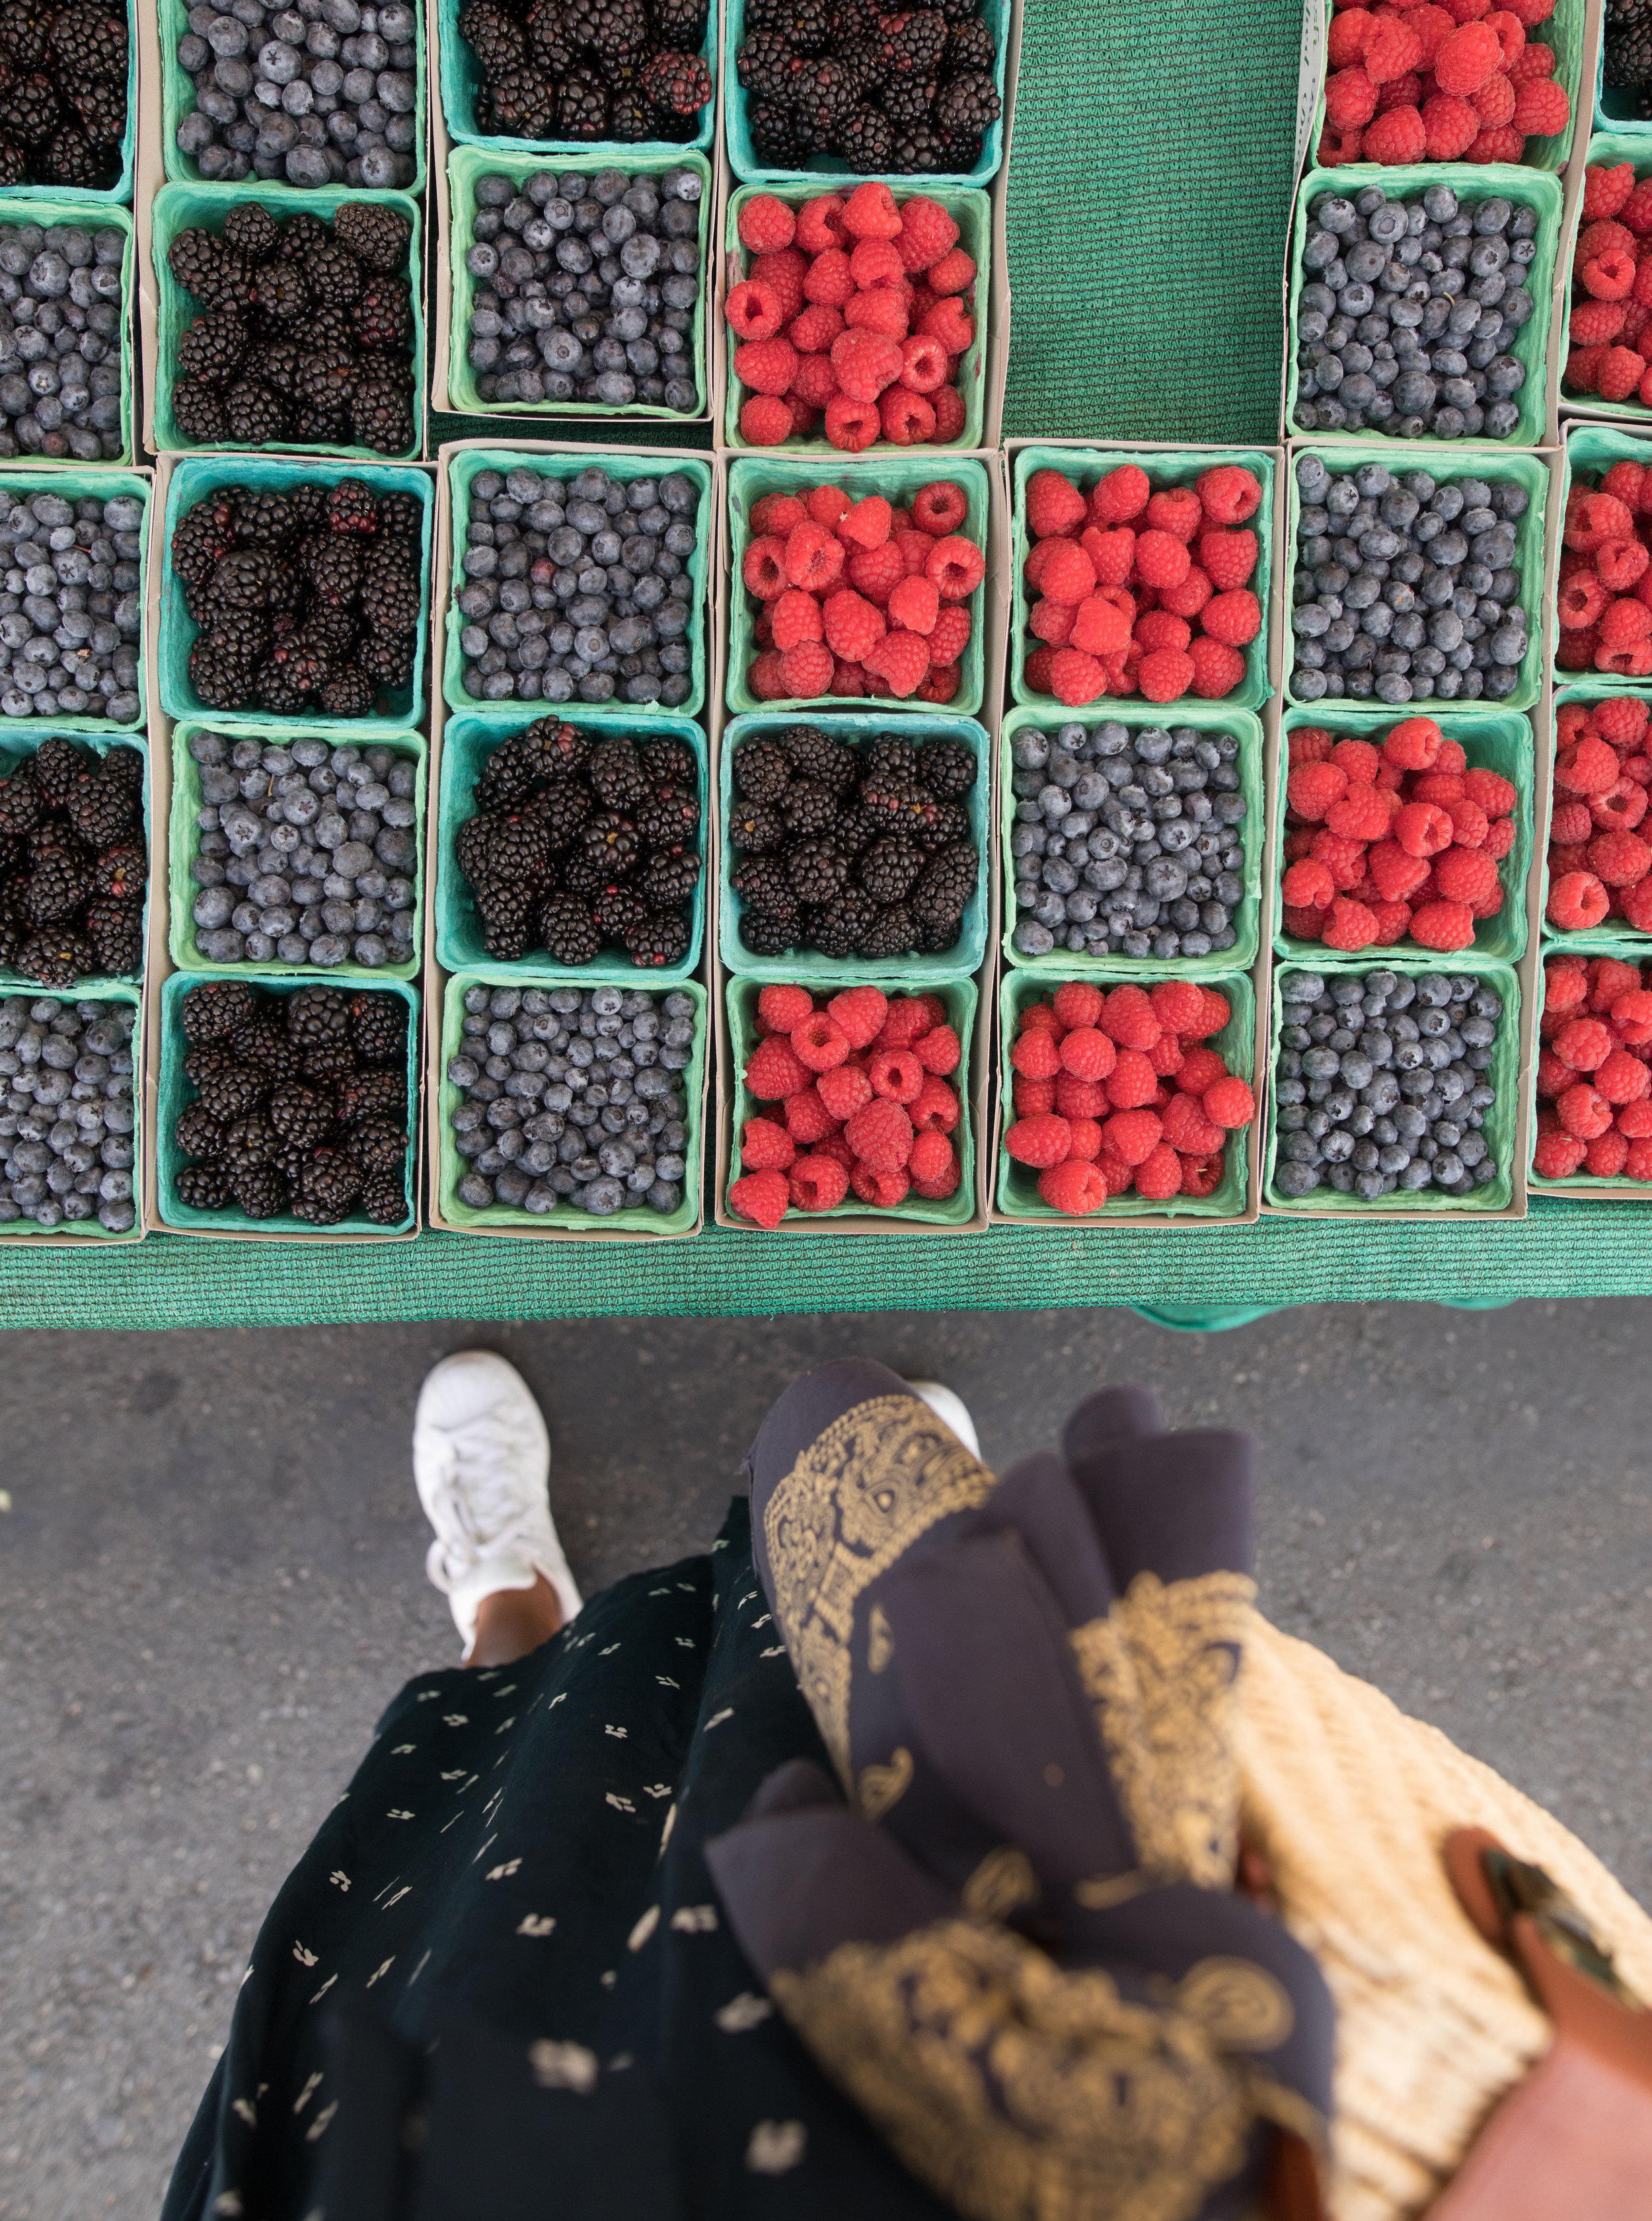
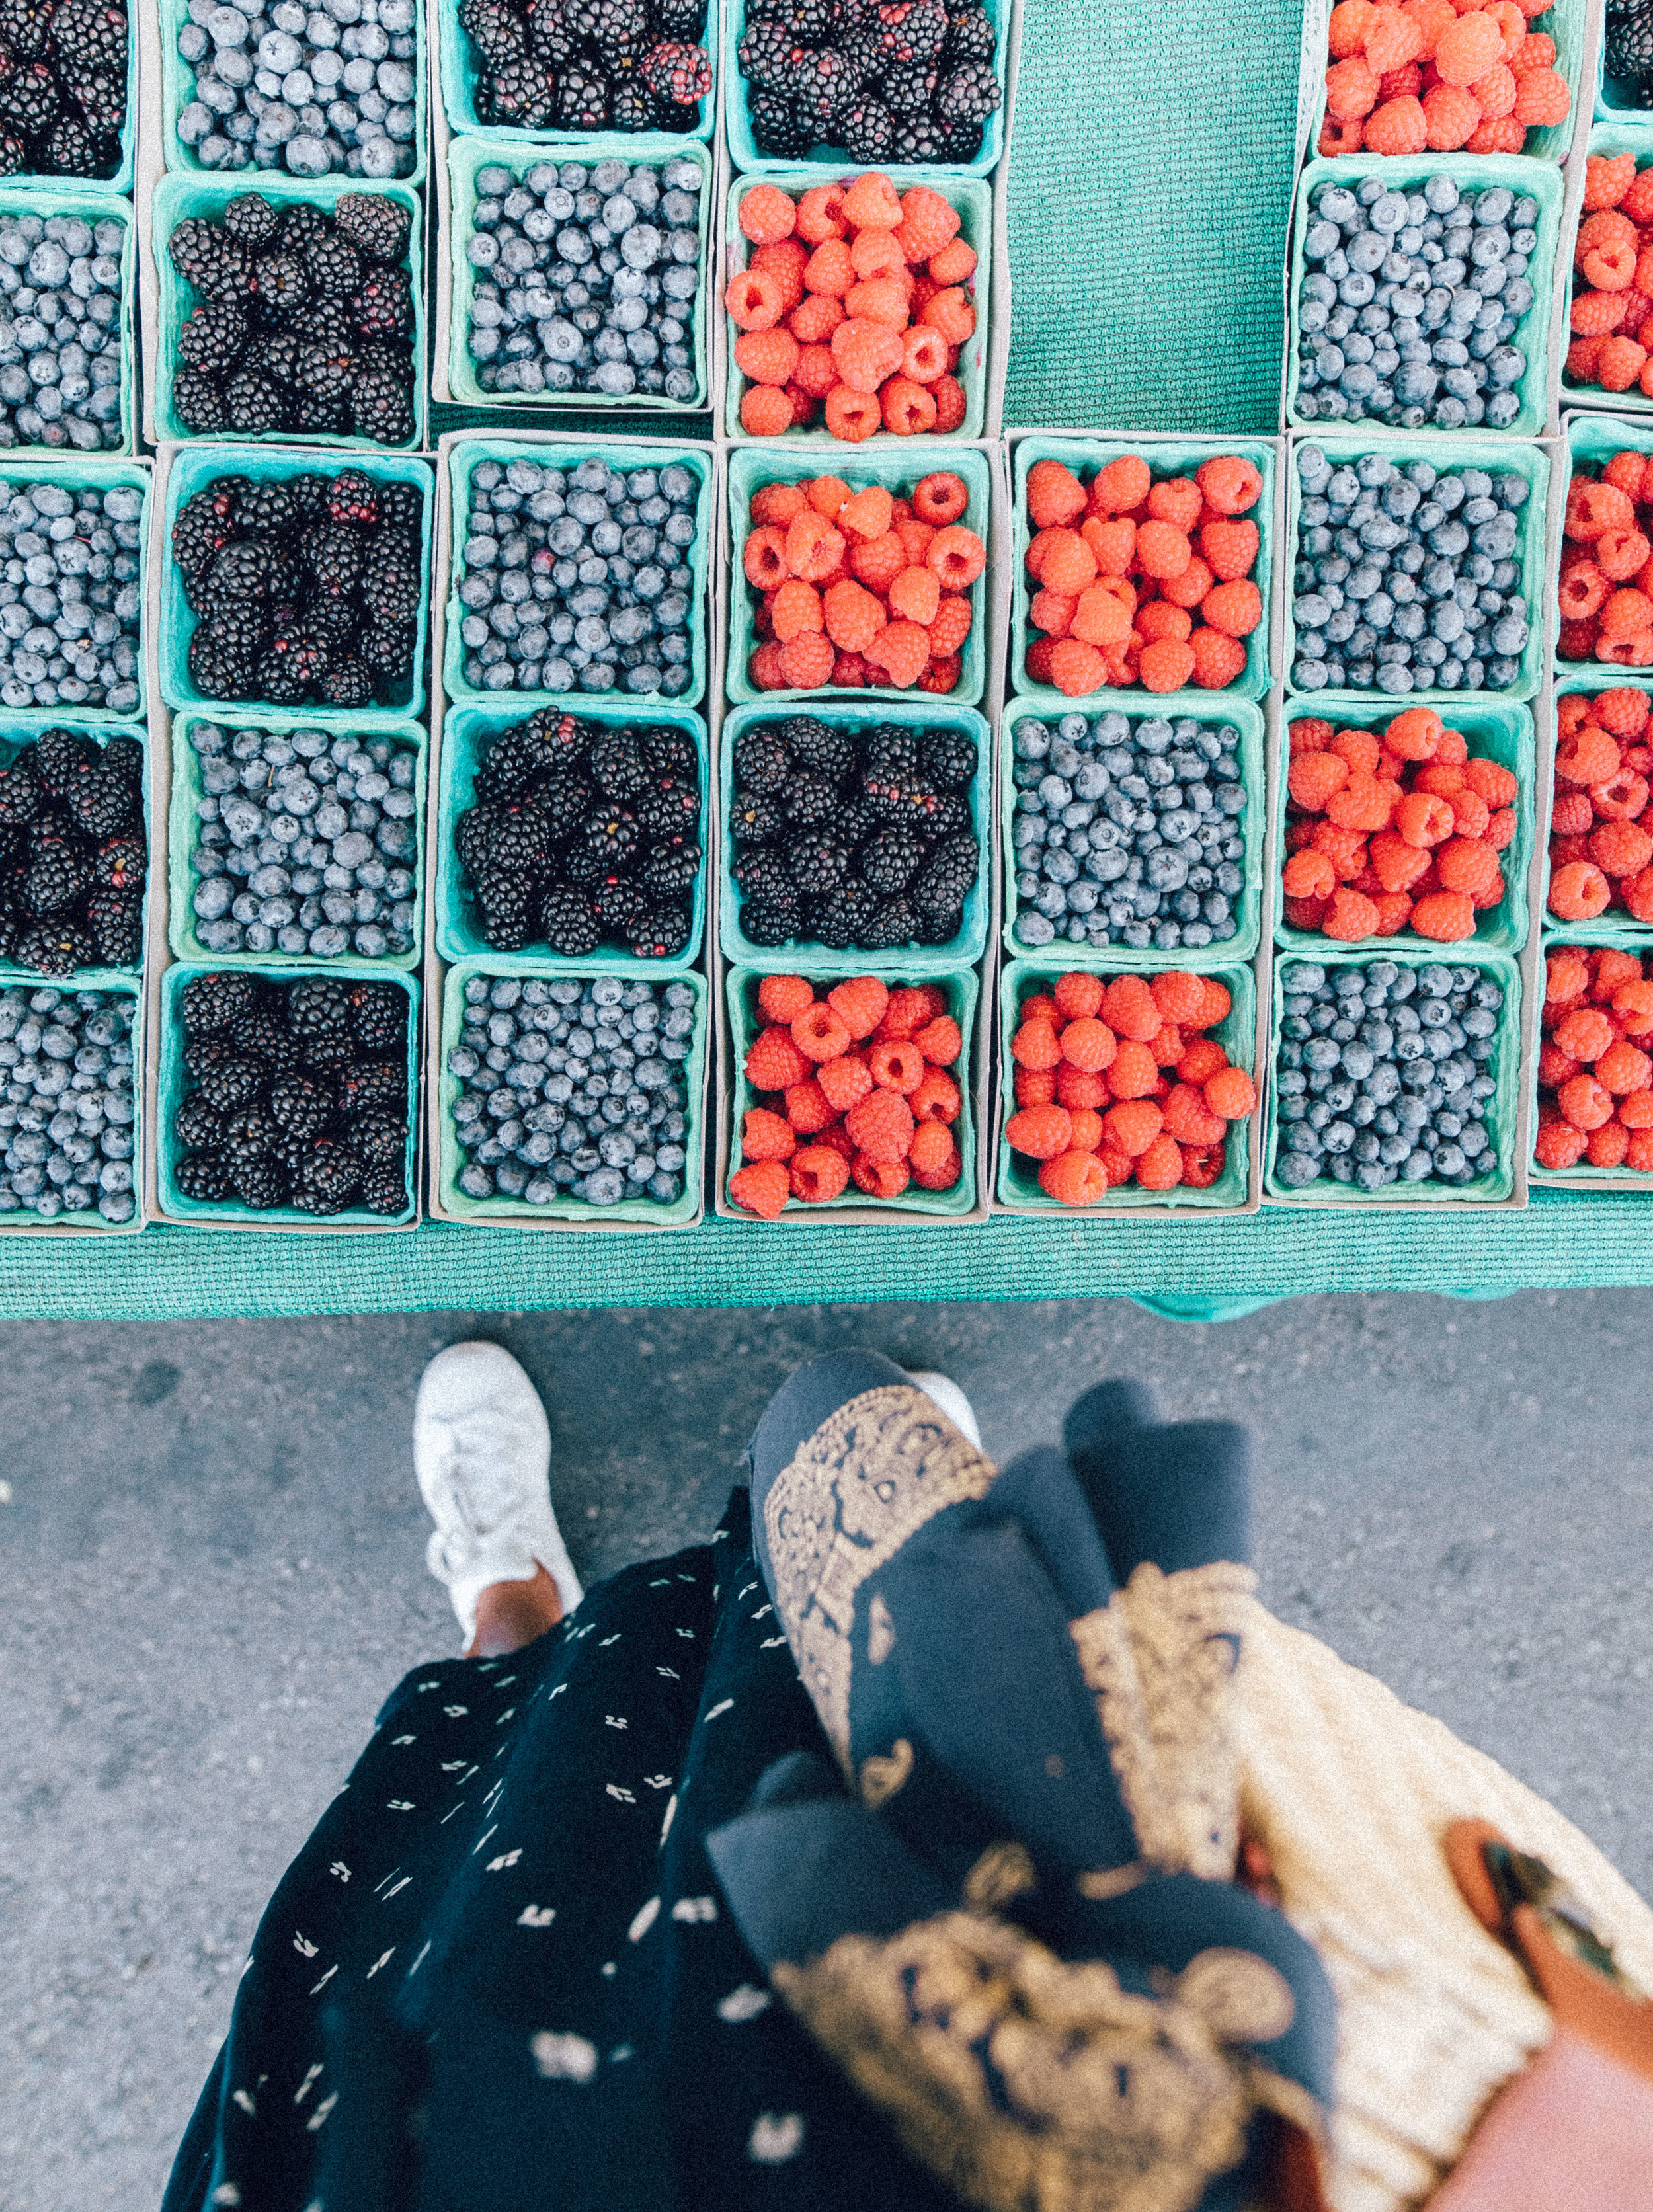
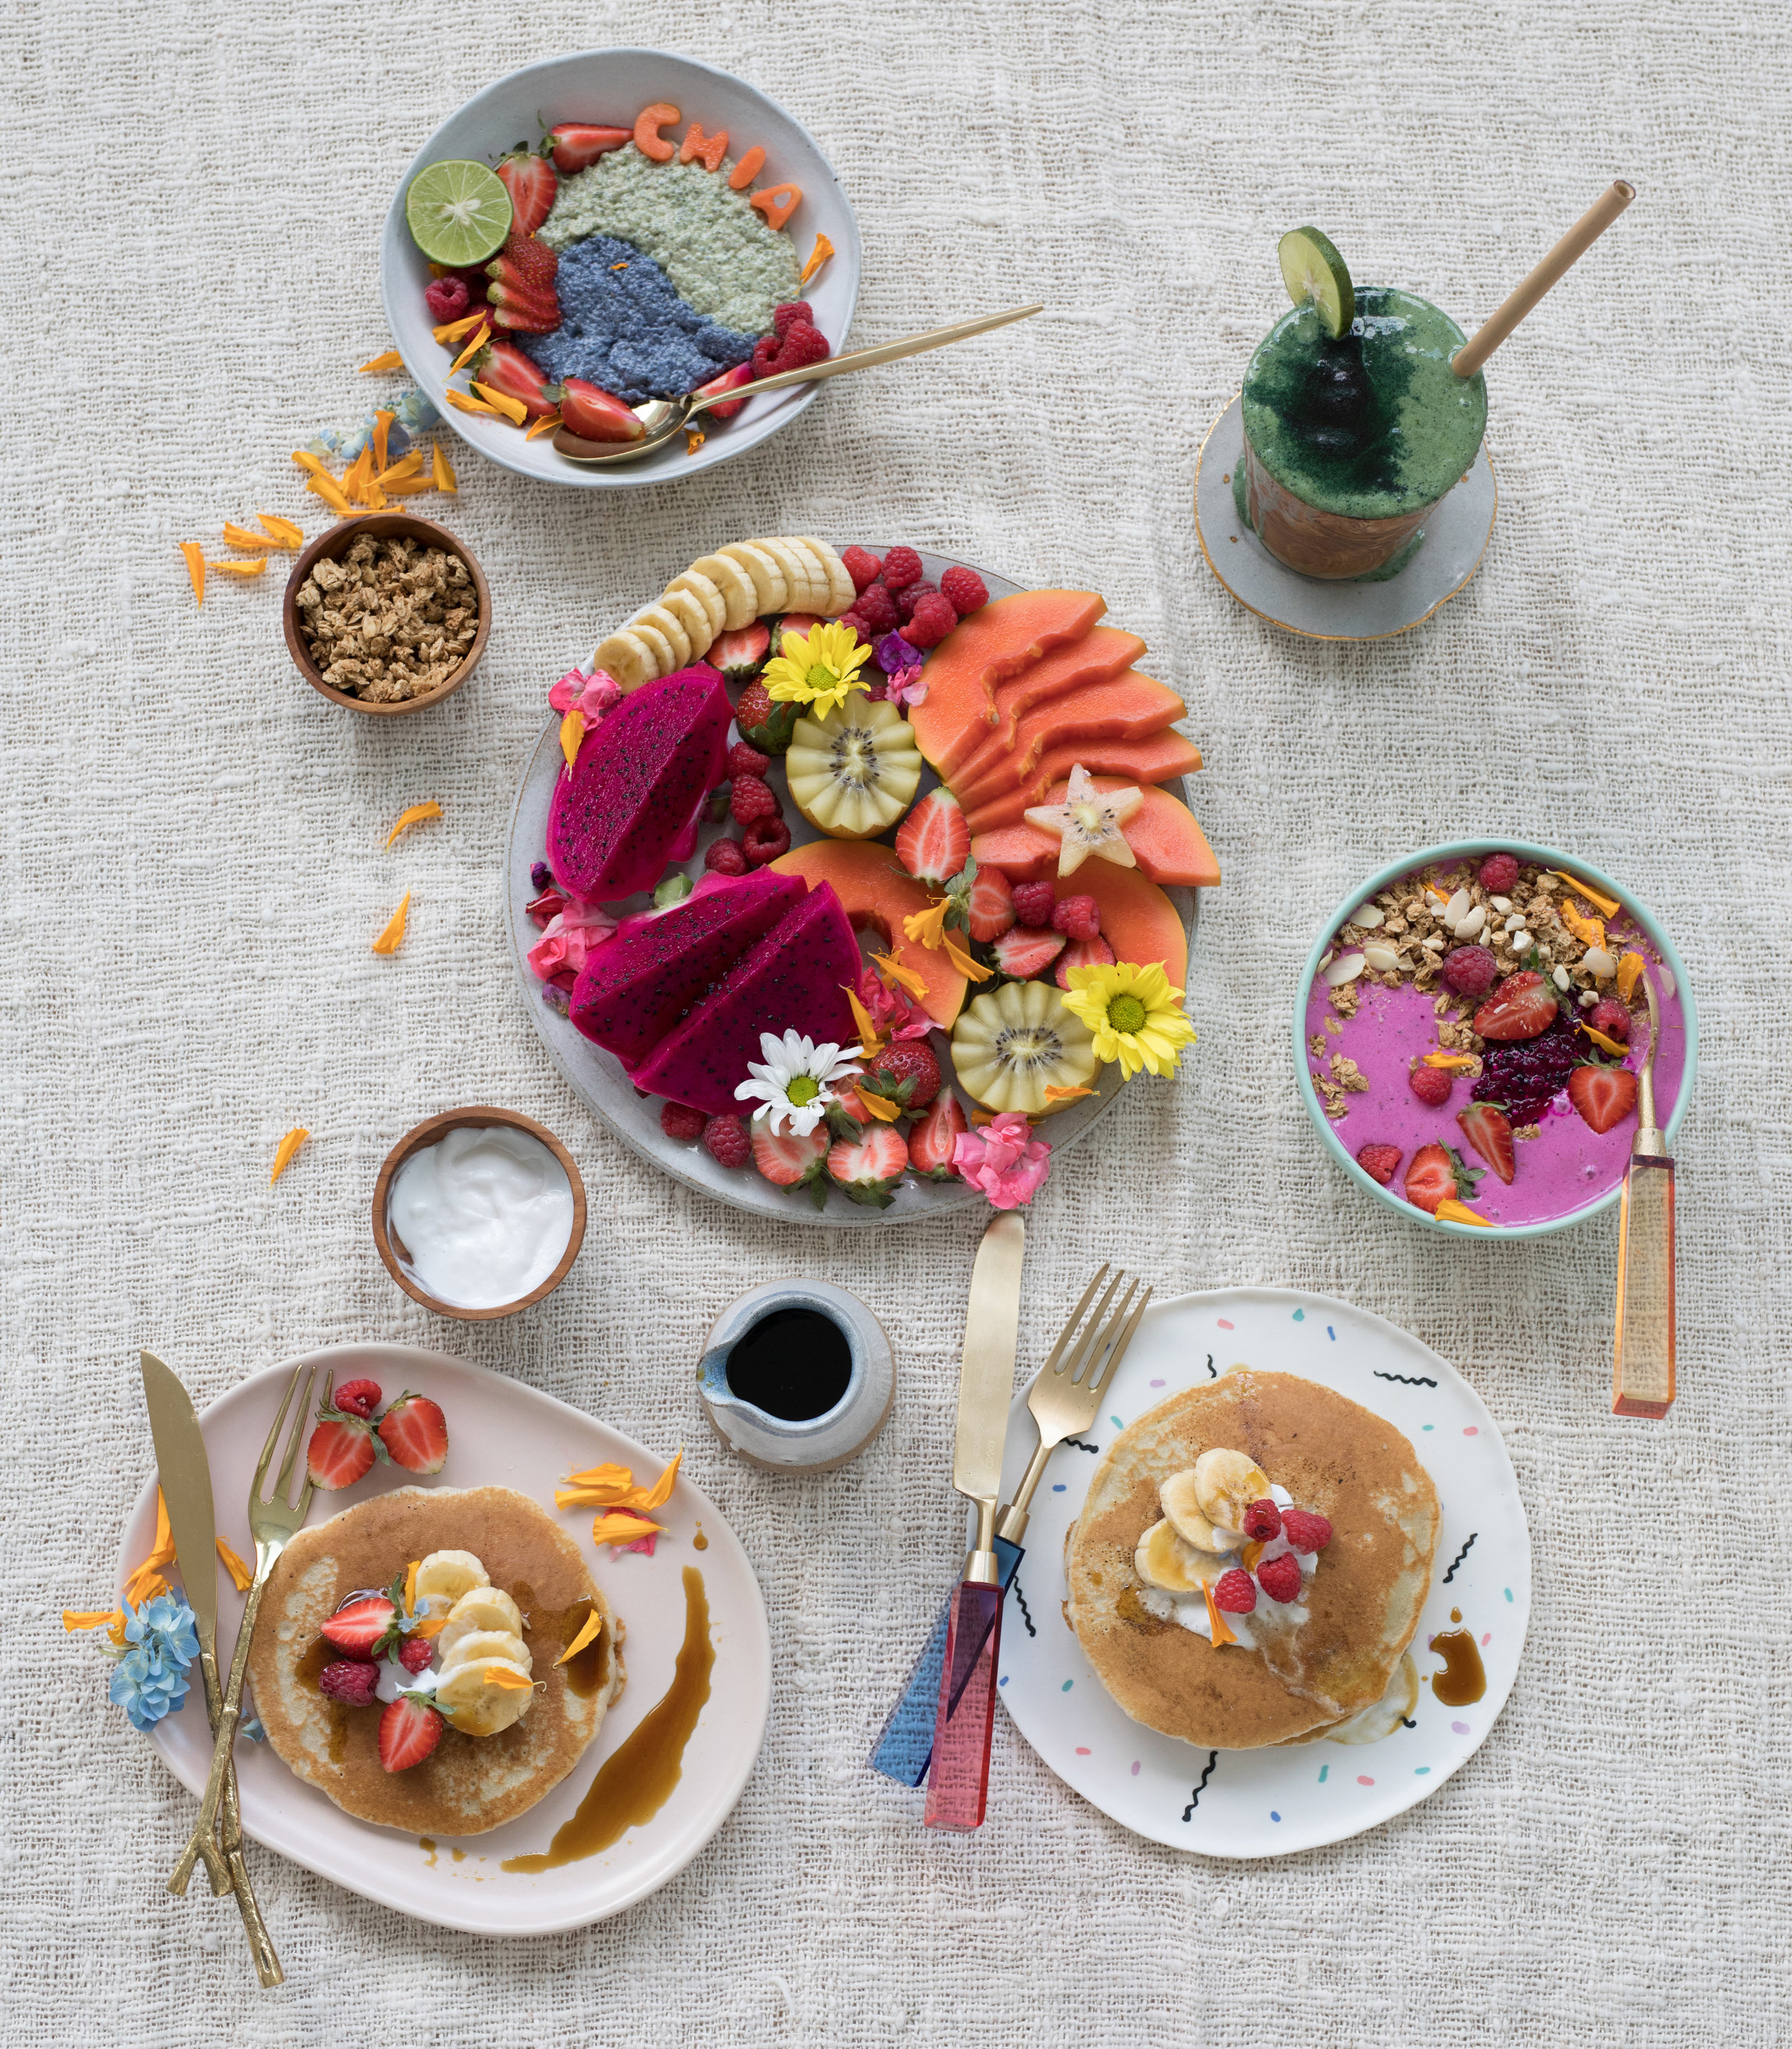
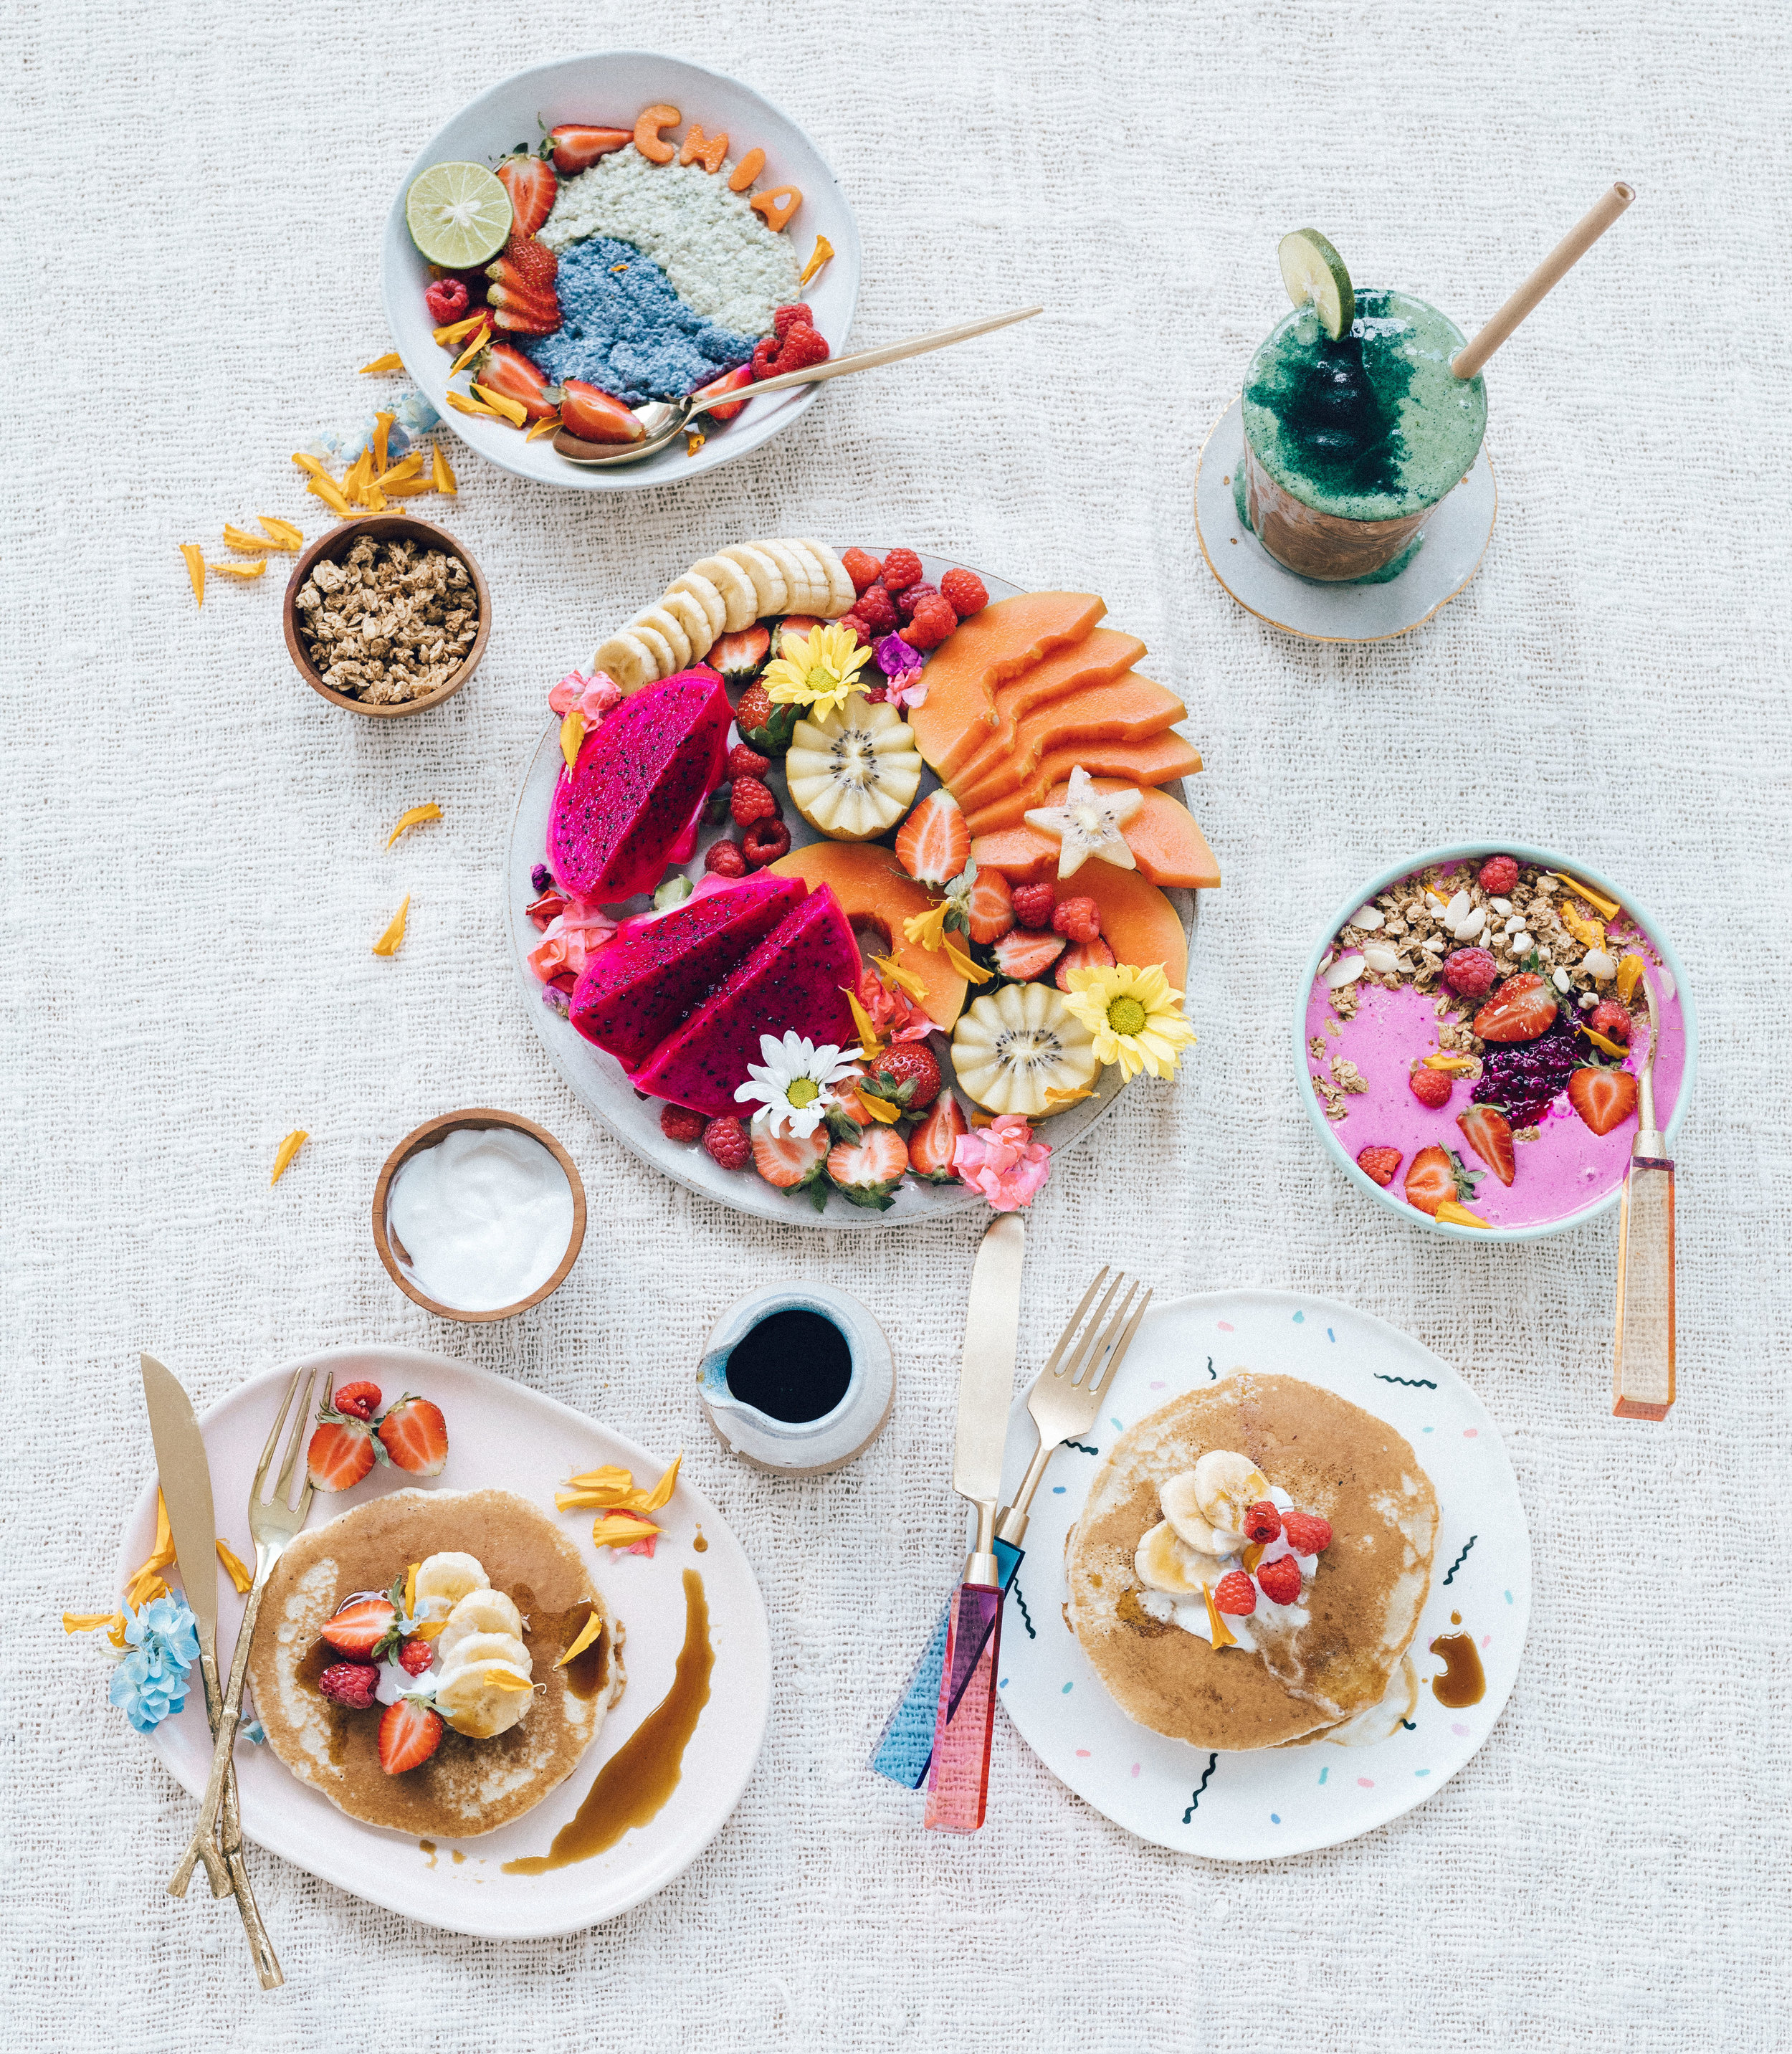
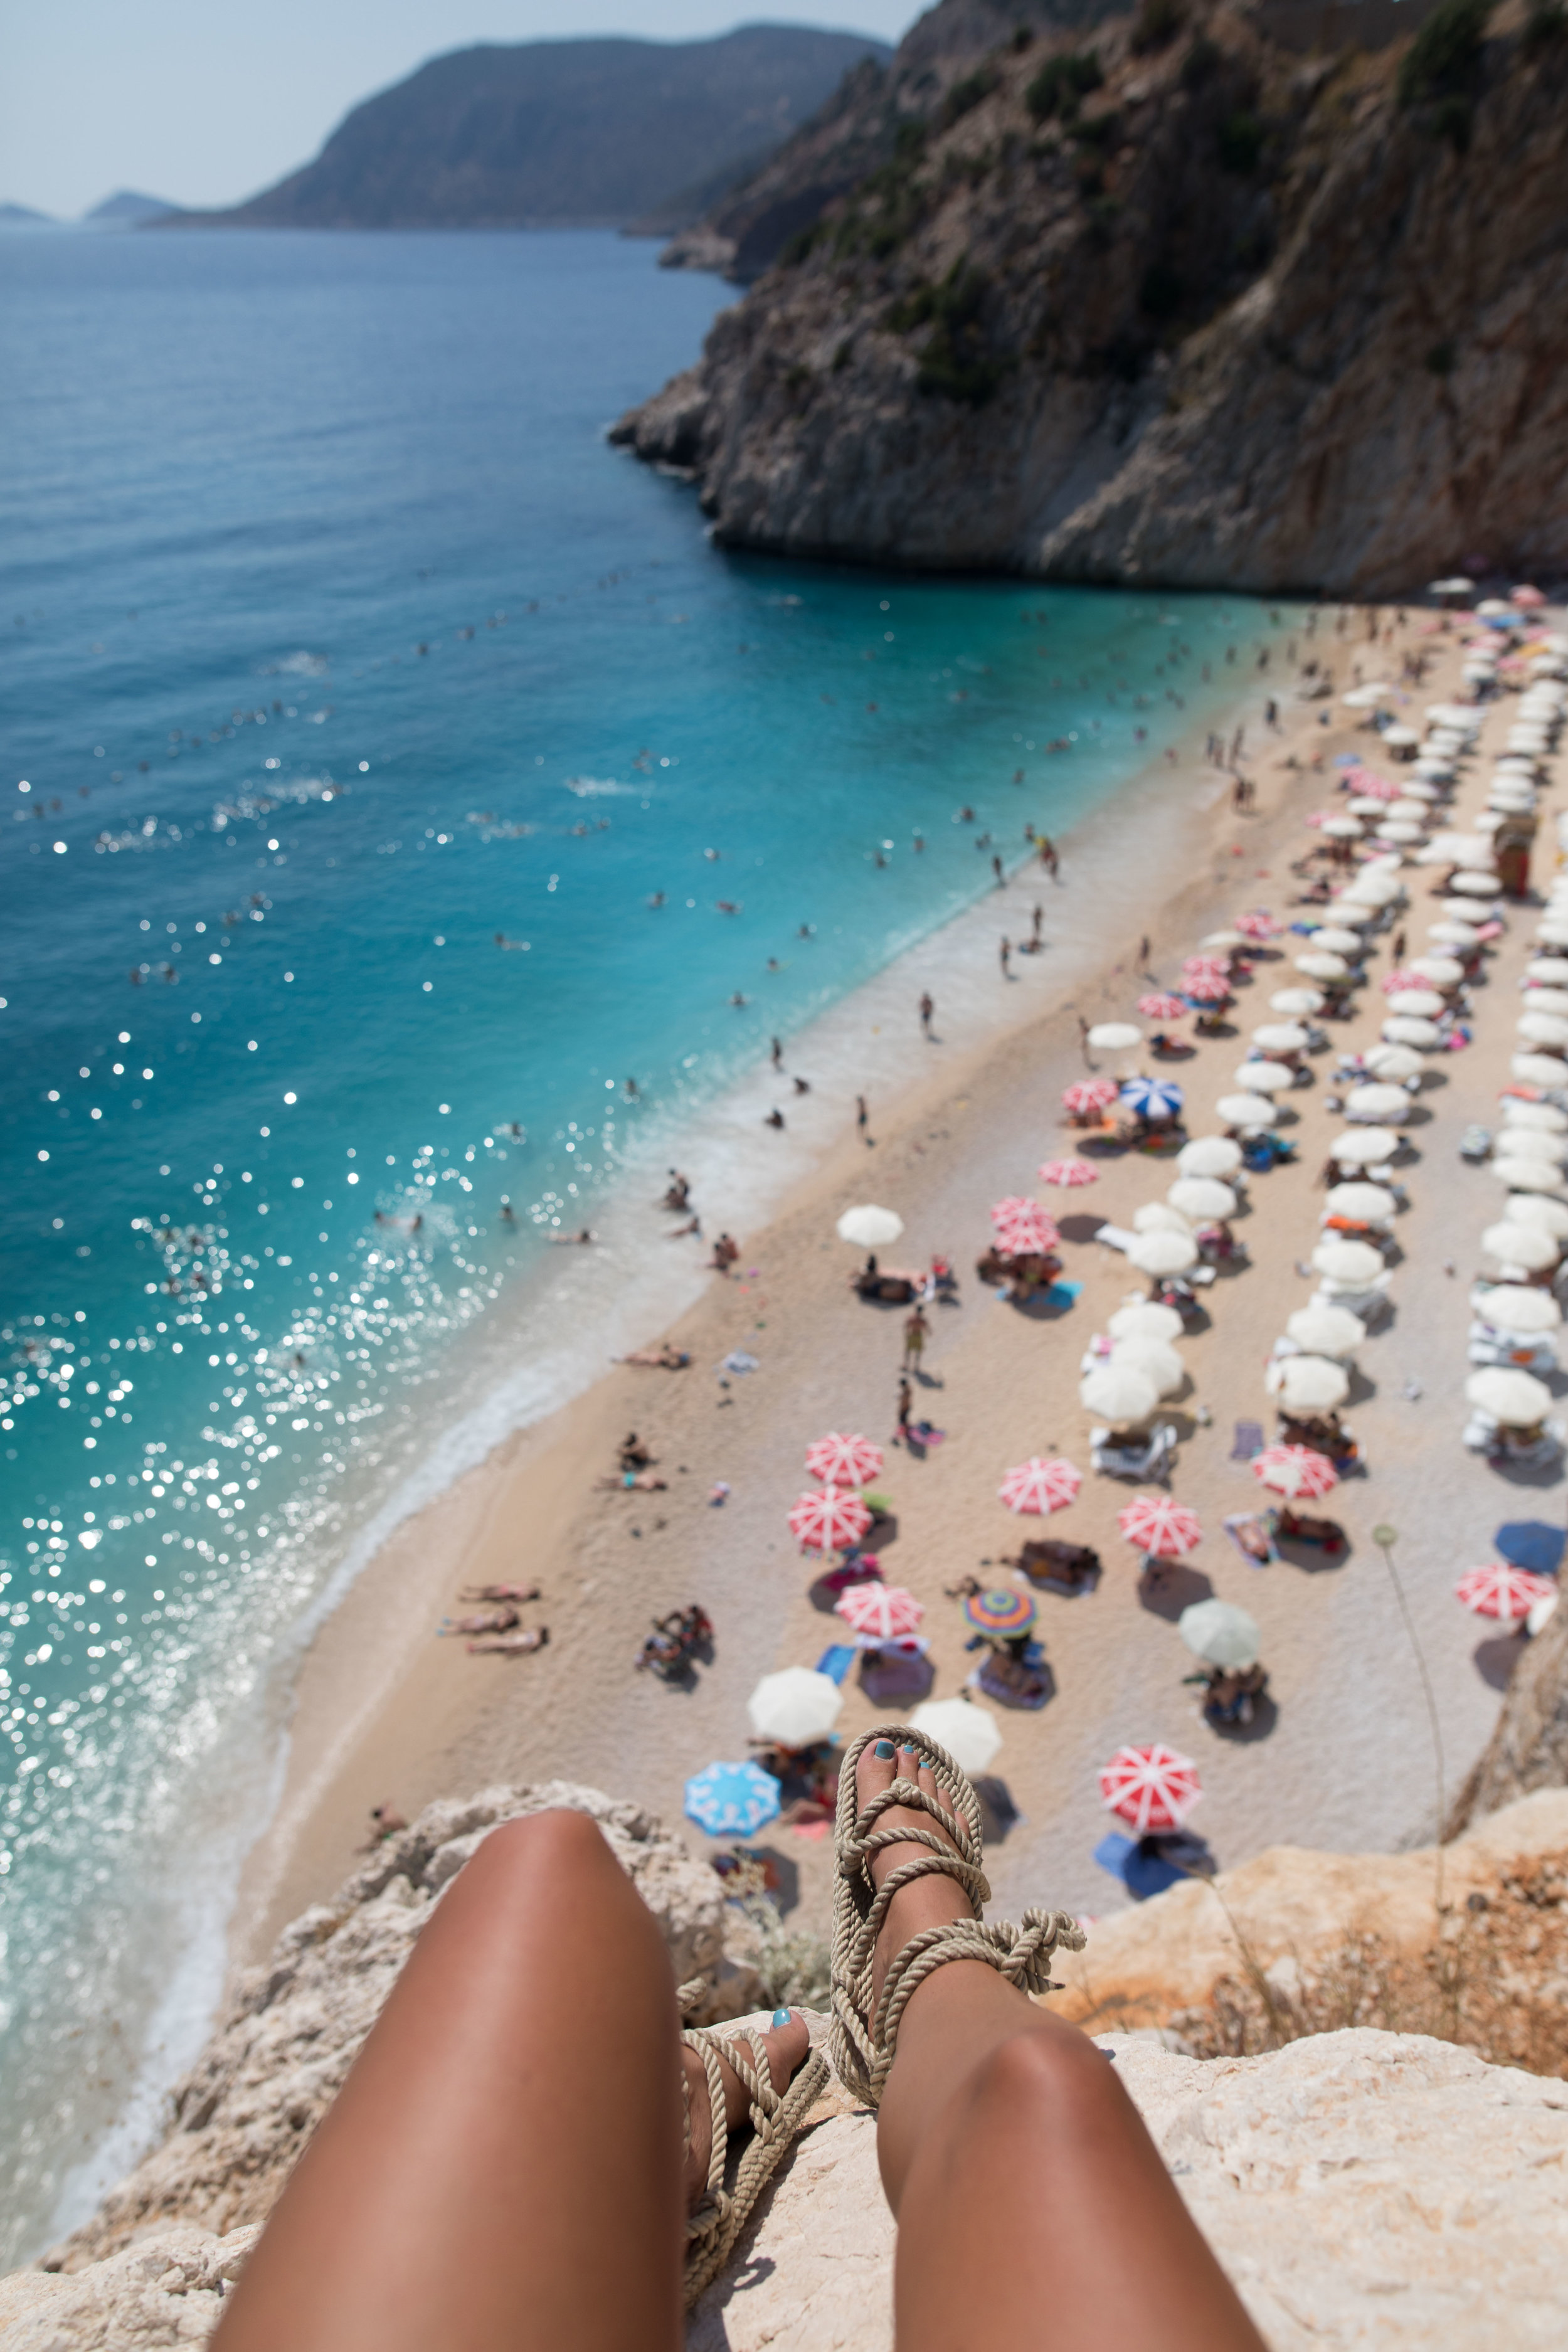
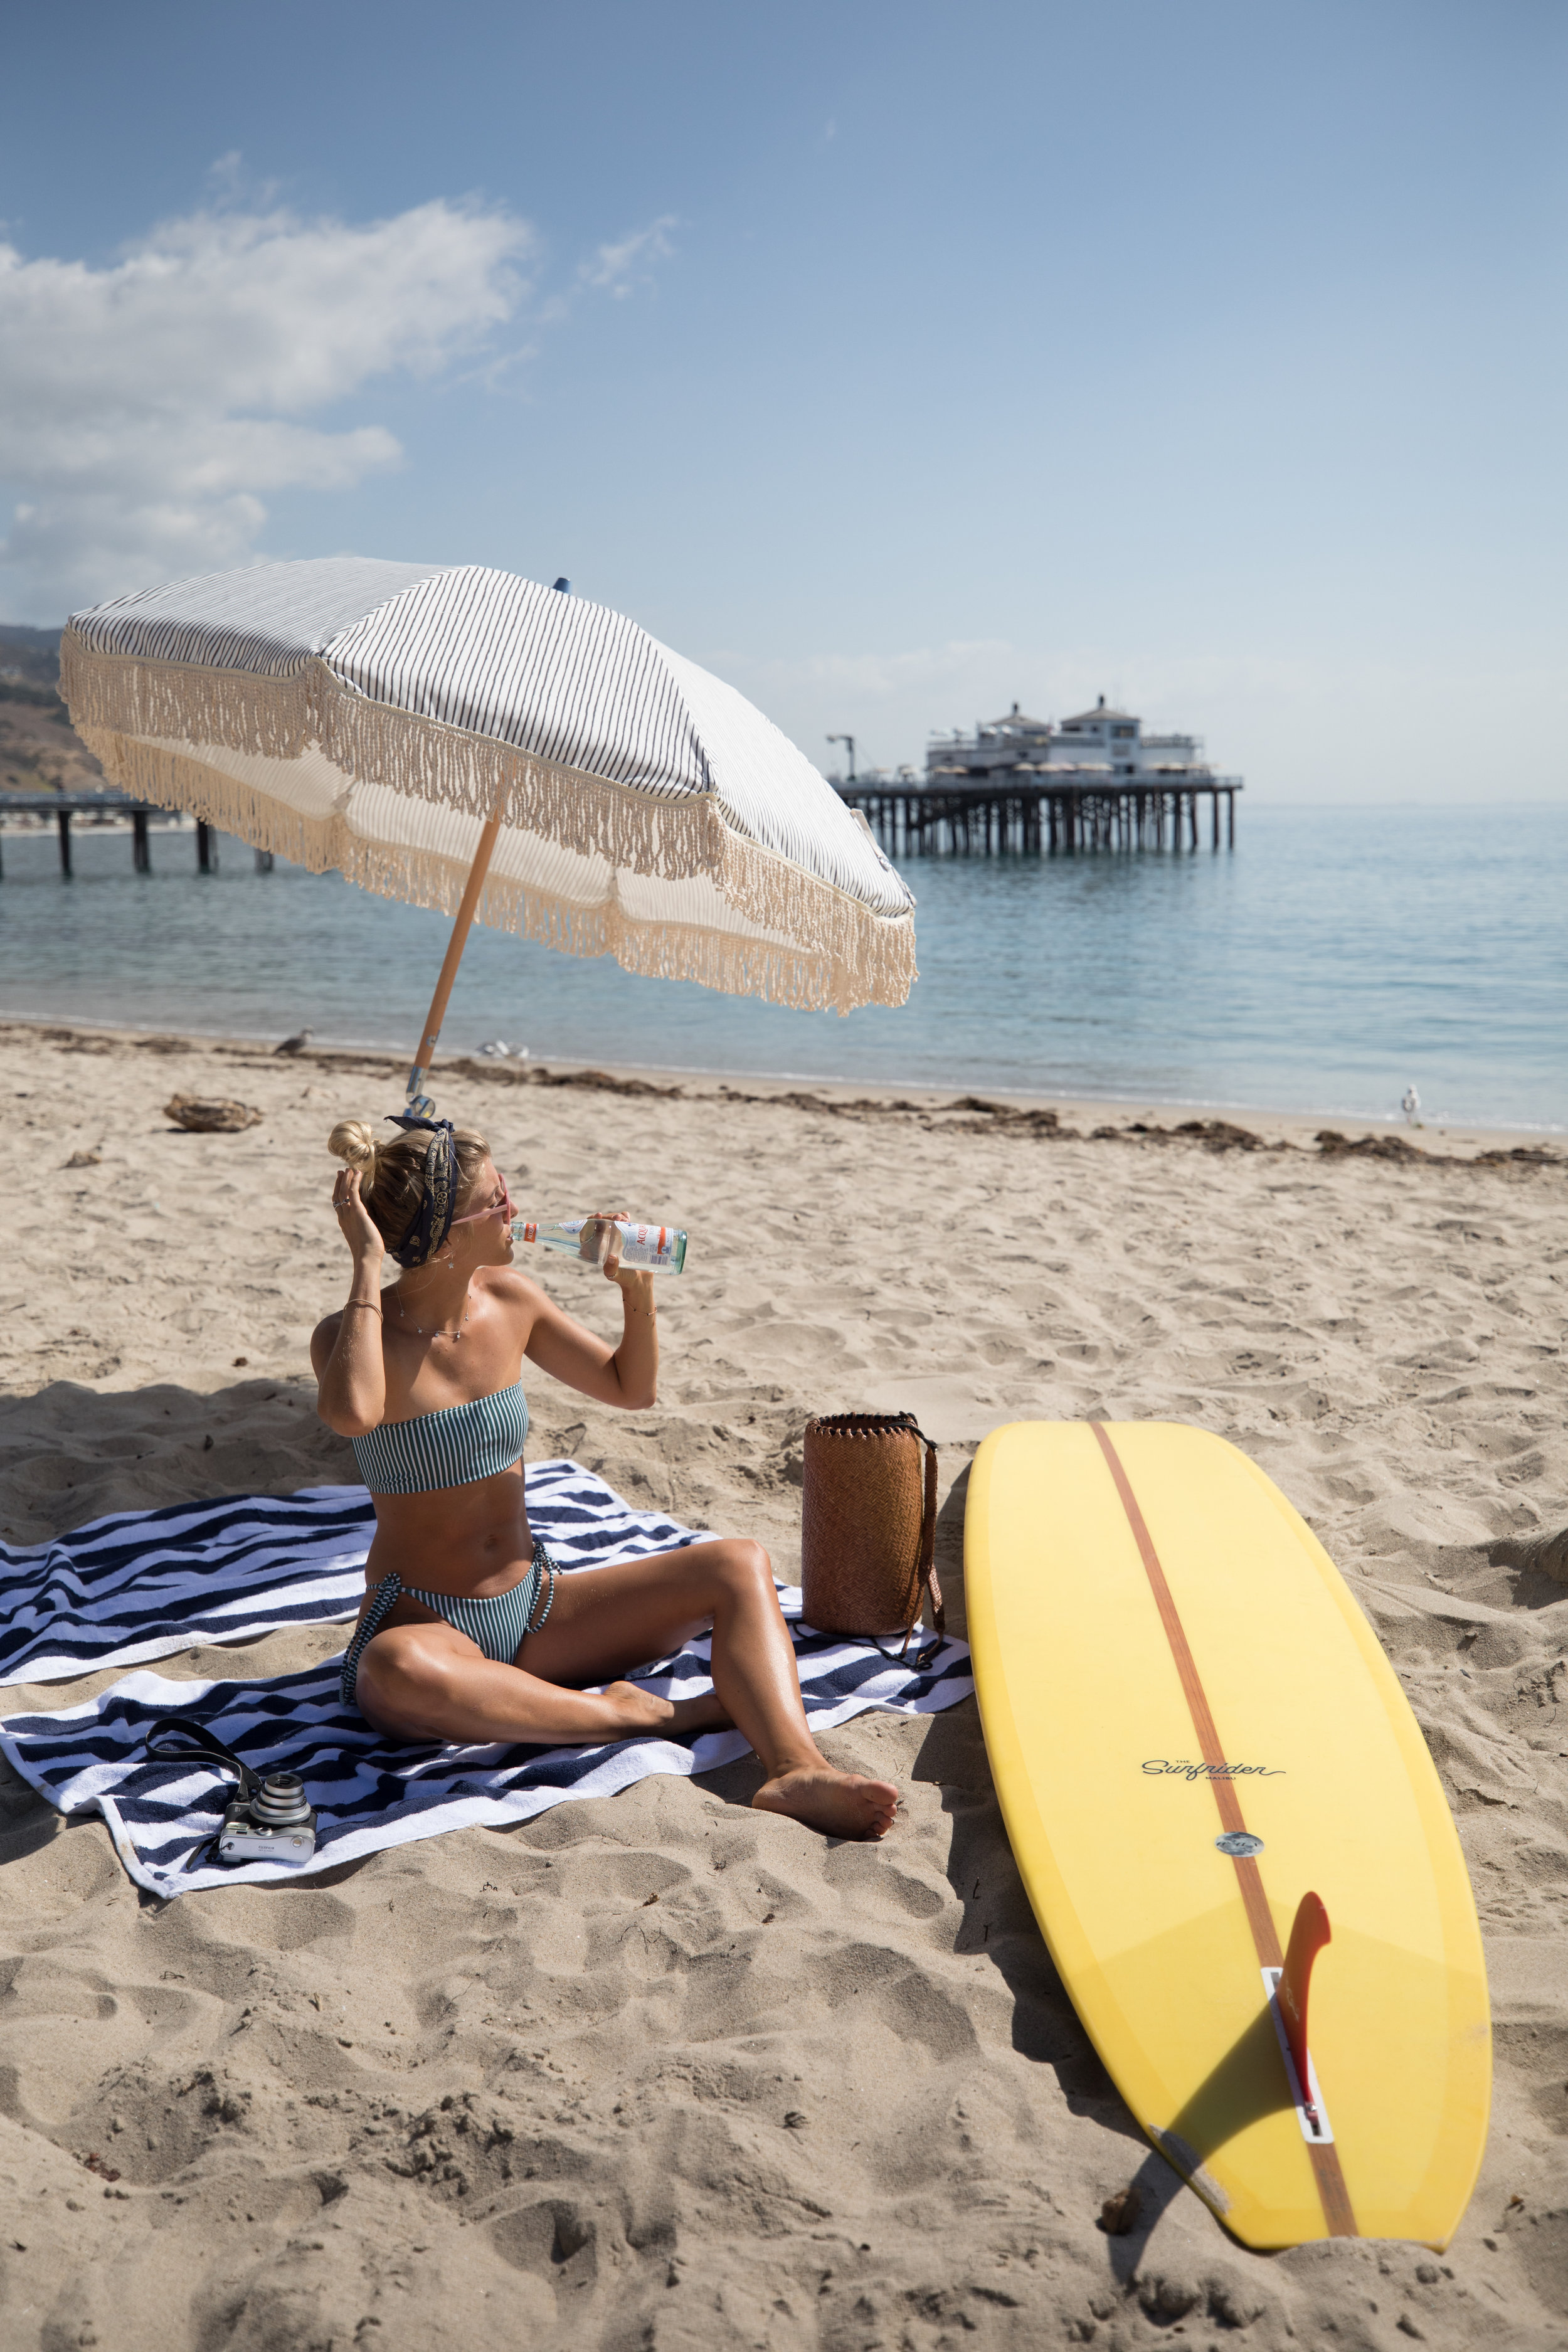
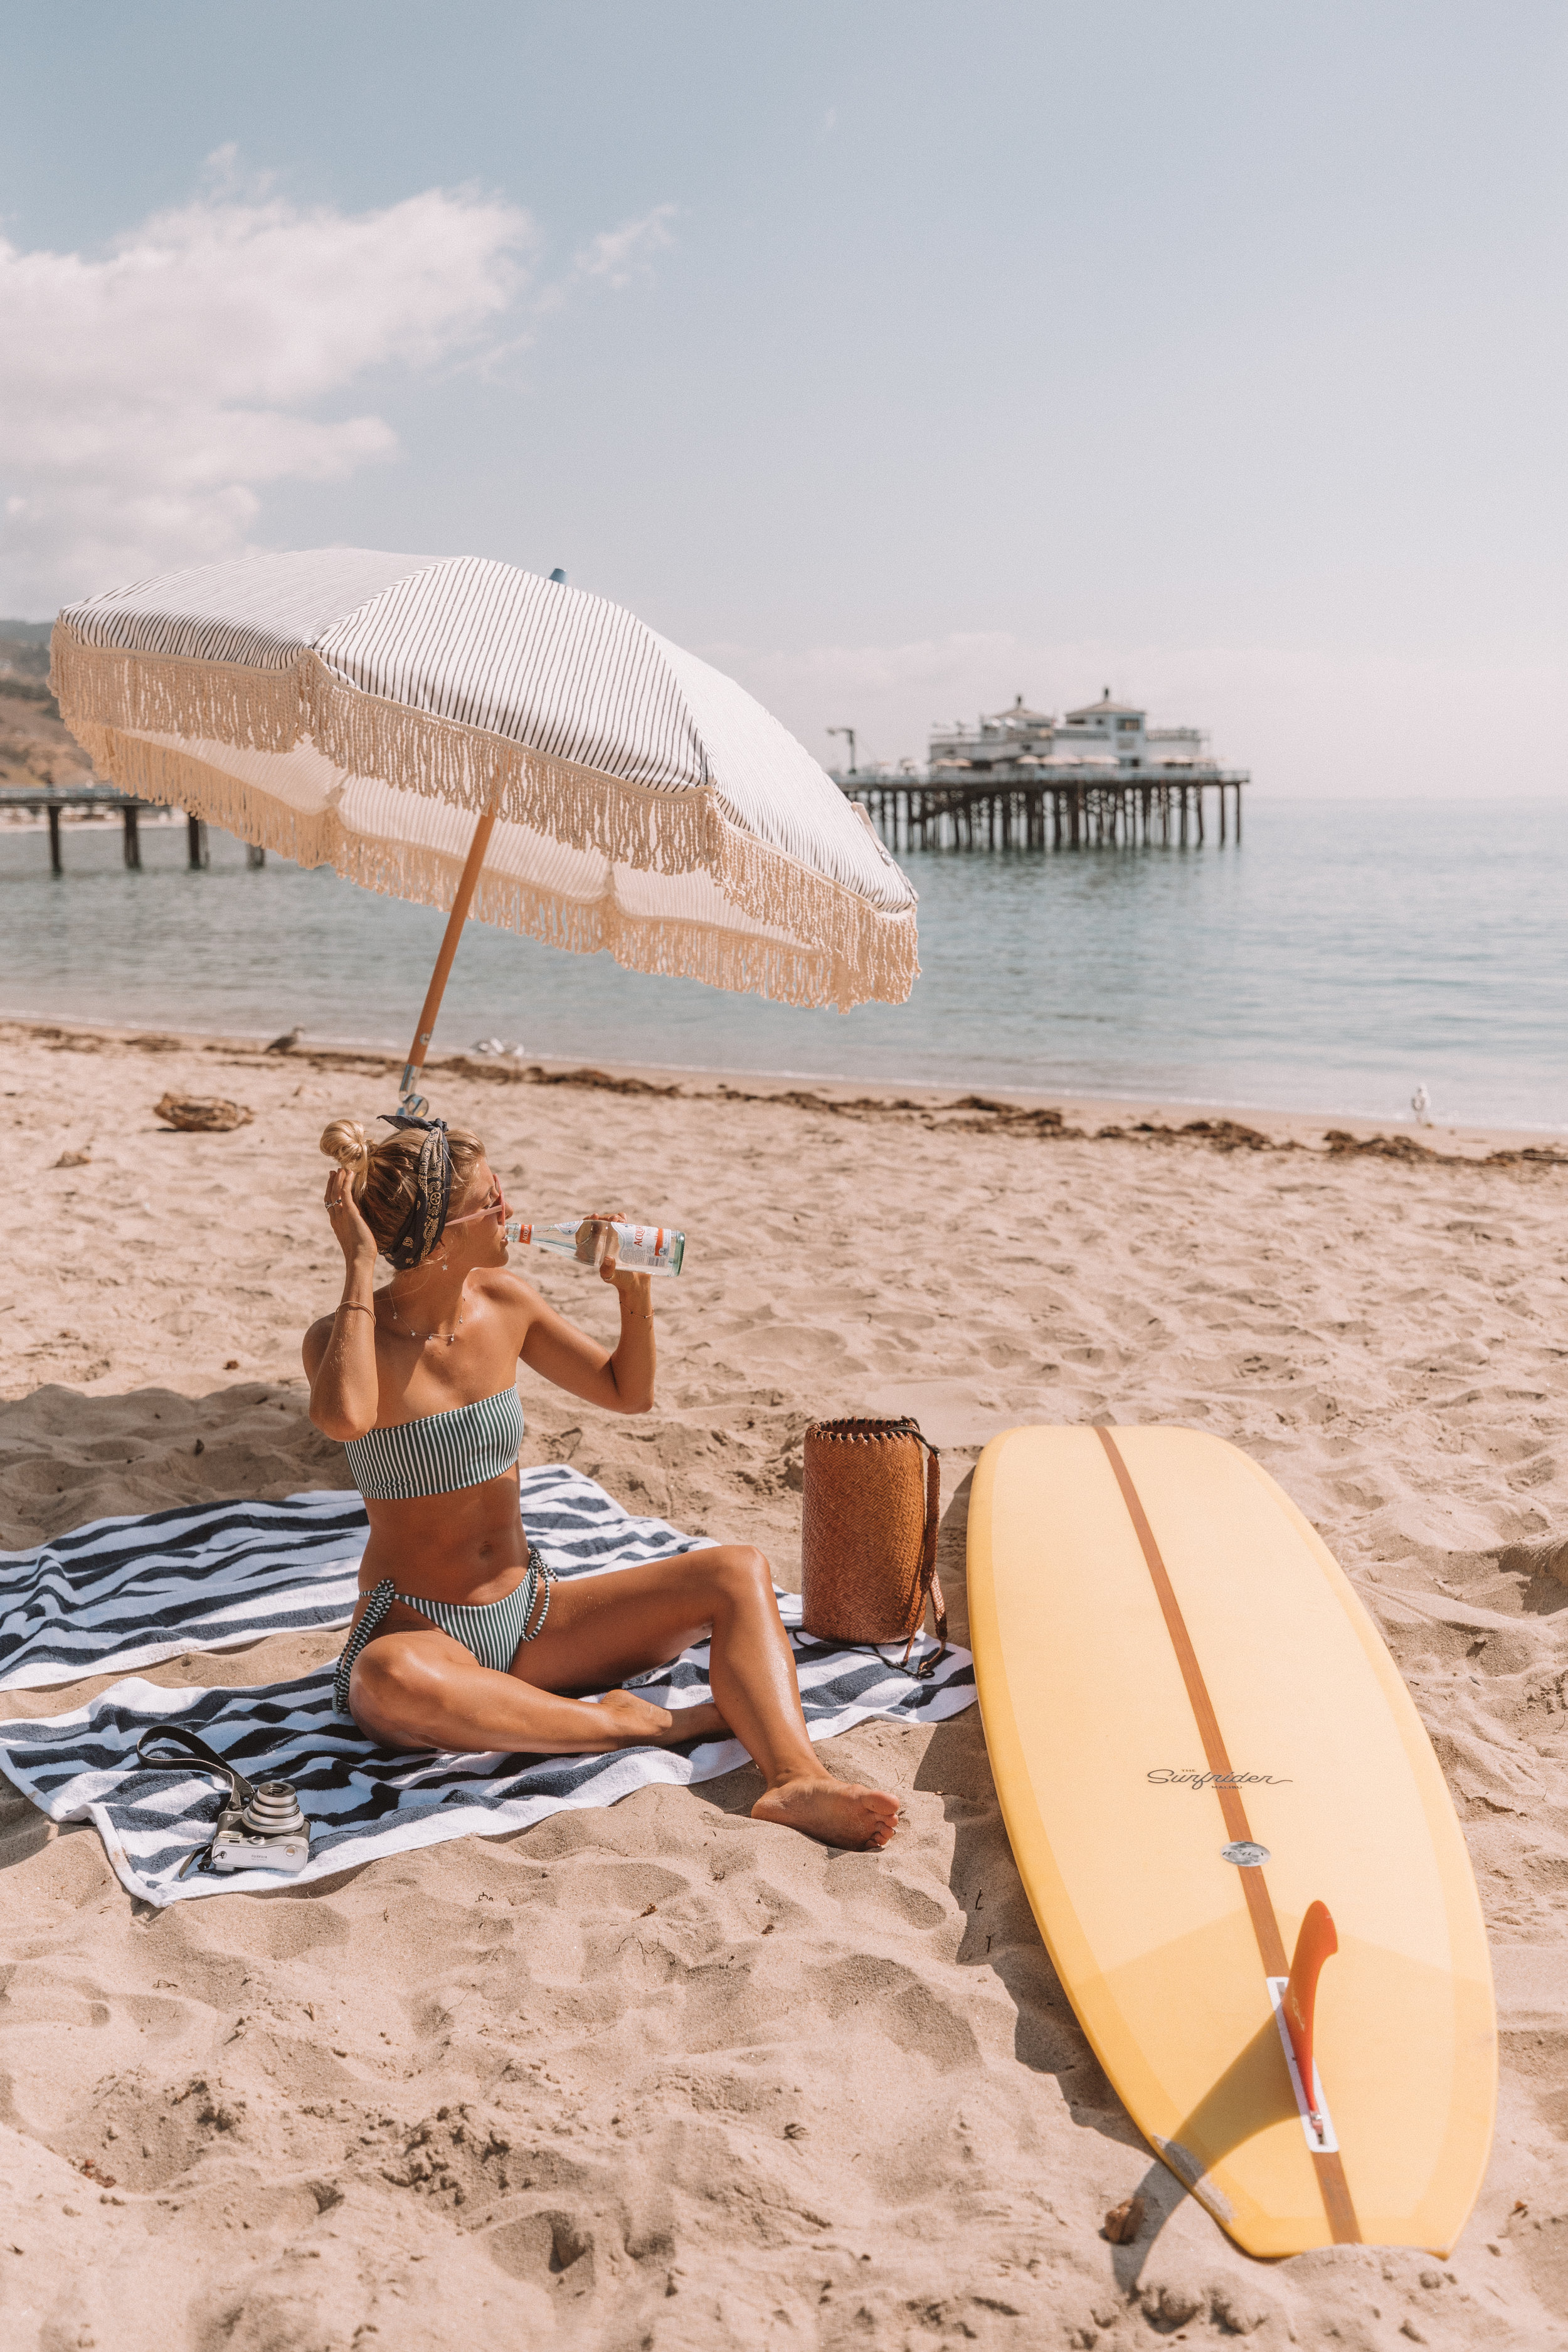
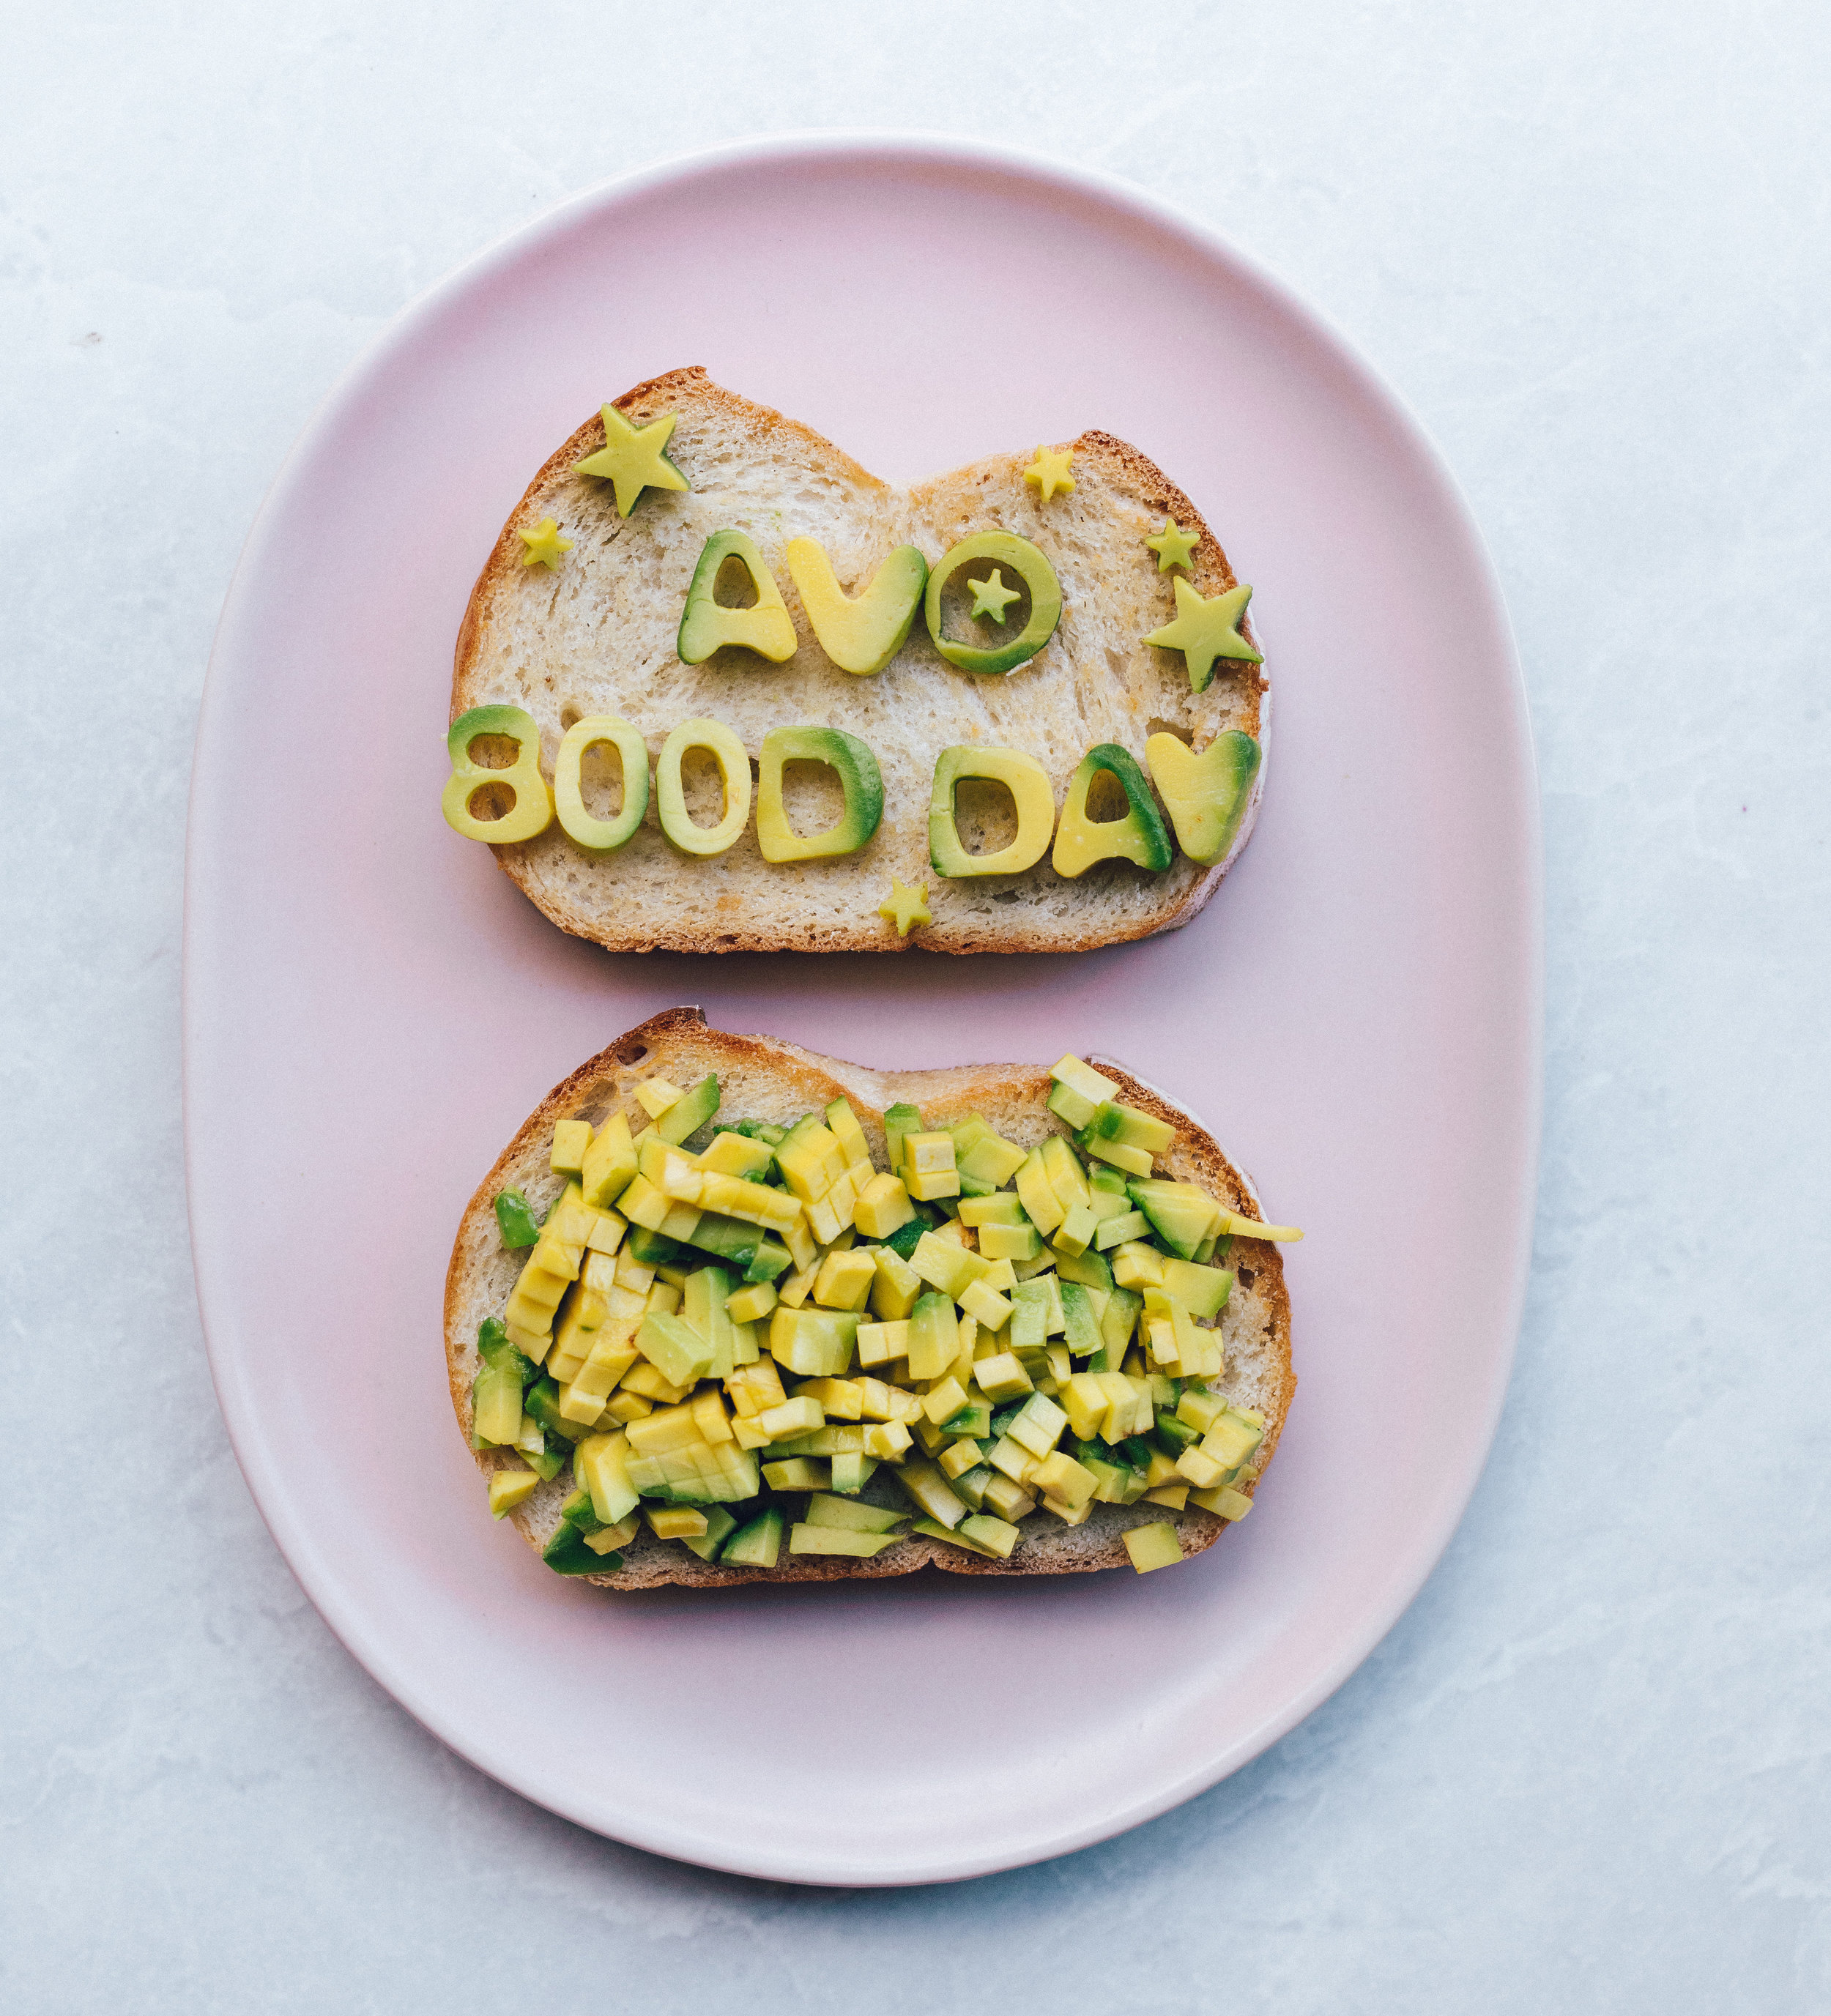
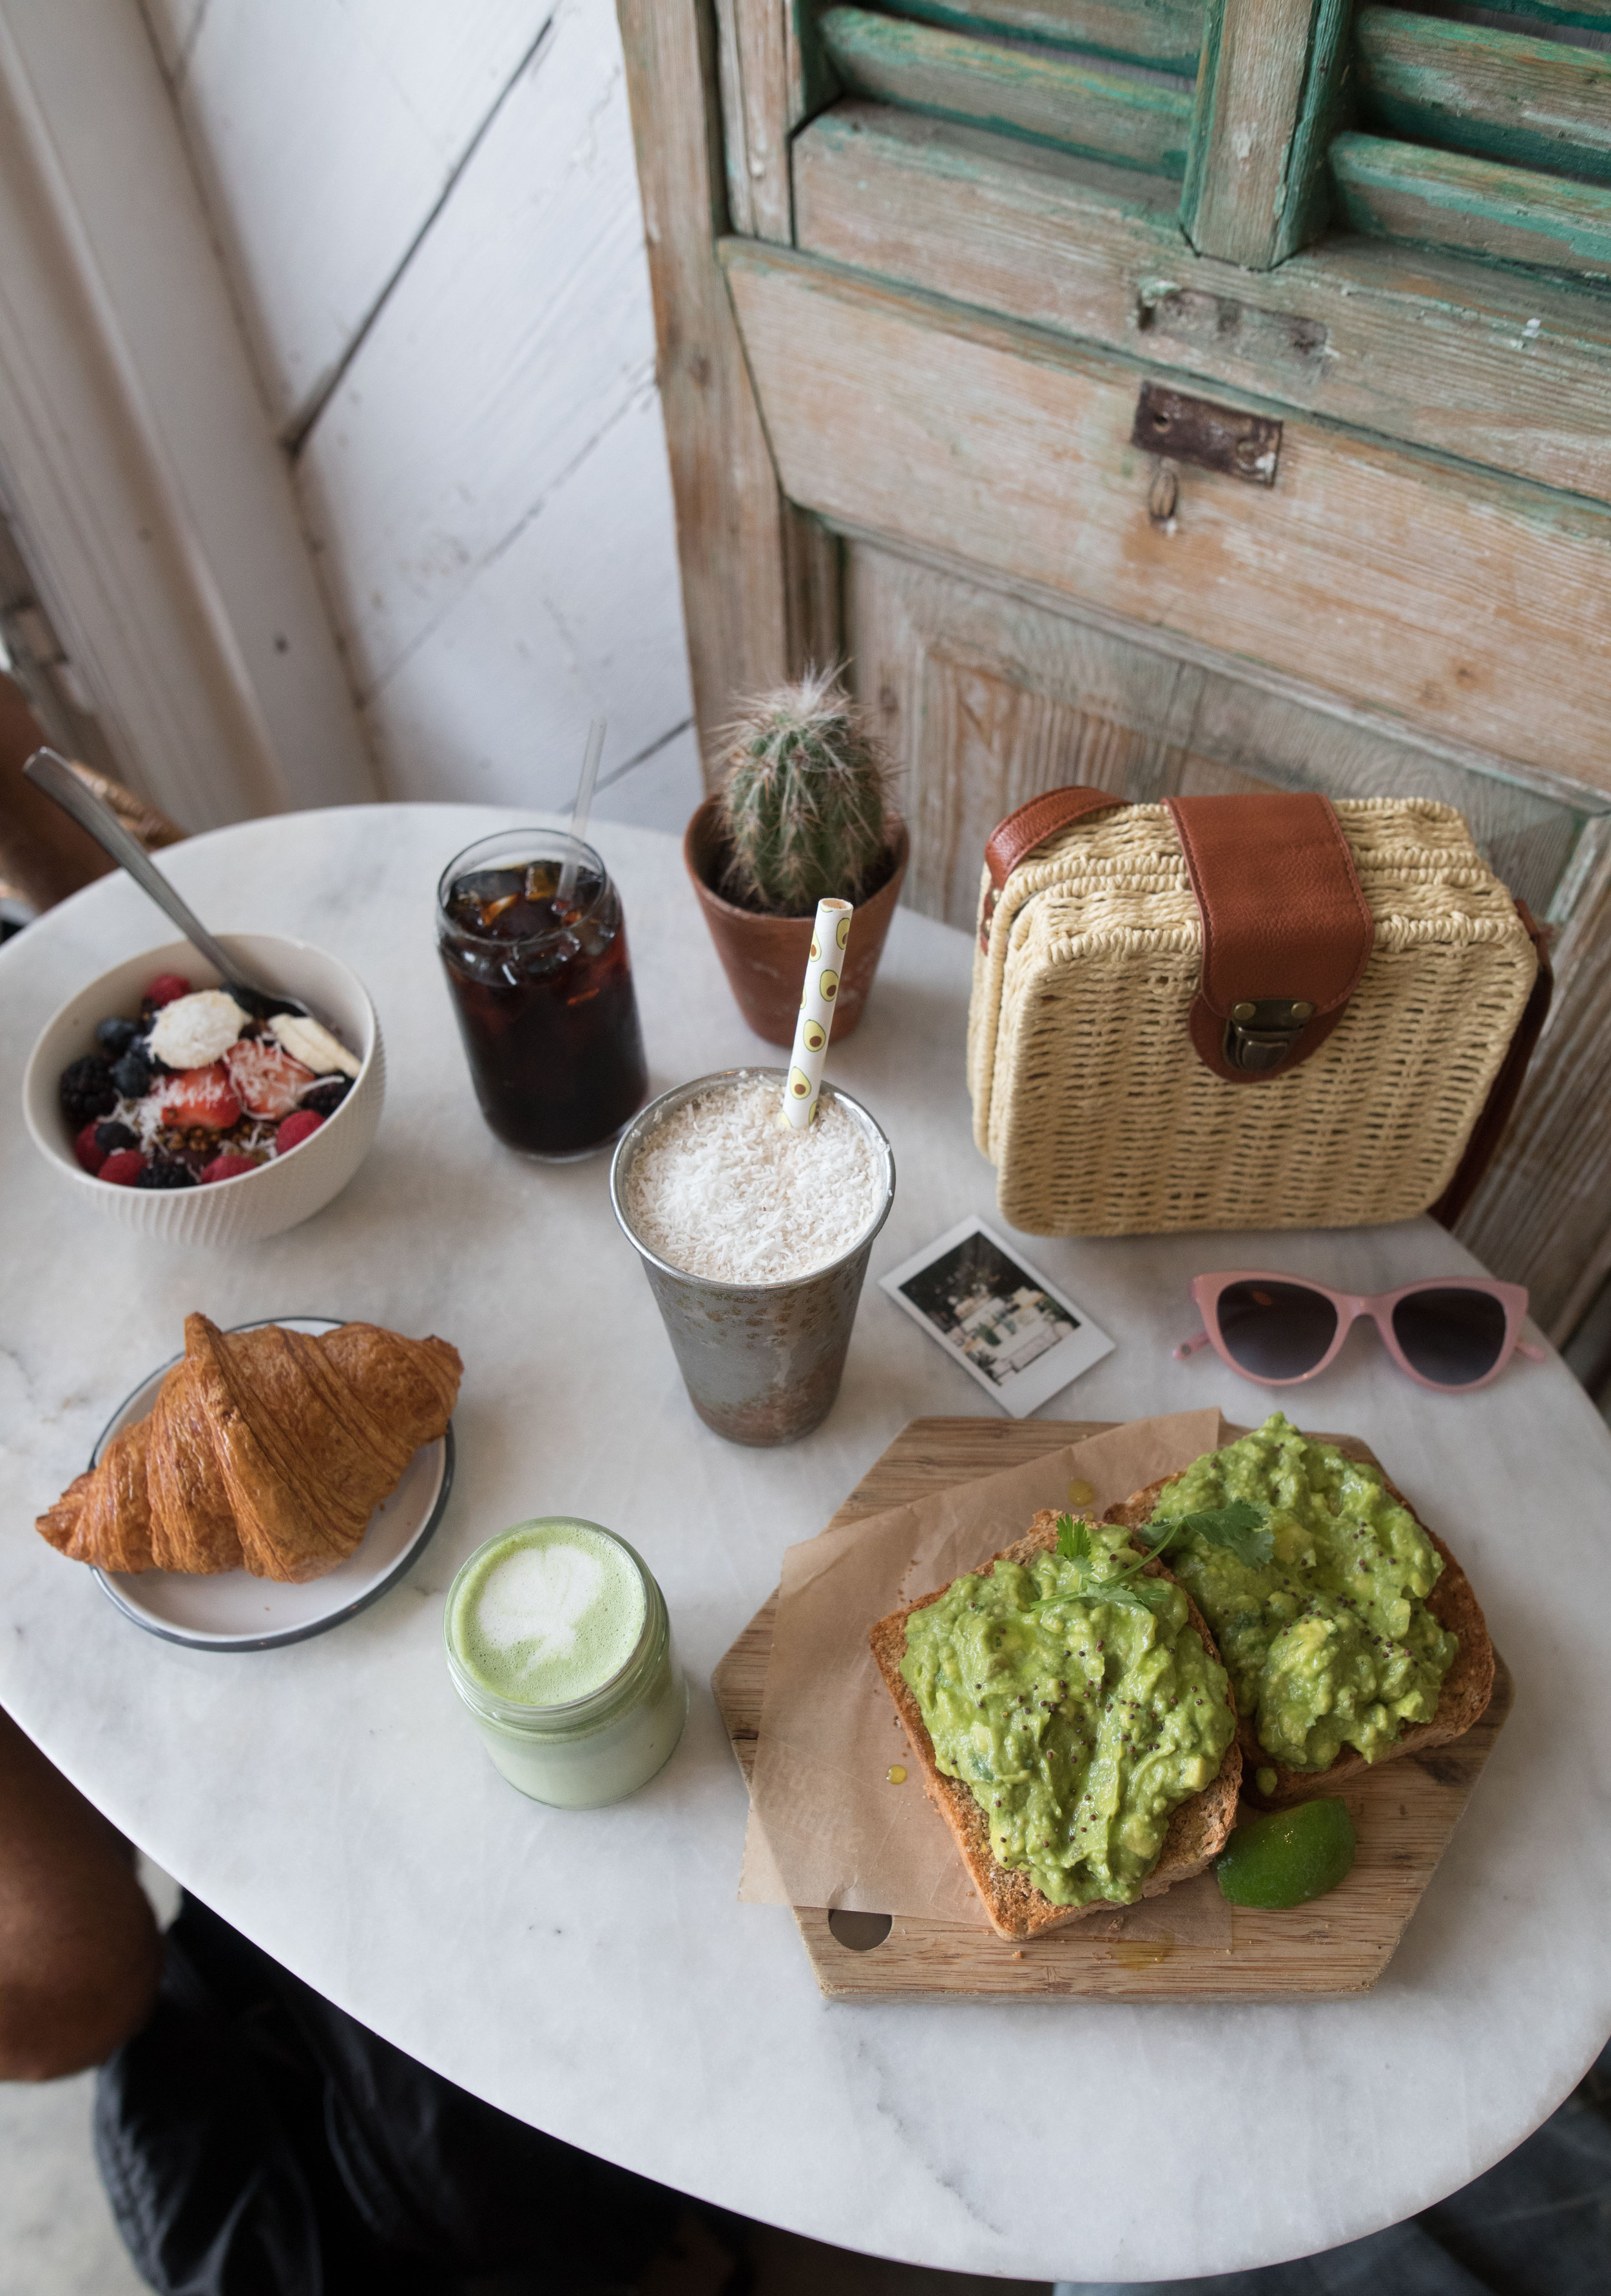
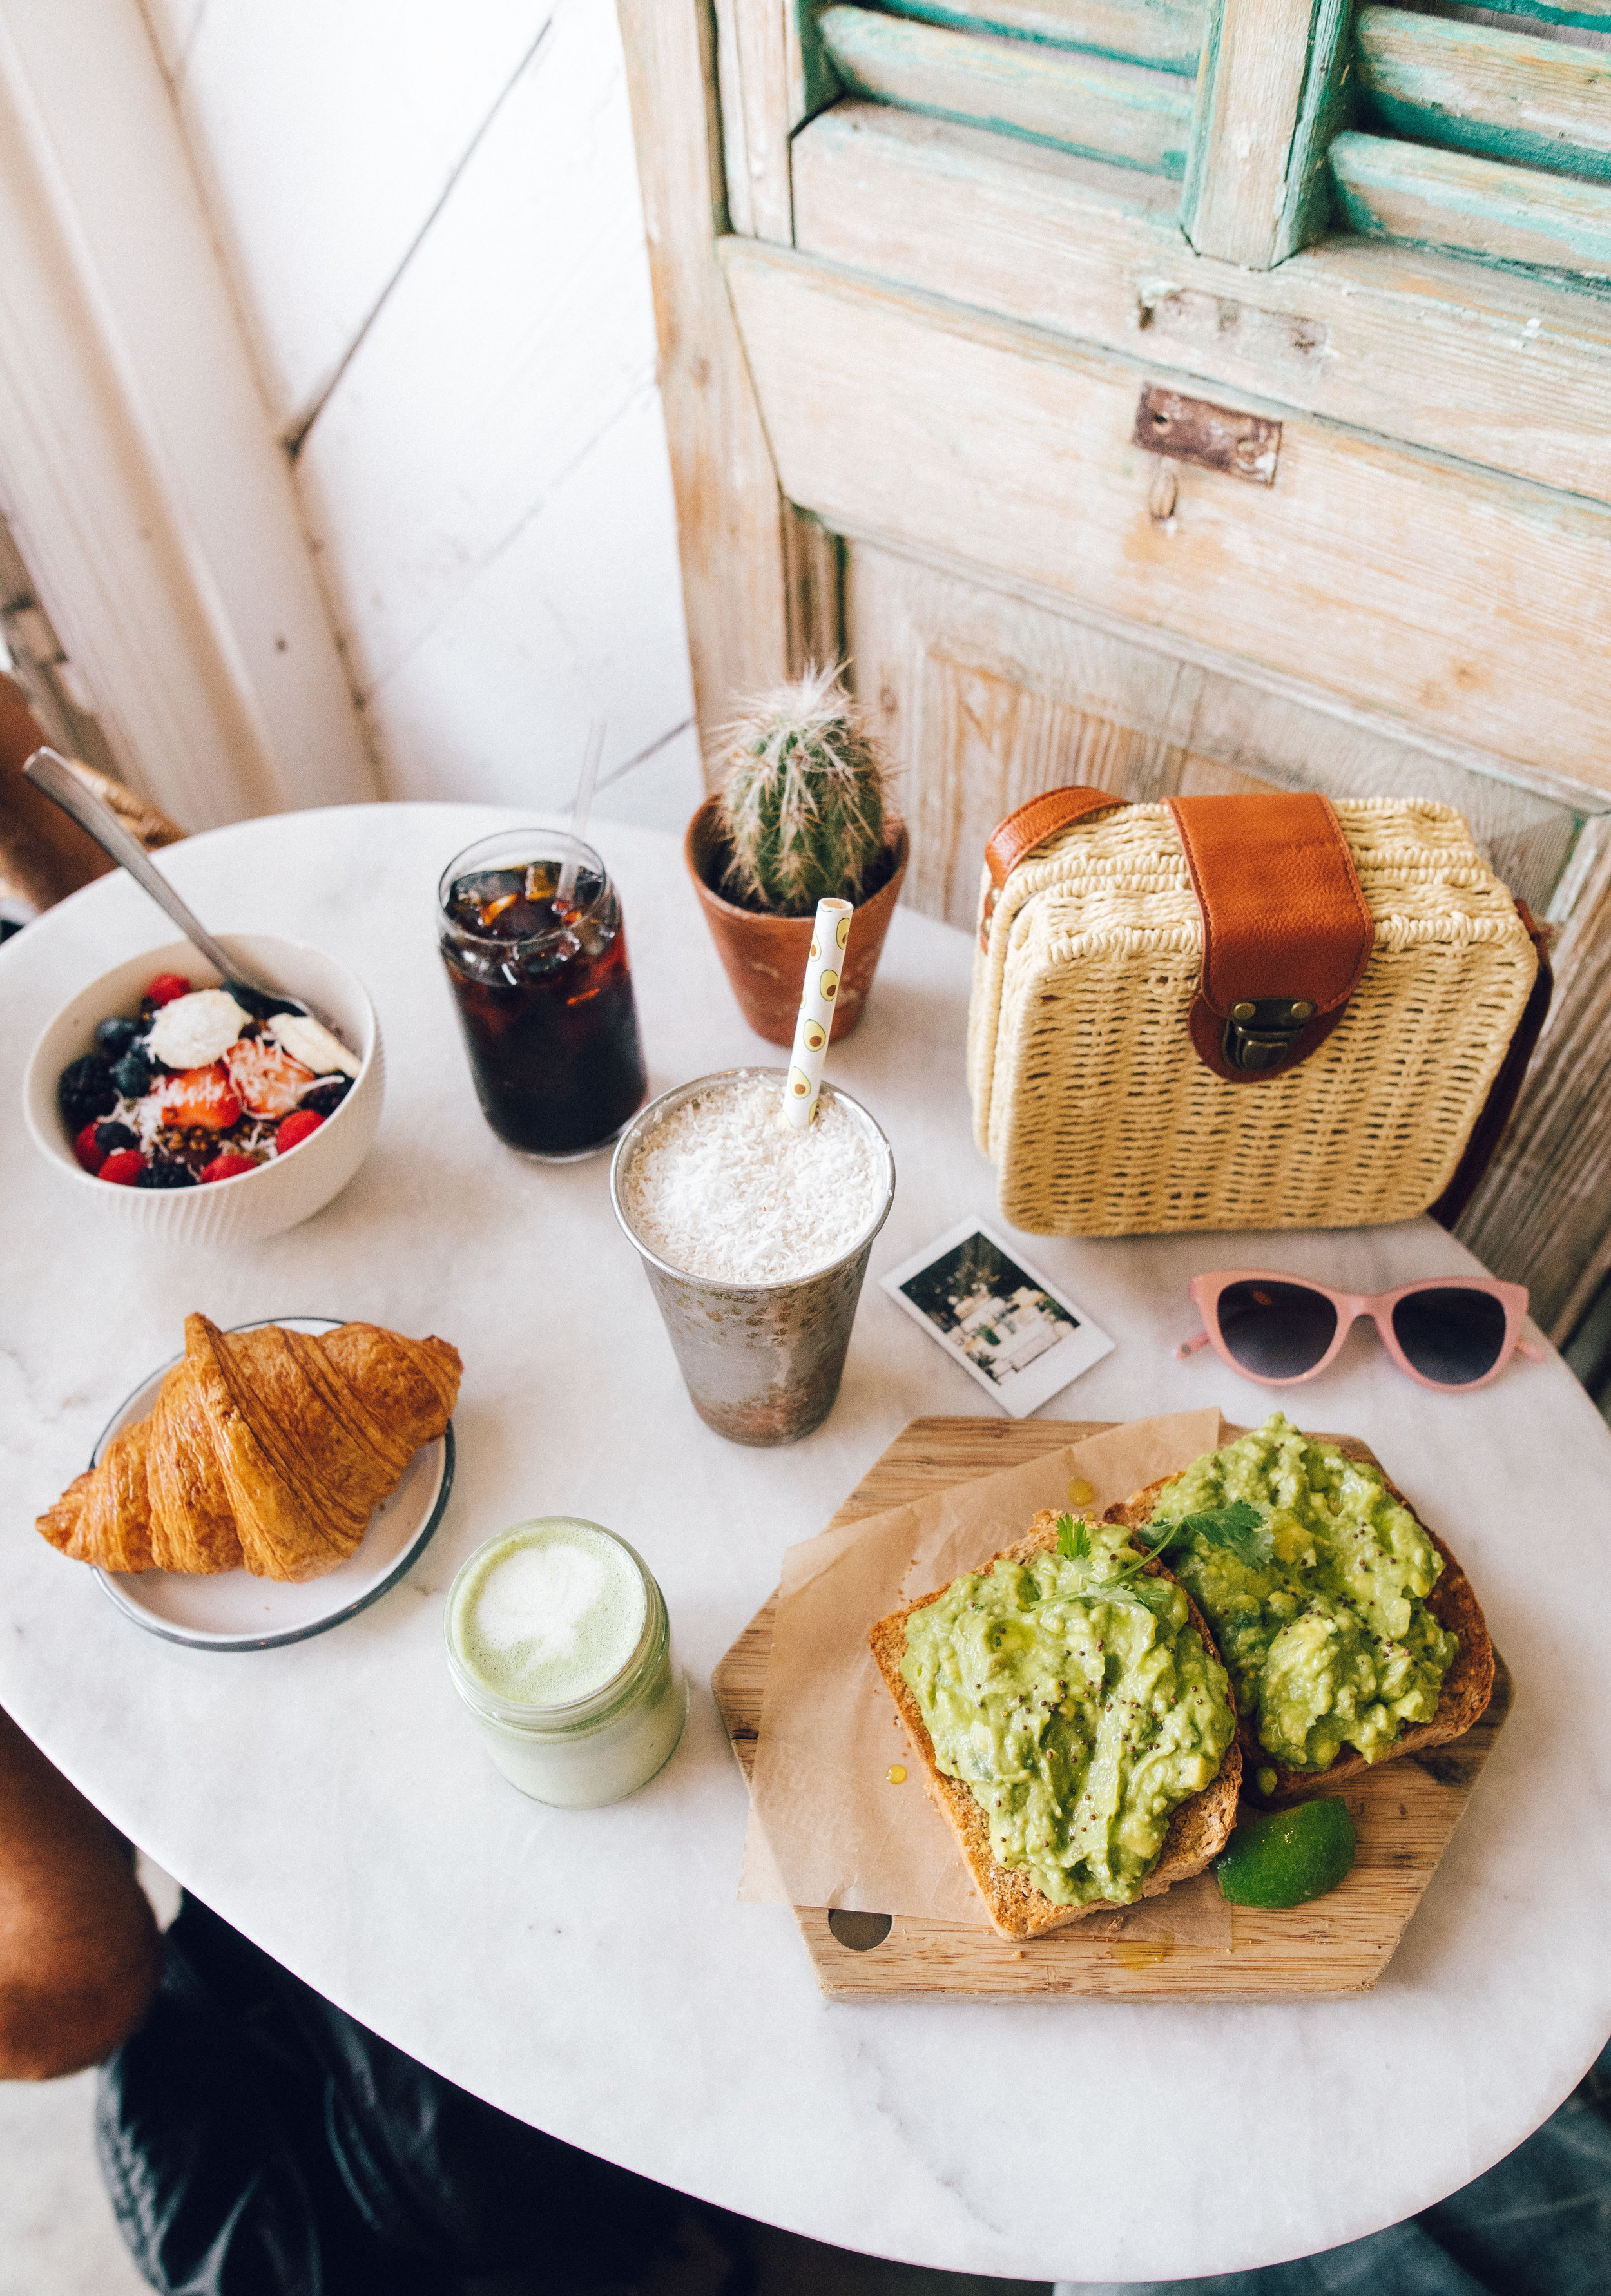
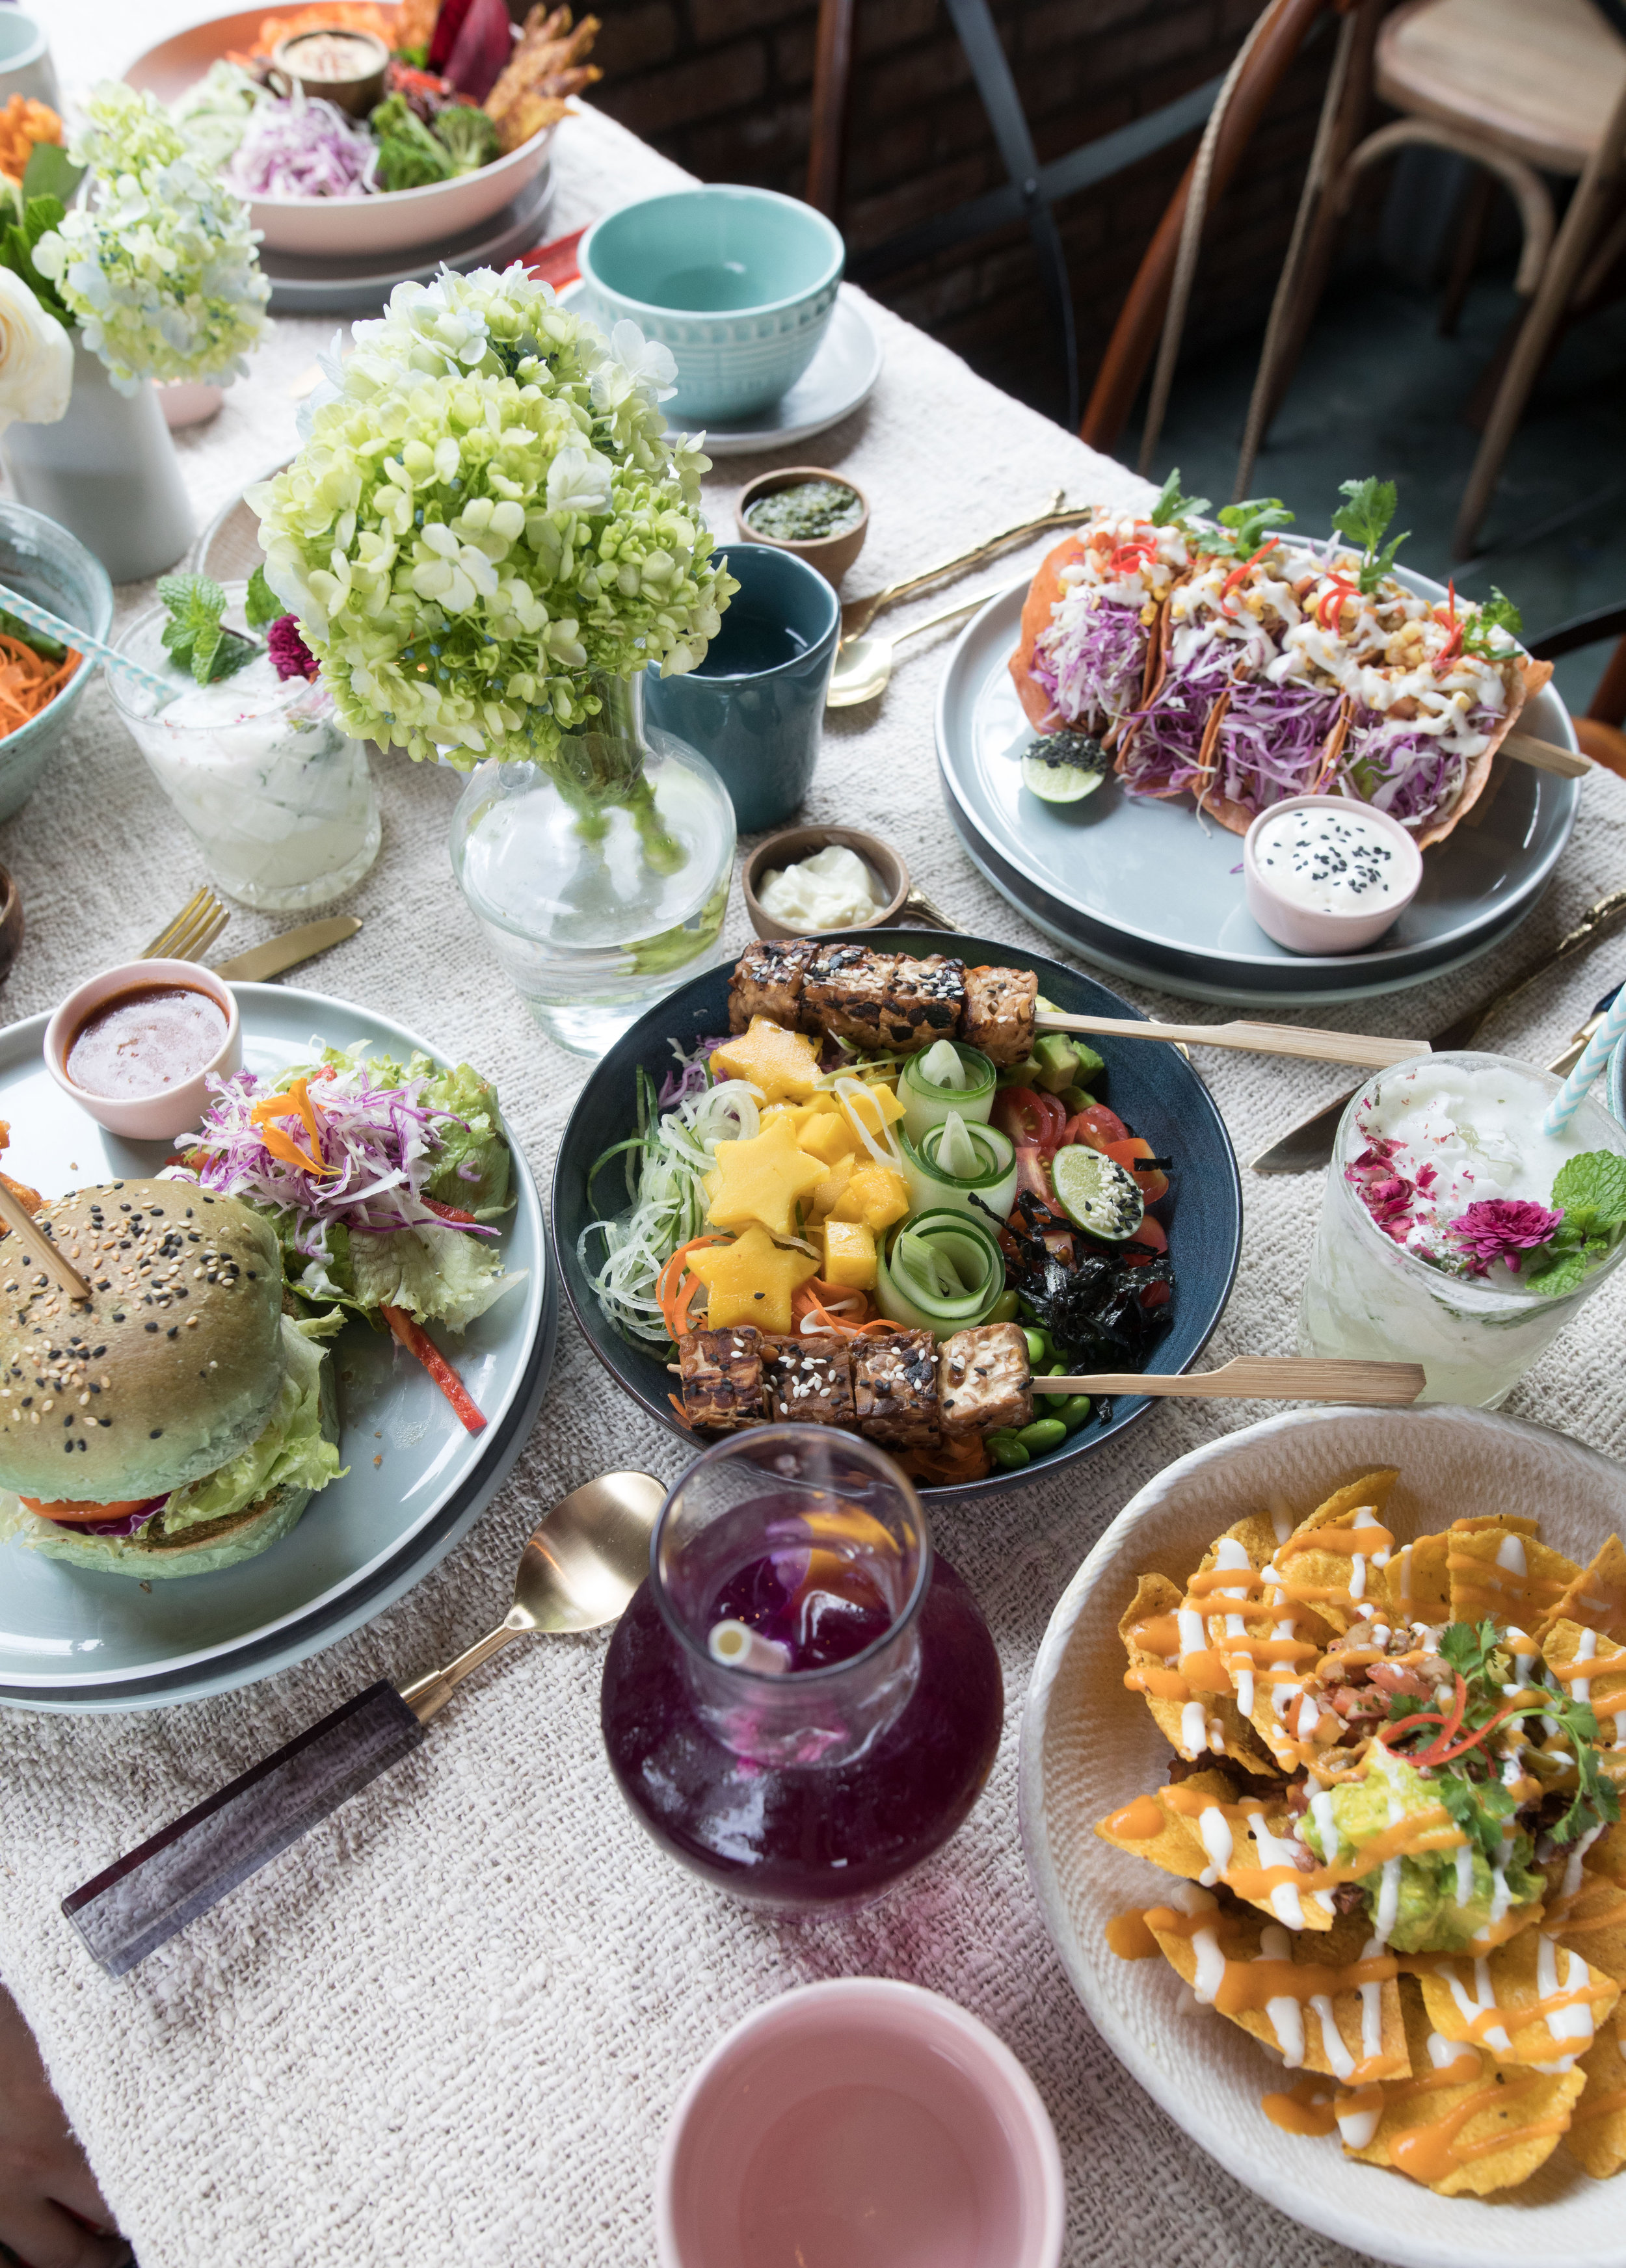
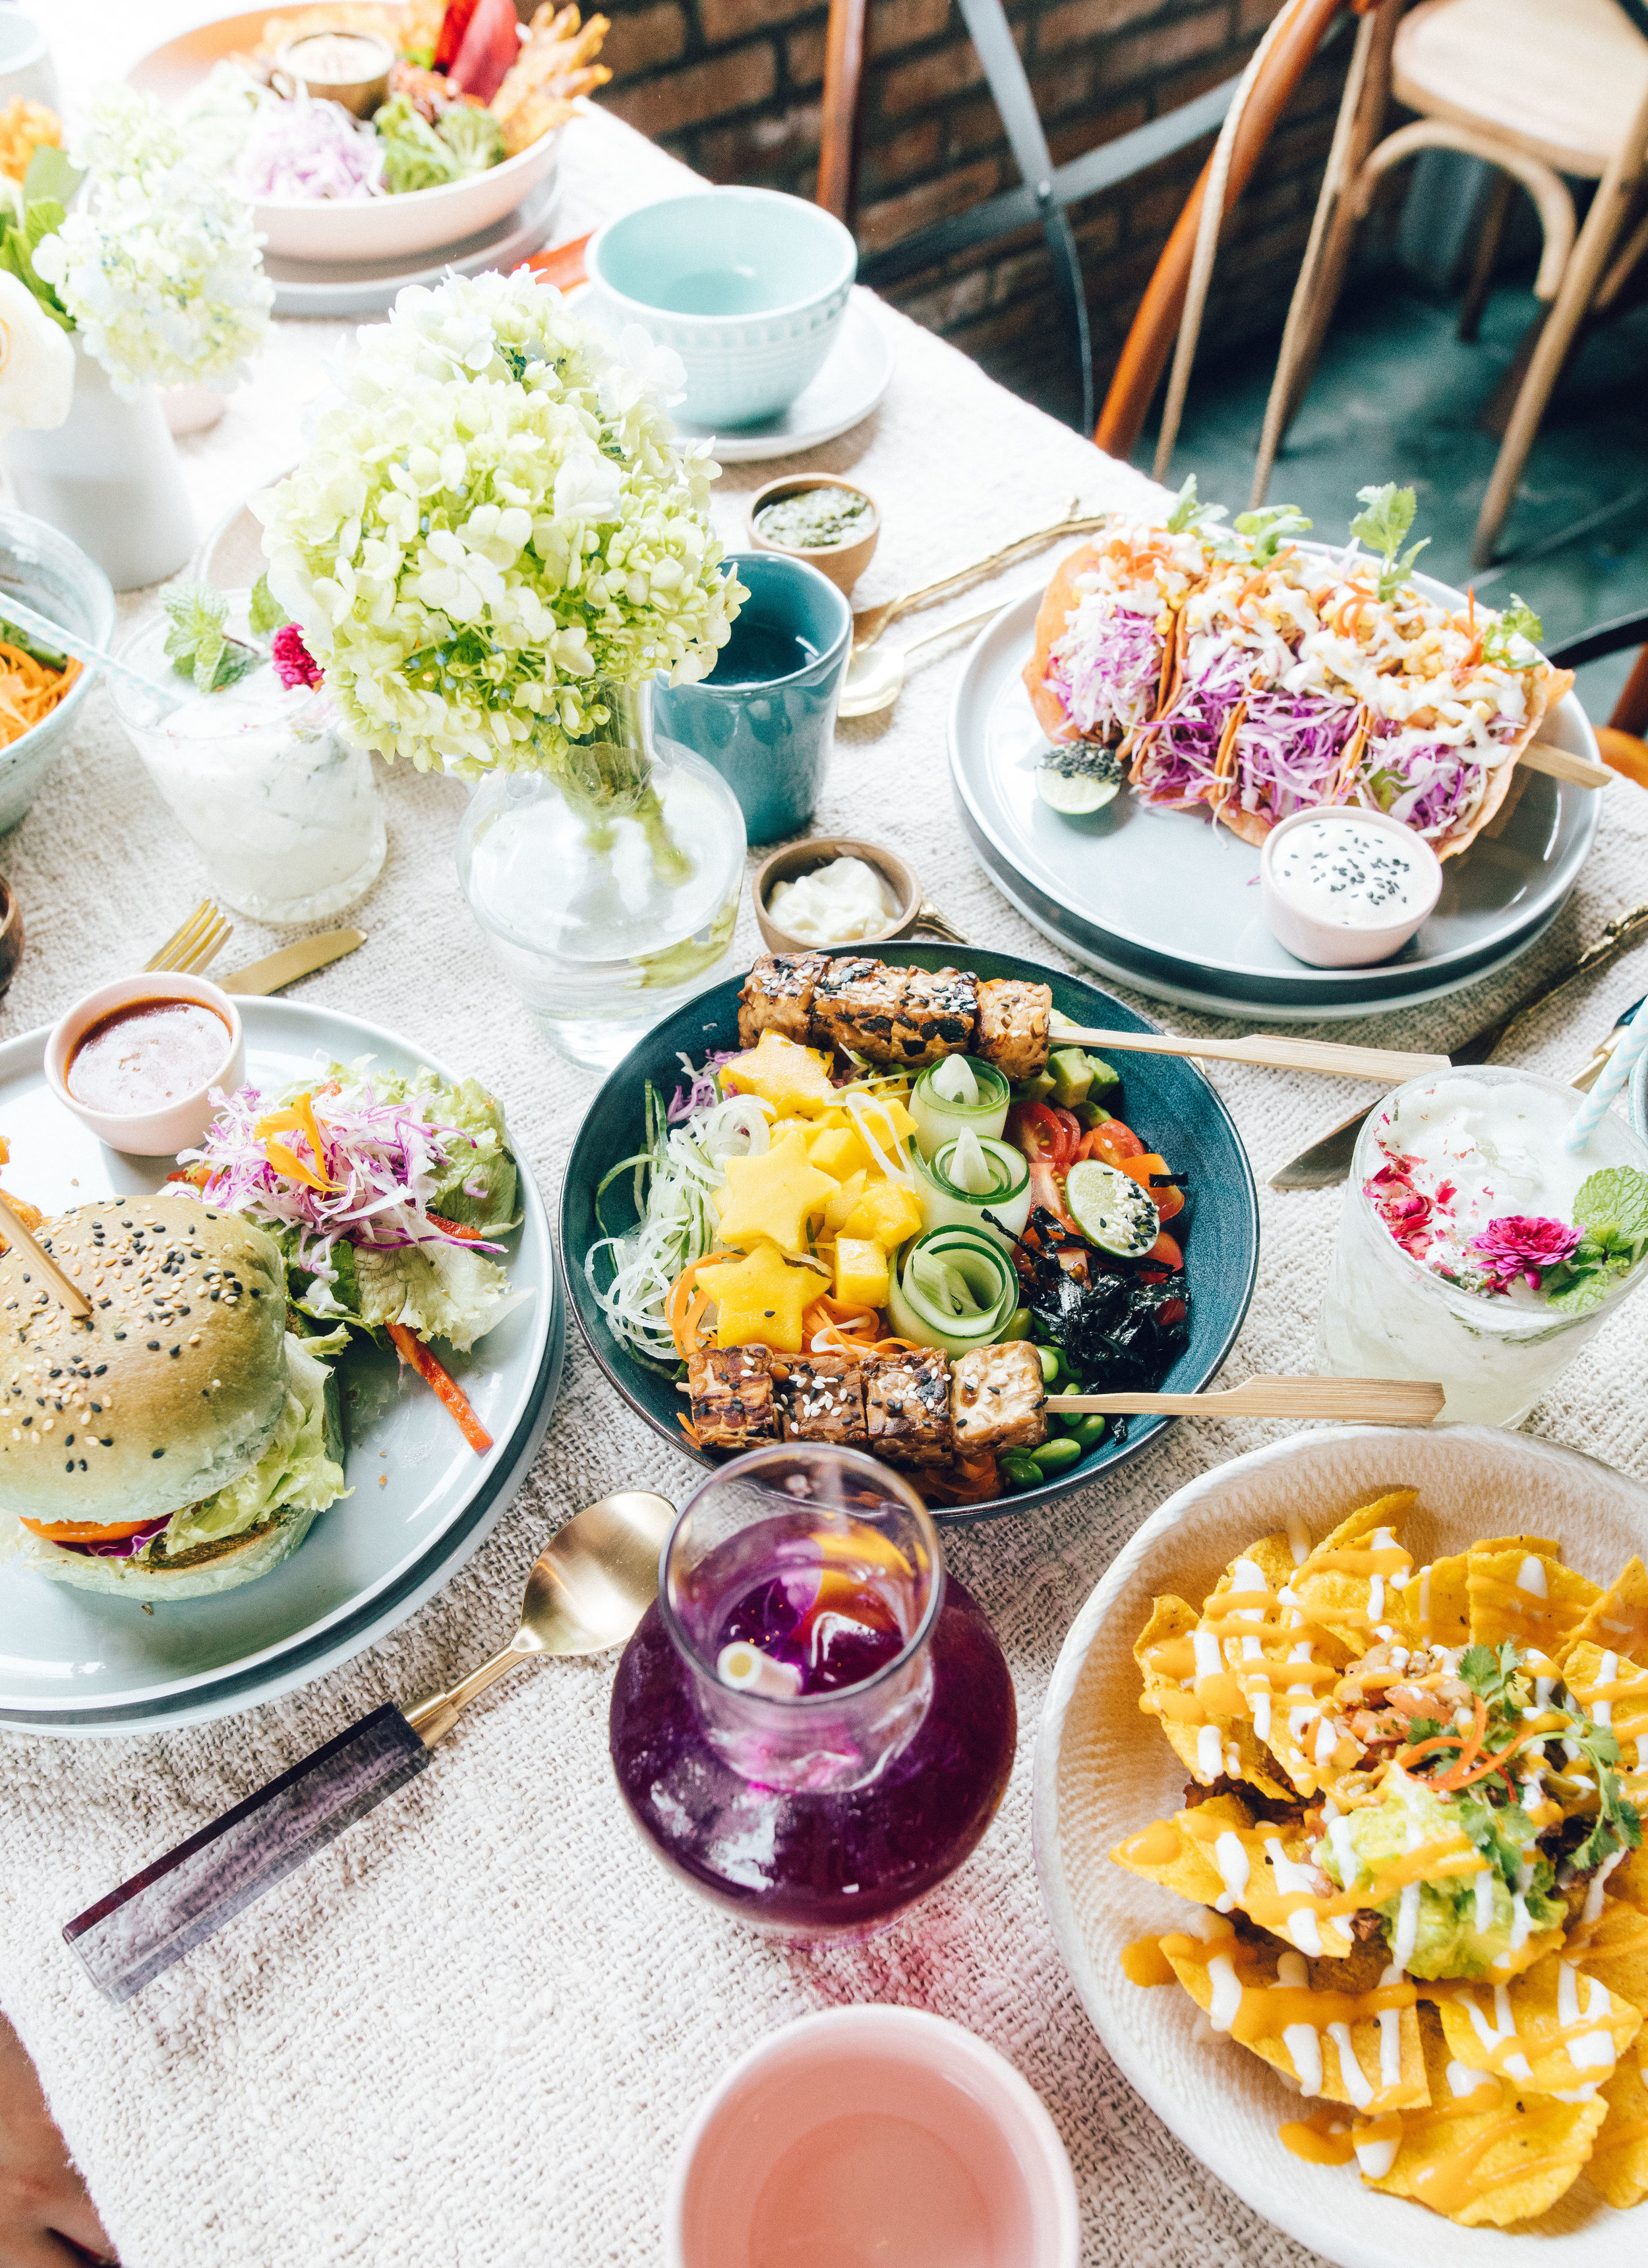
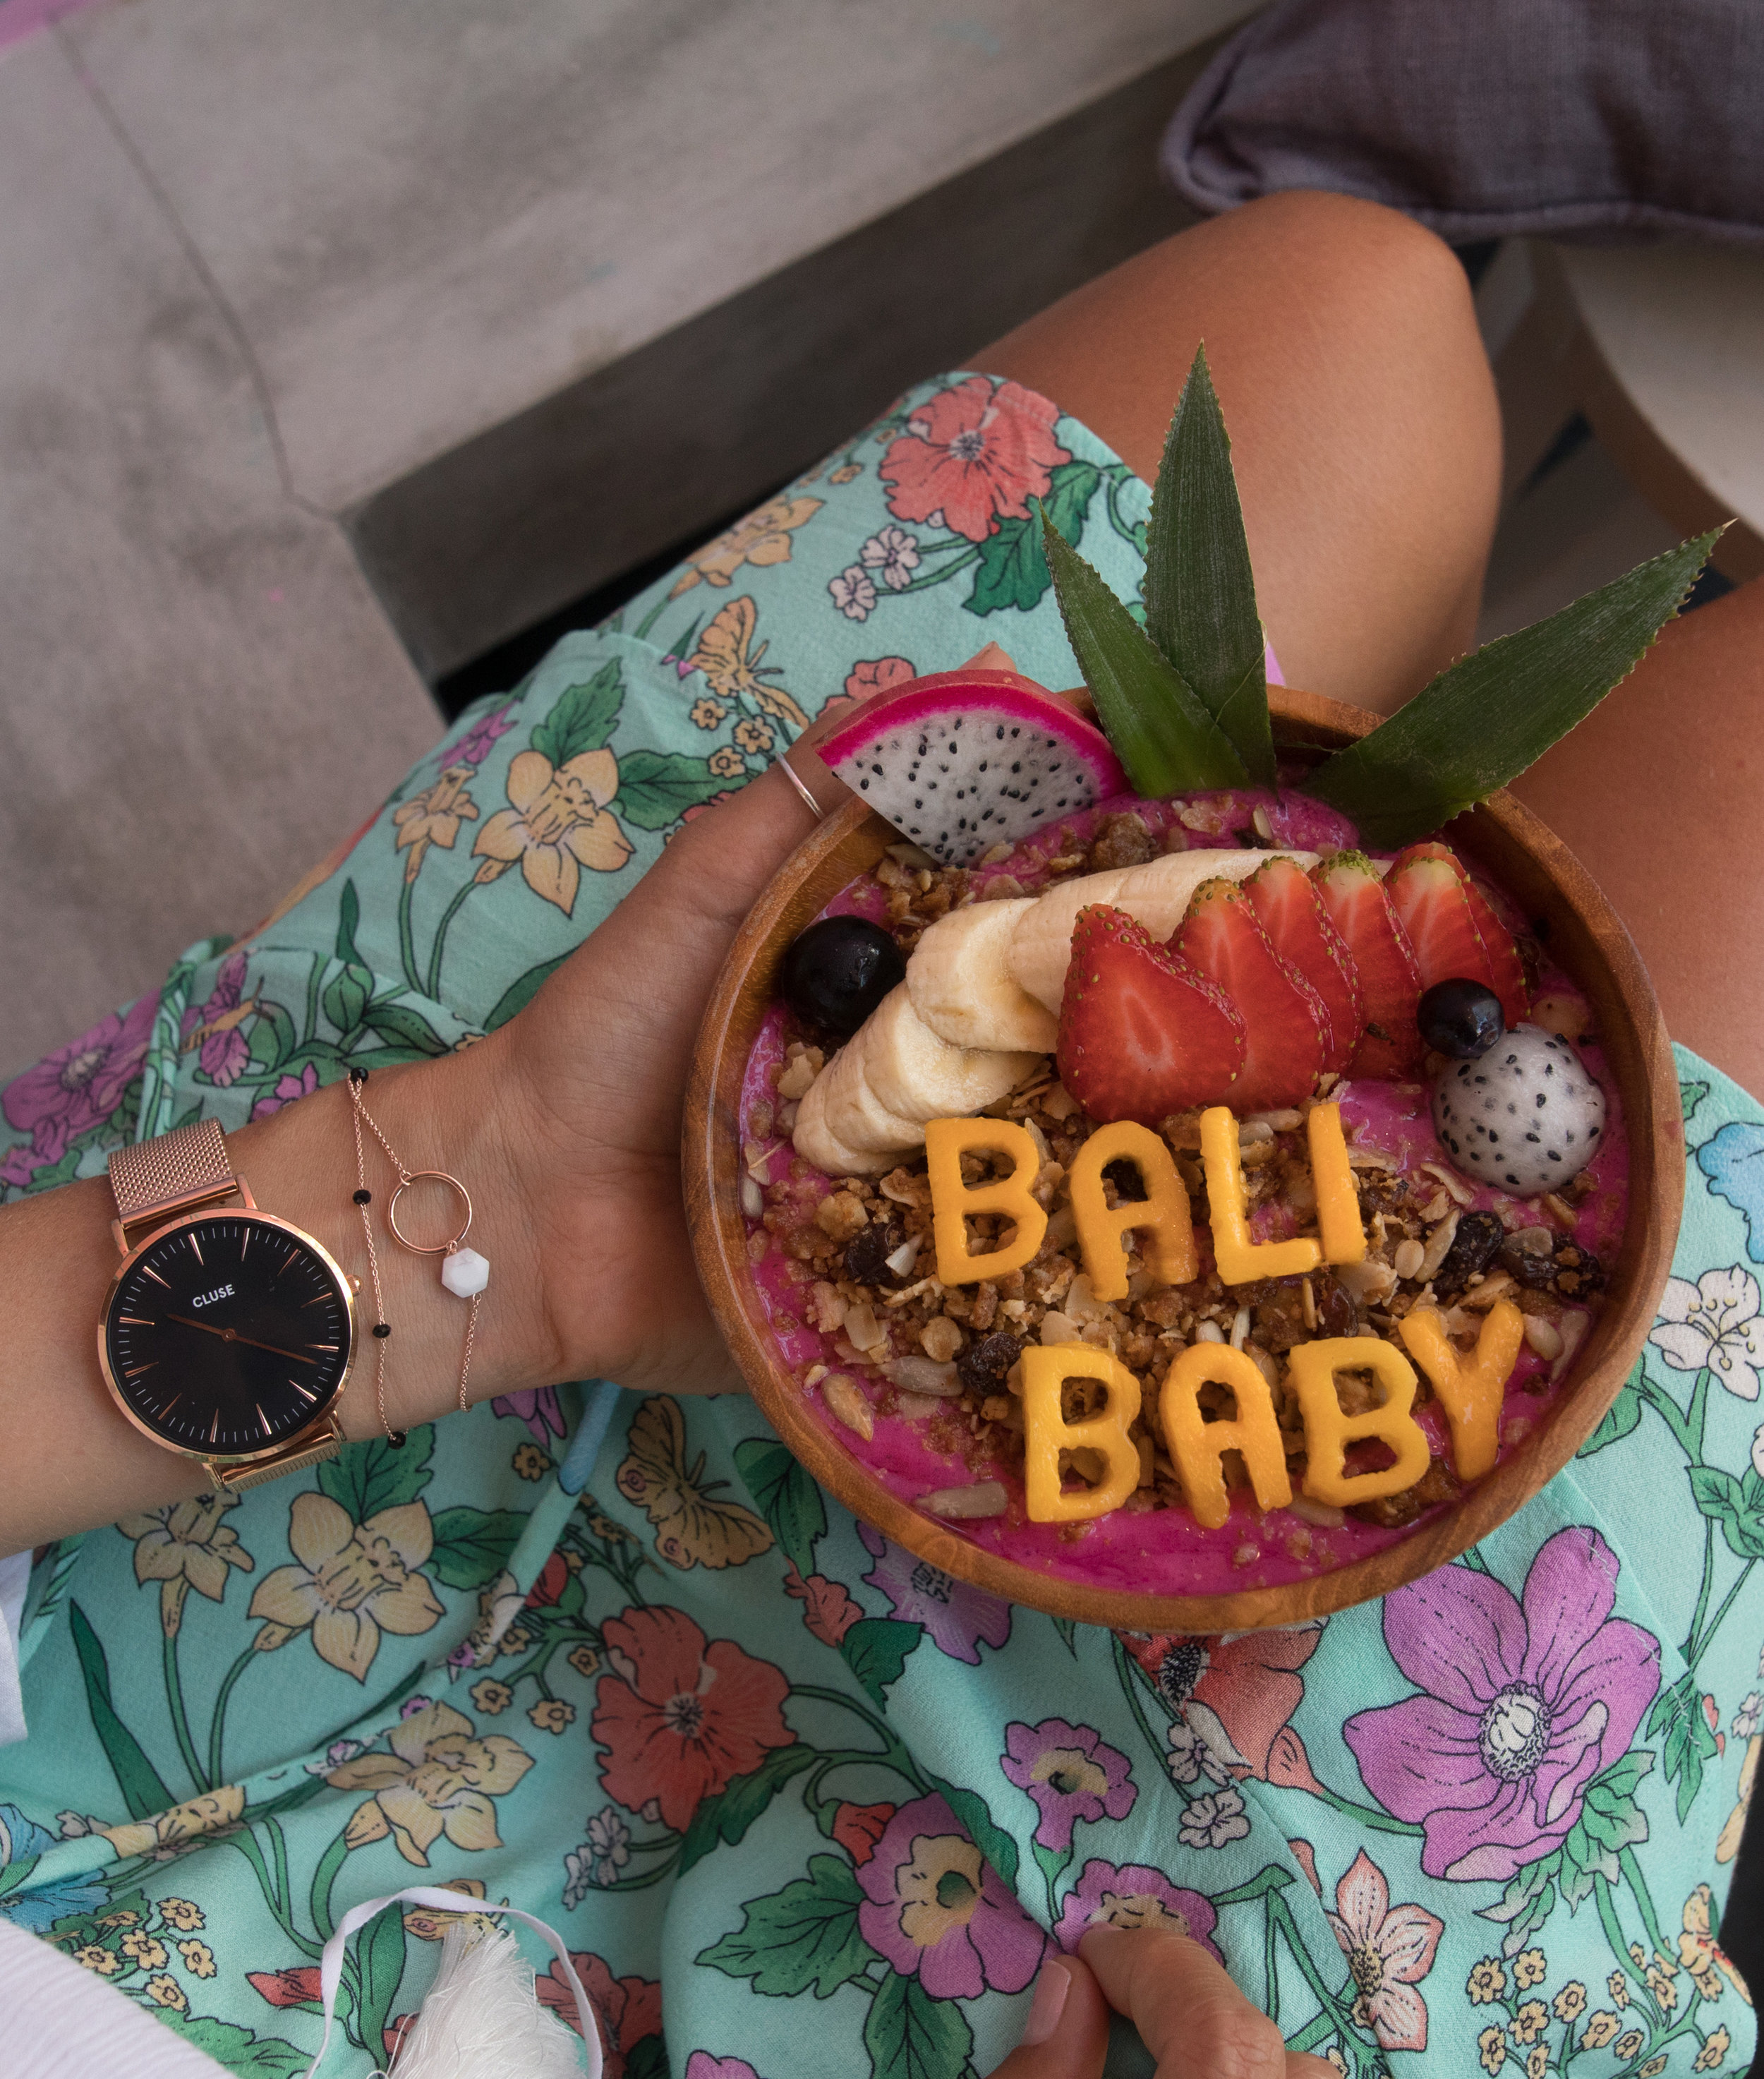
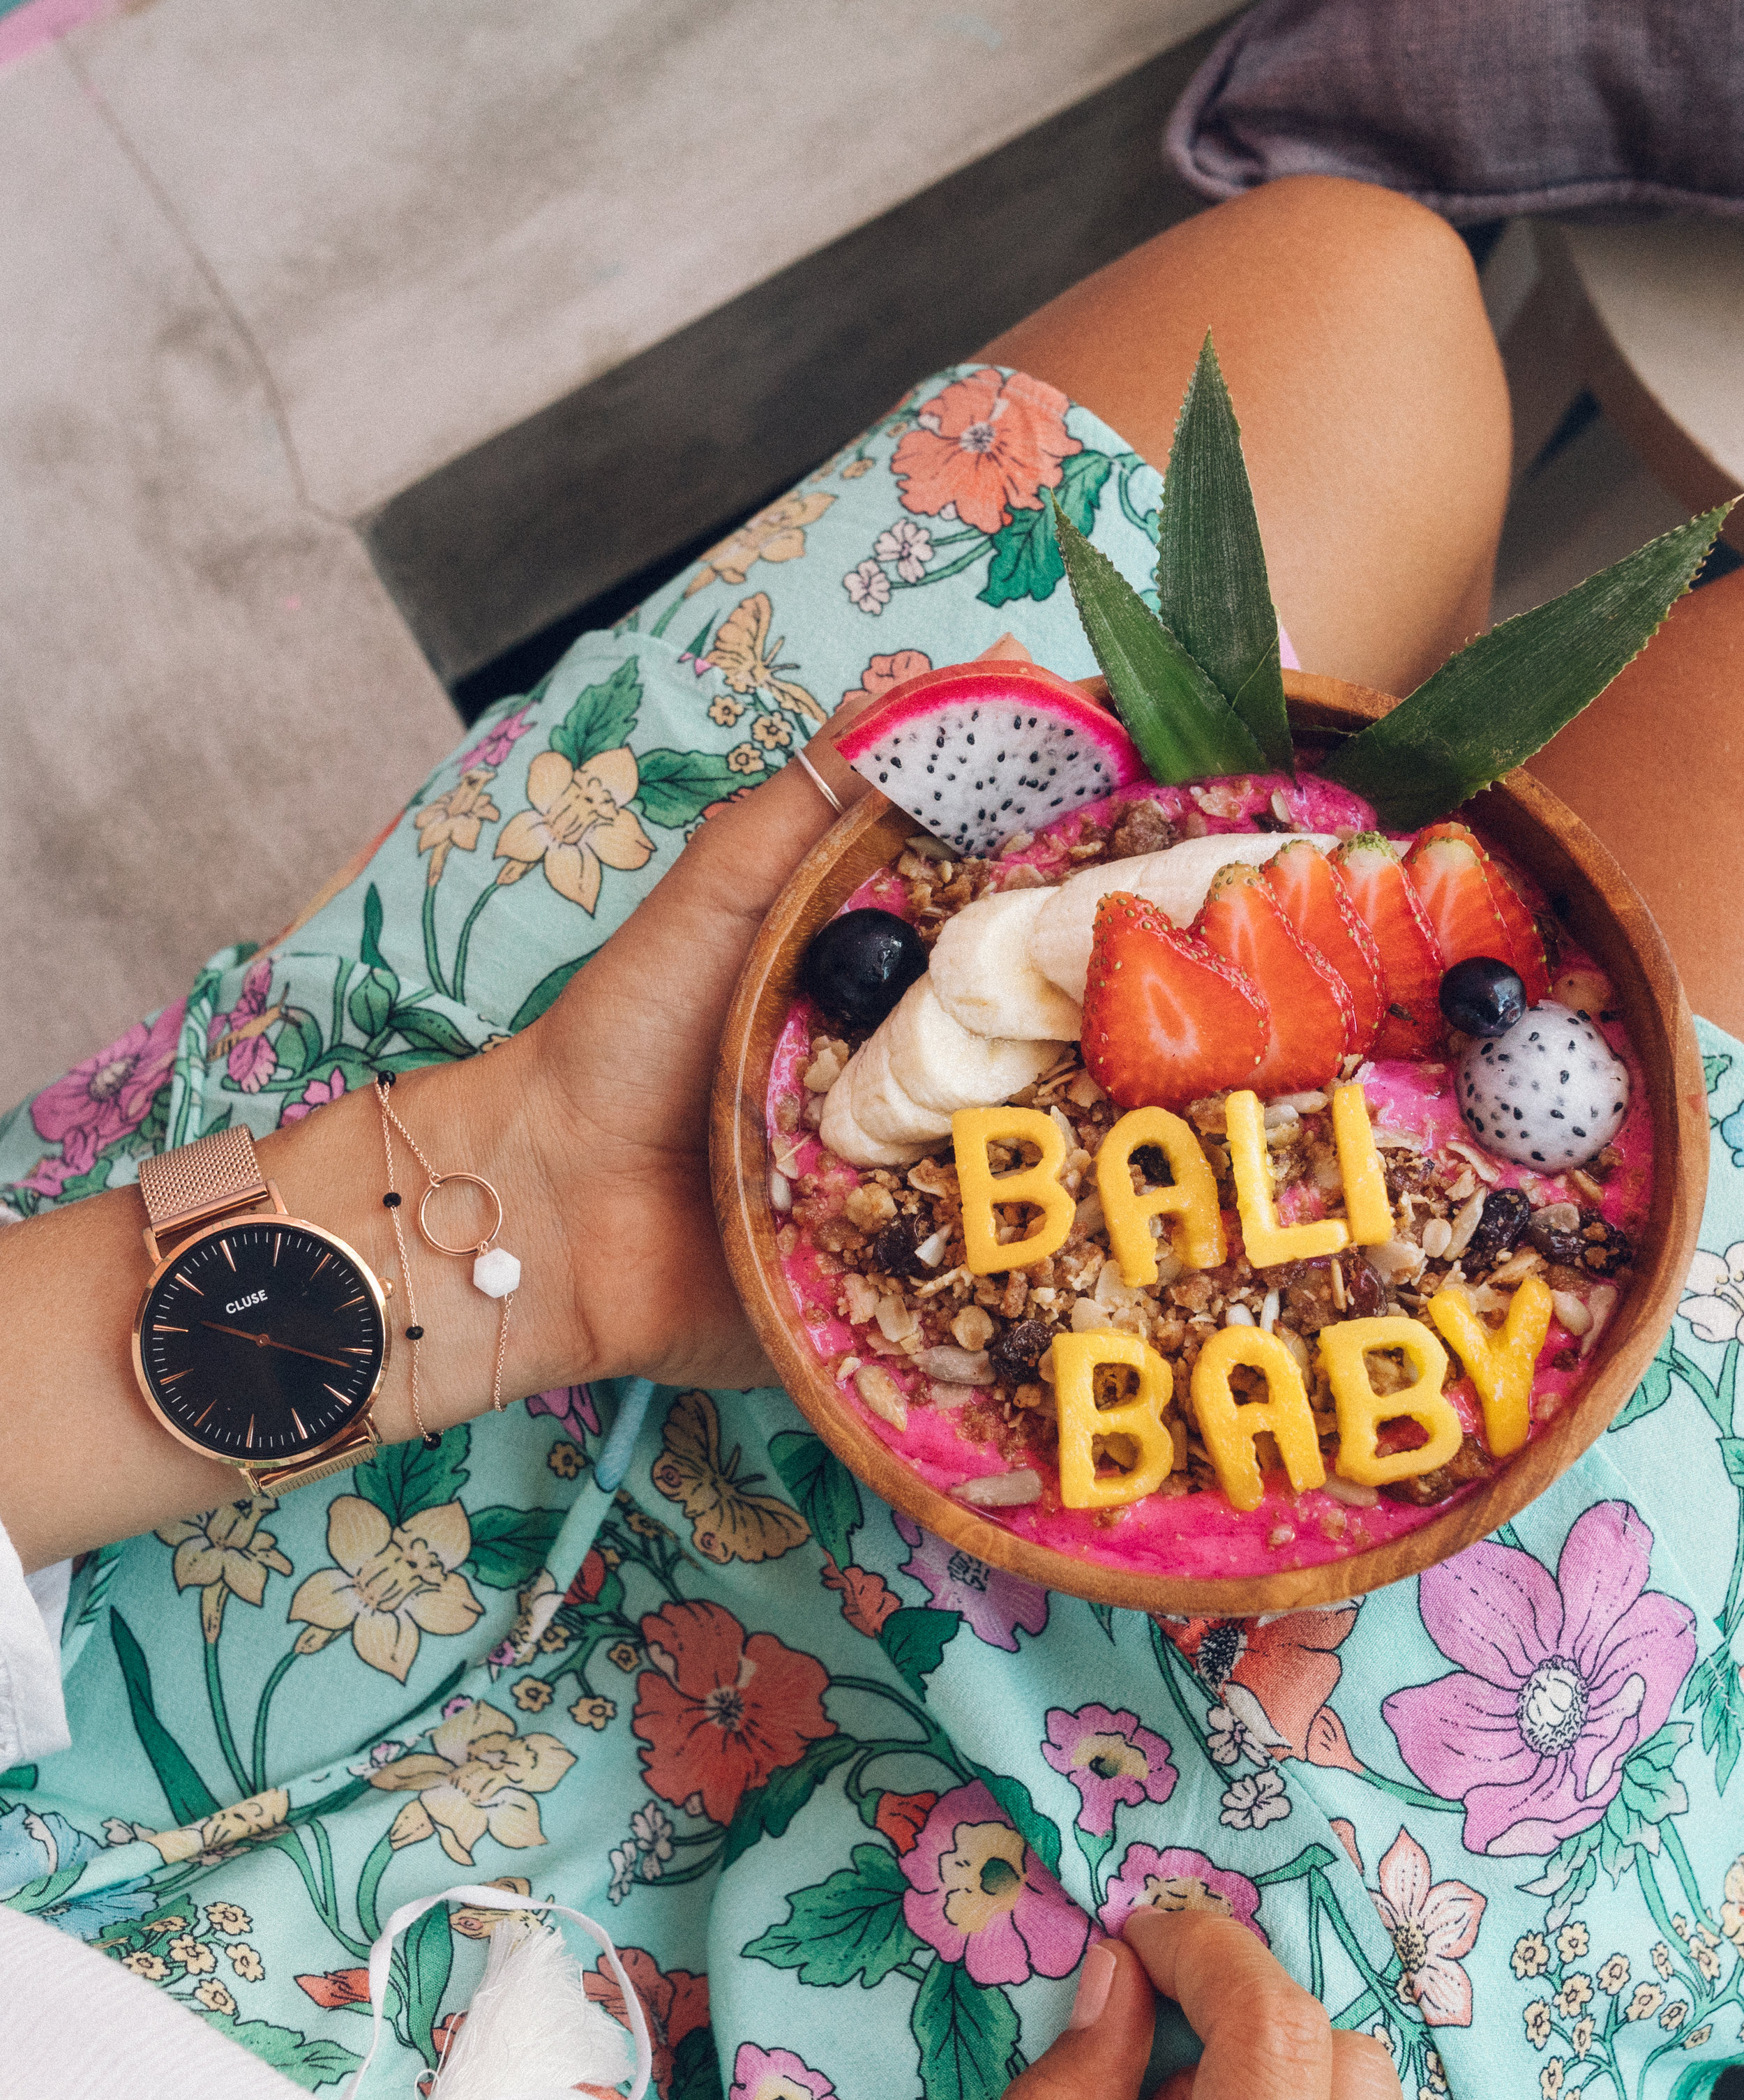
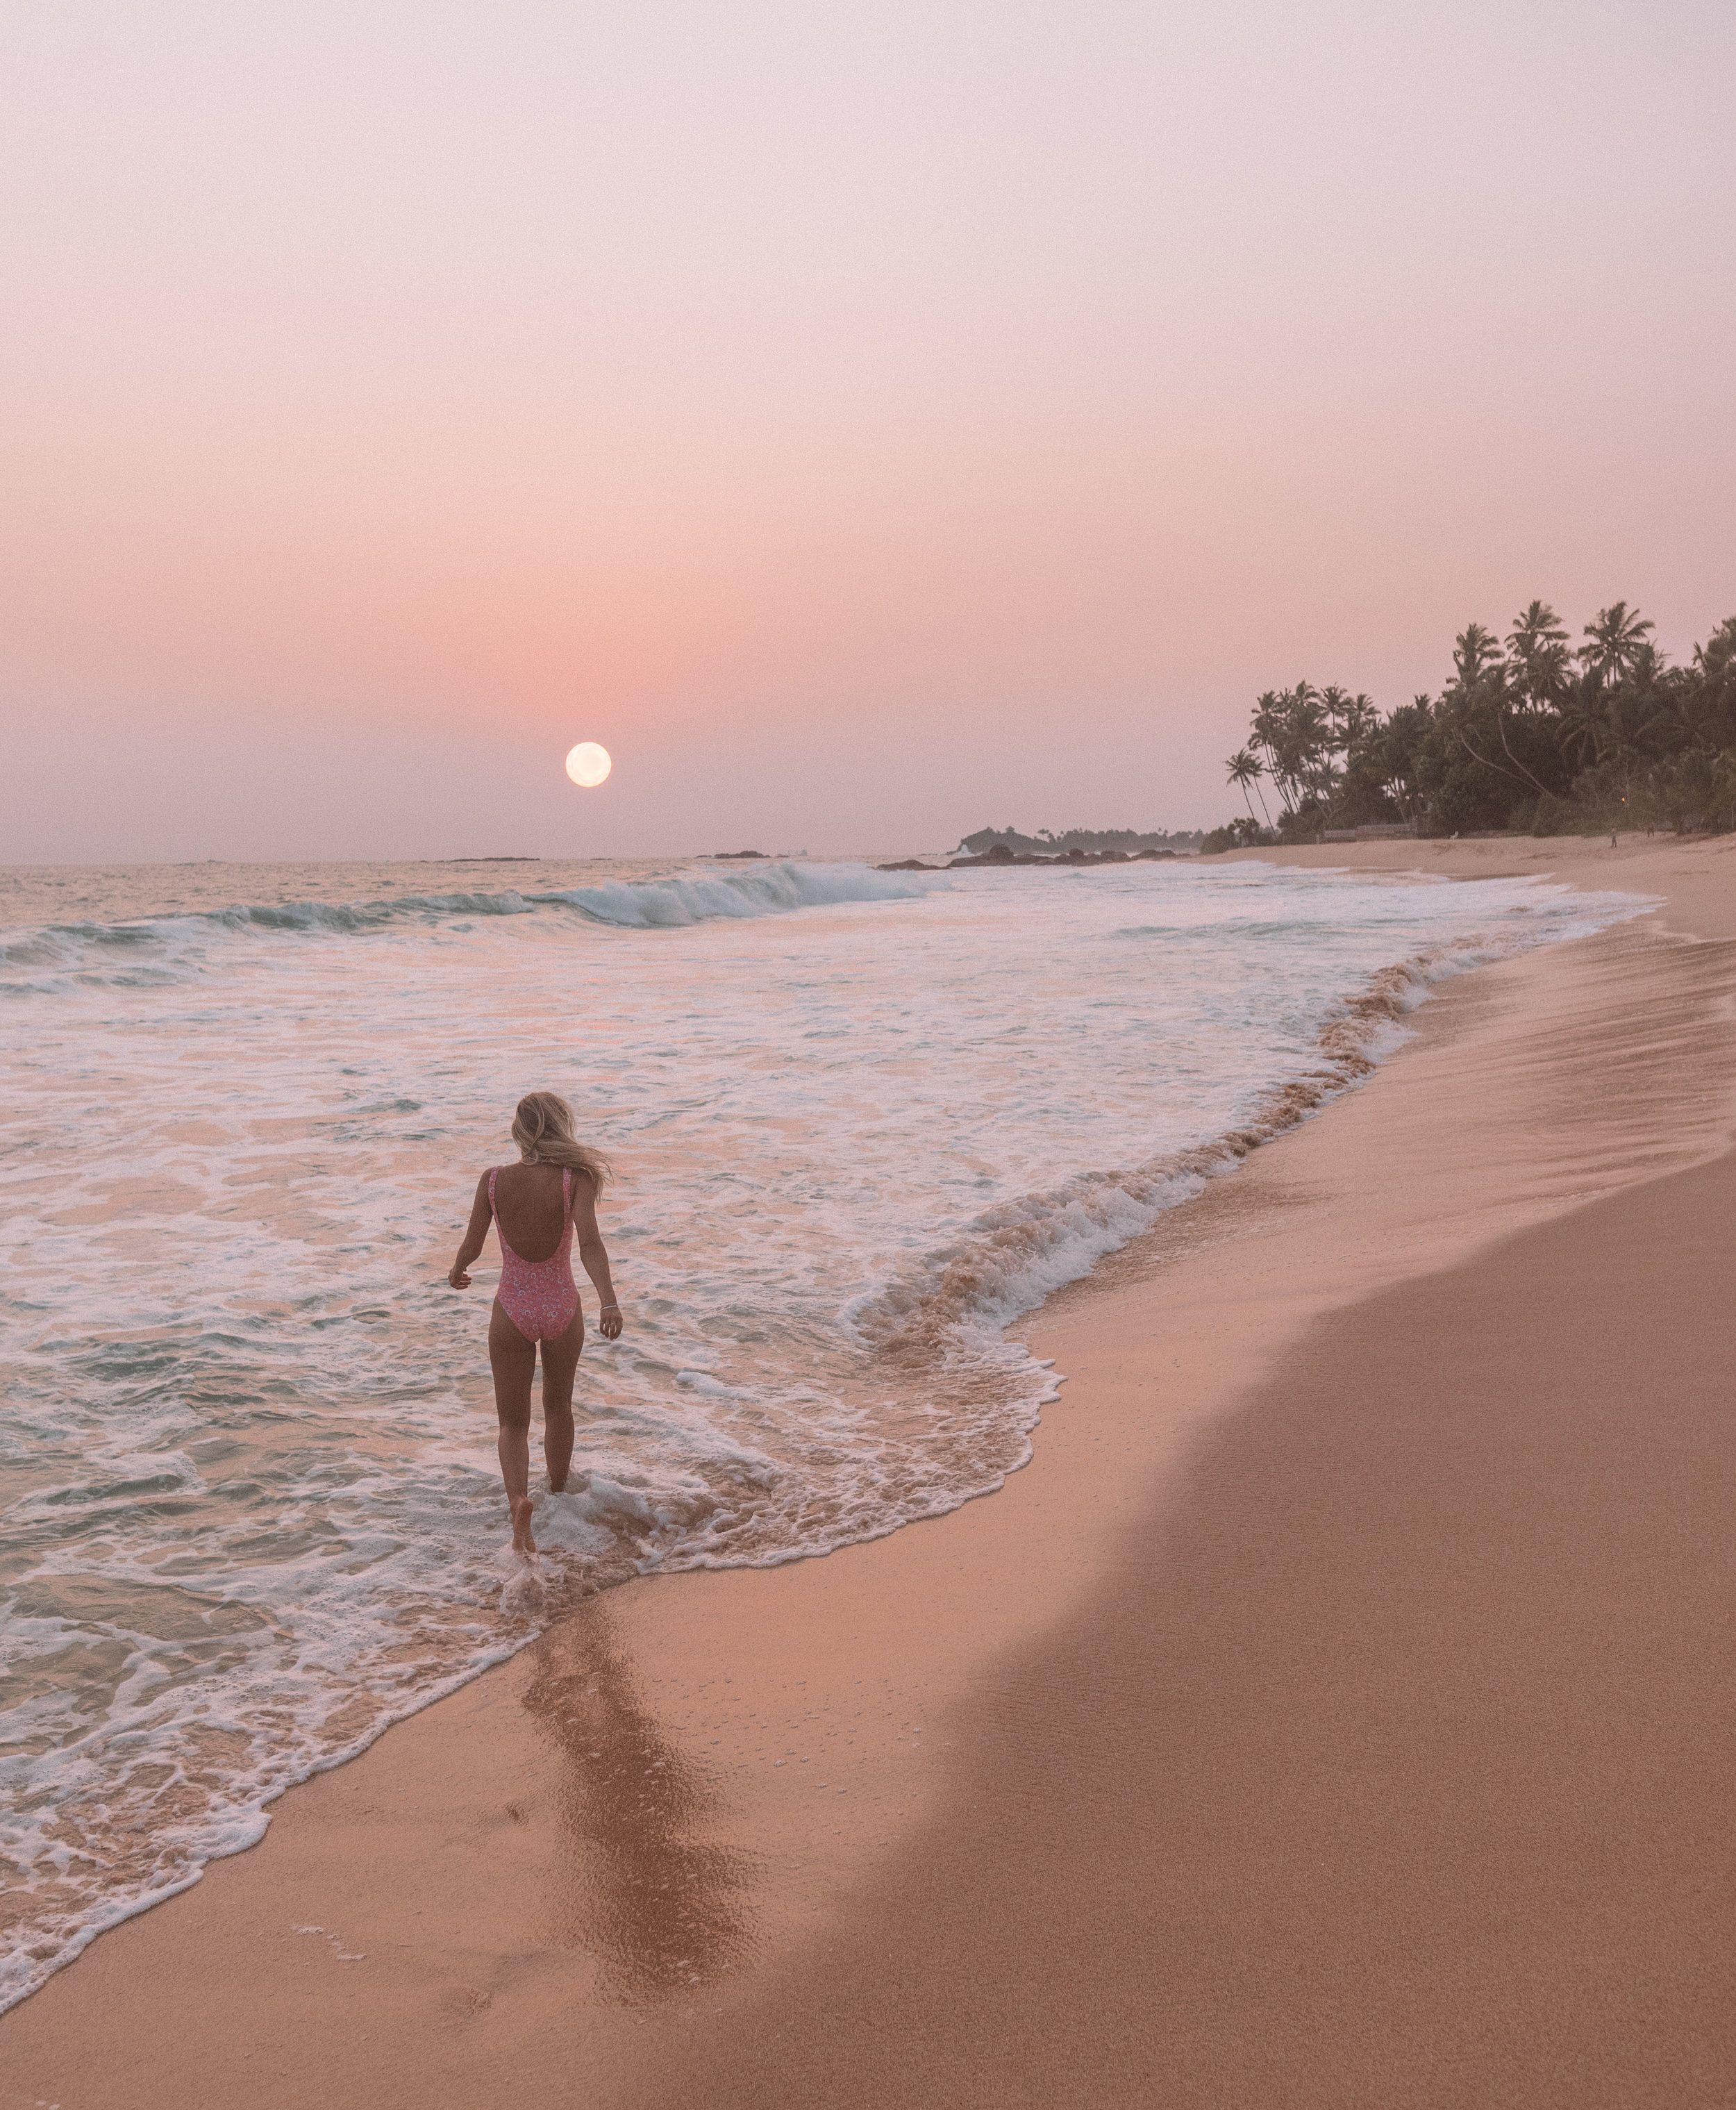
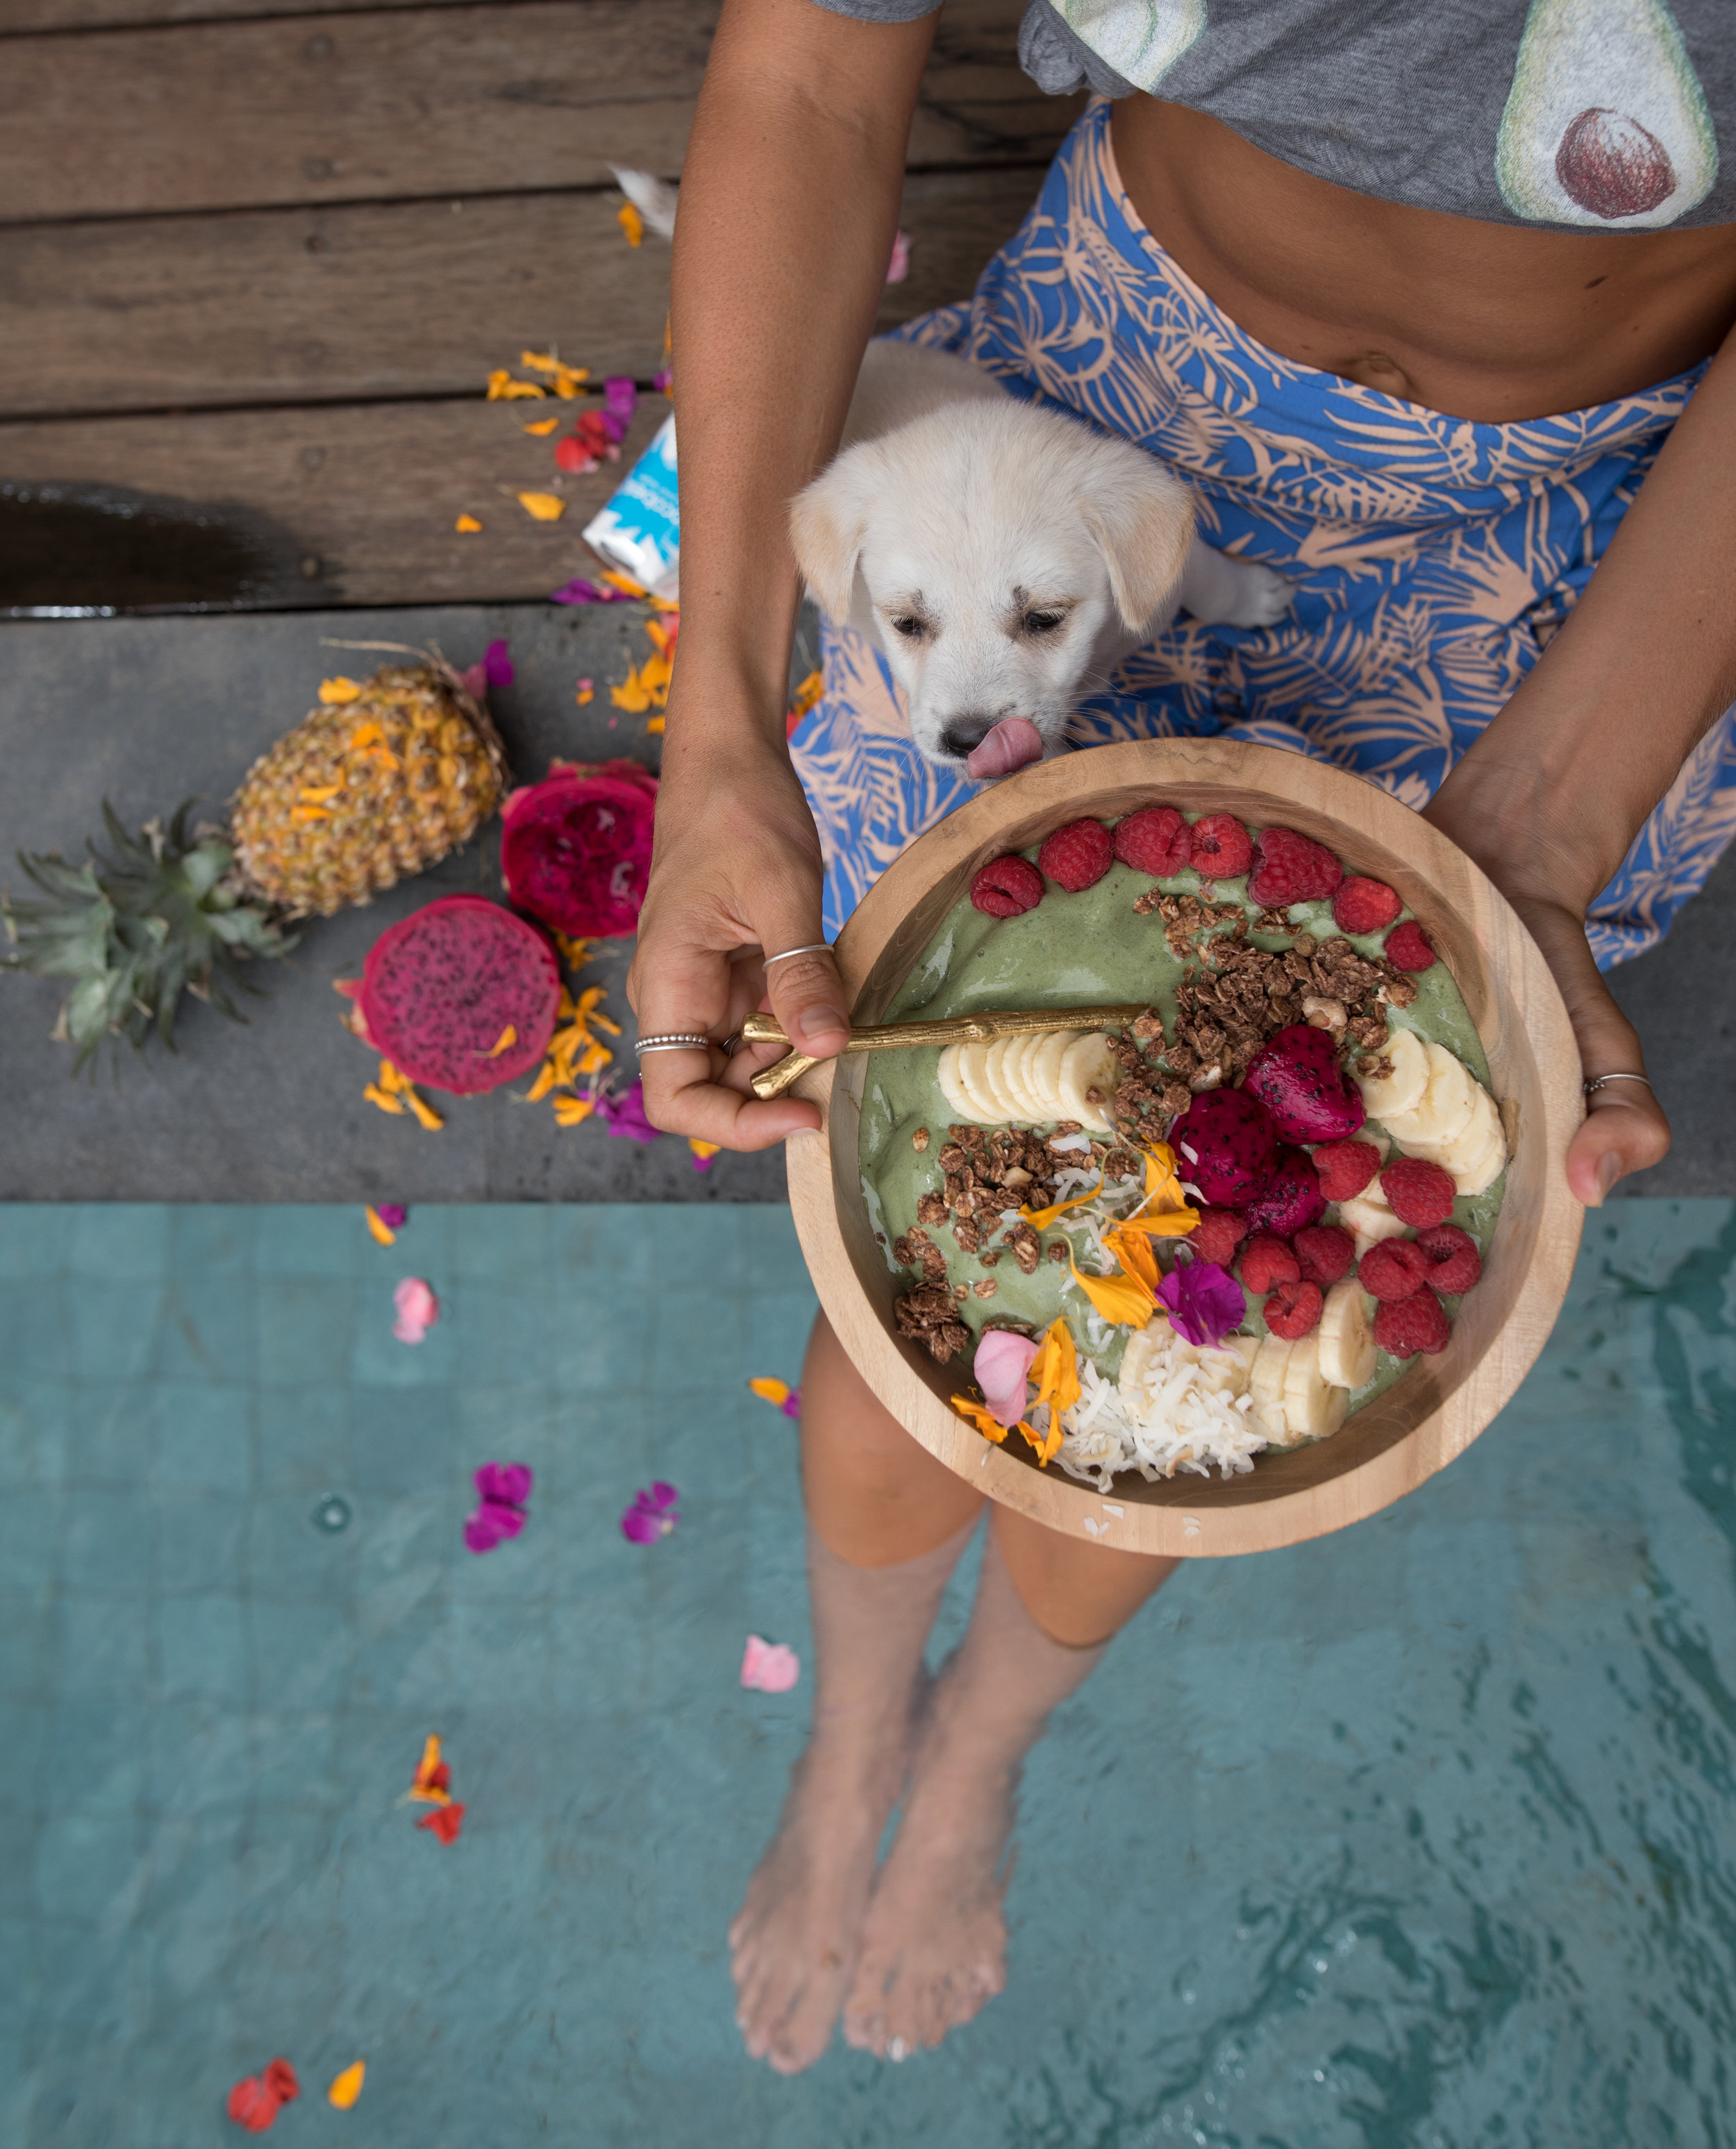
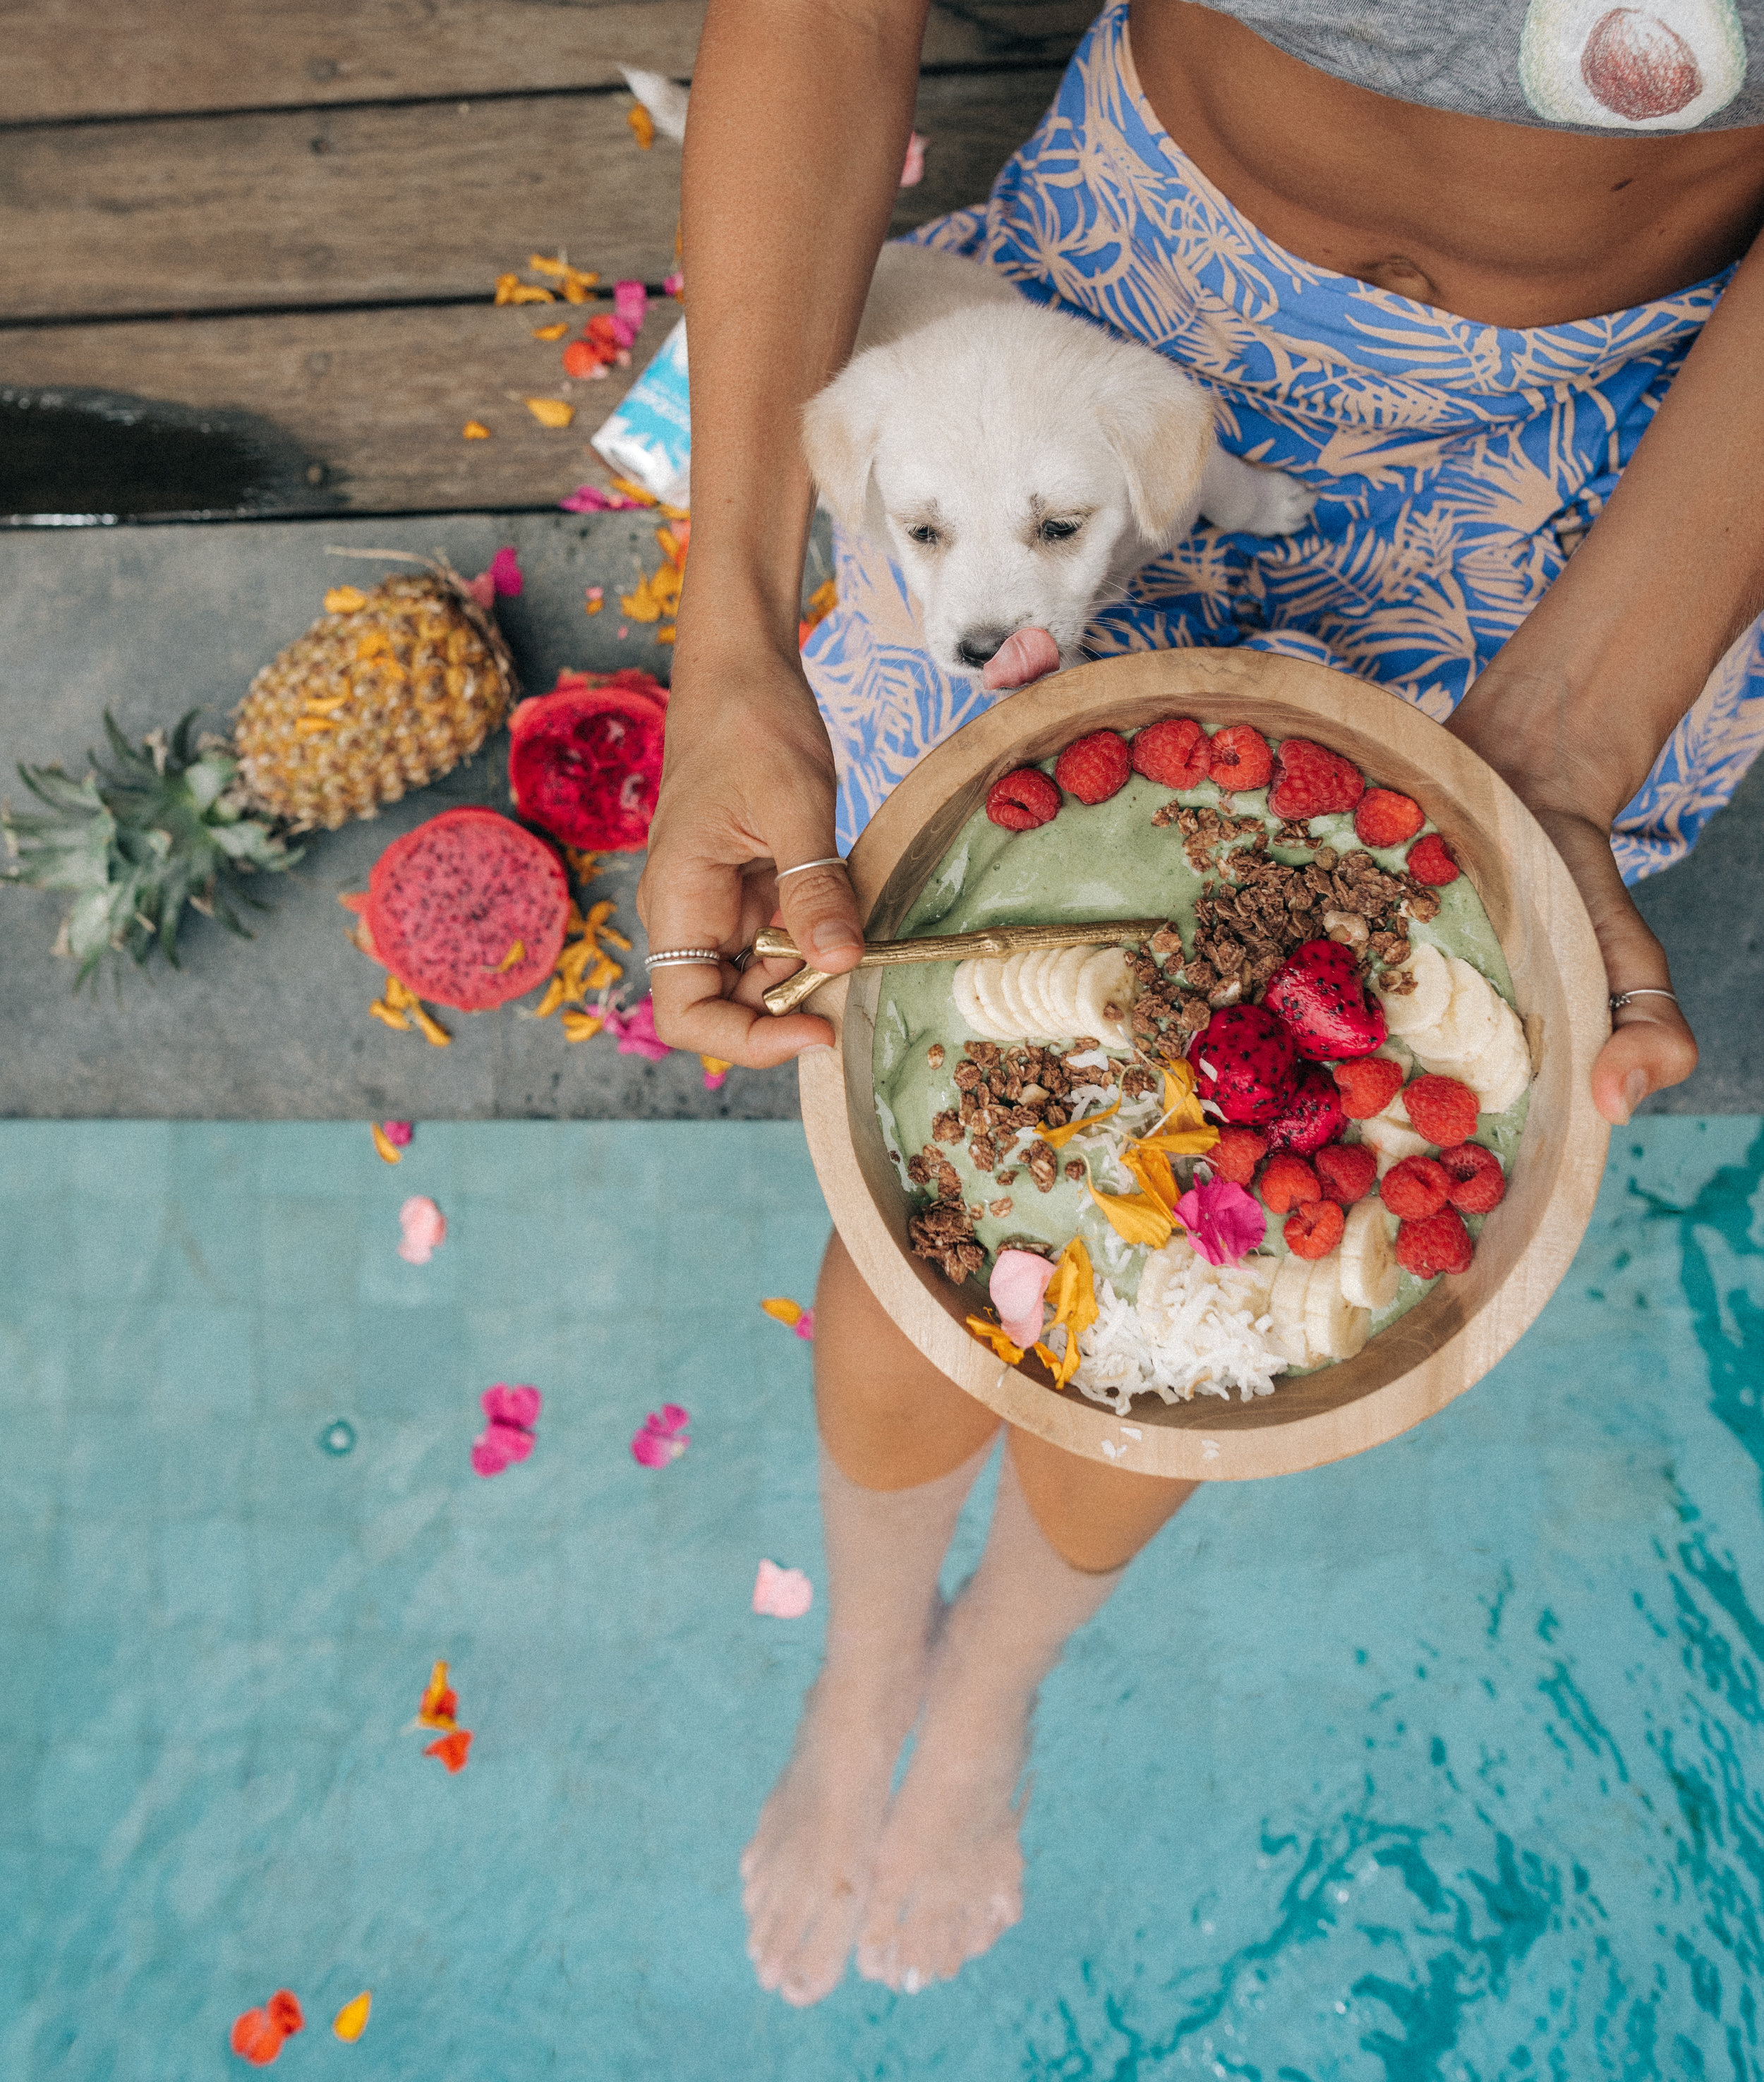
Below you can scroll to see BEFORE & AFTER photos from each of the 10 presets from my FOODIE collection so you can see the effect that they have on RAW unedited images, and the versatility of them.
pssst... keep reading for the rest of my editing tips.
FD1 PRESET
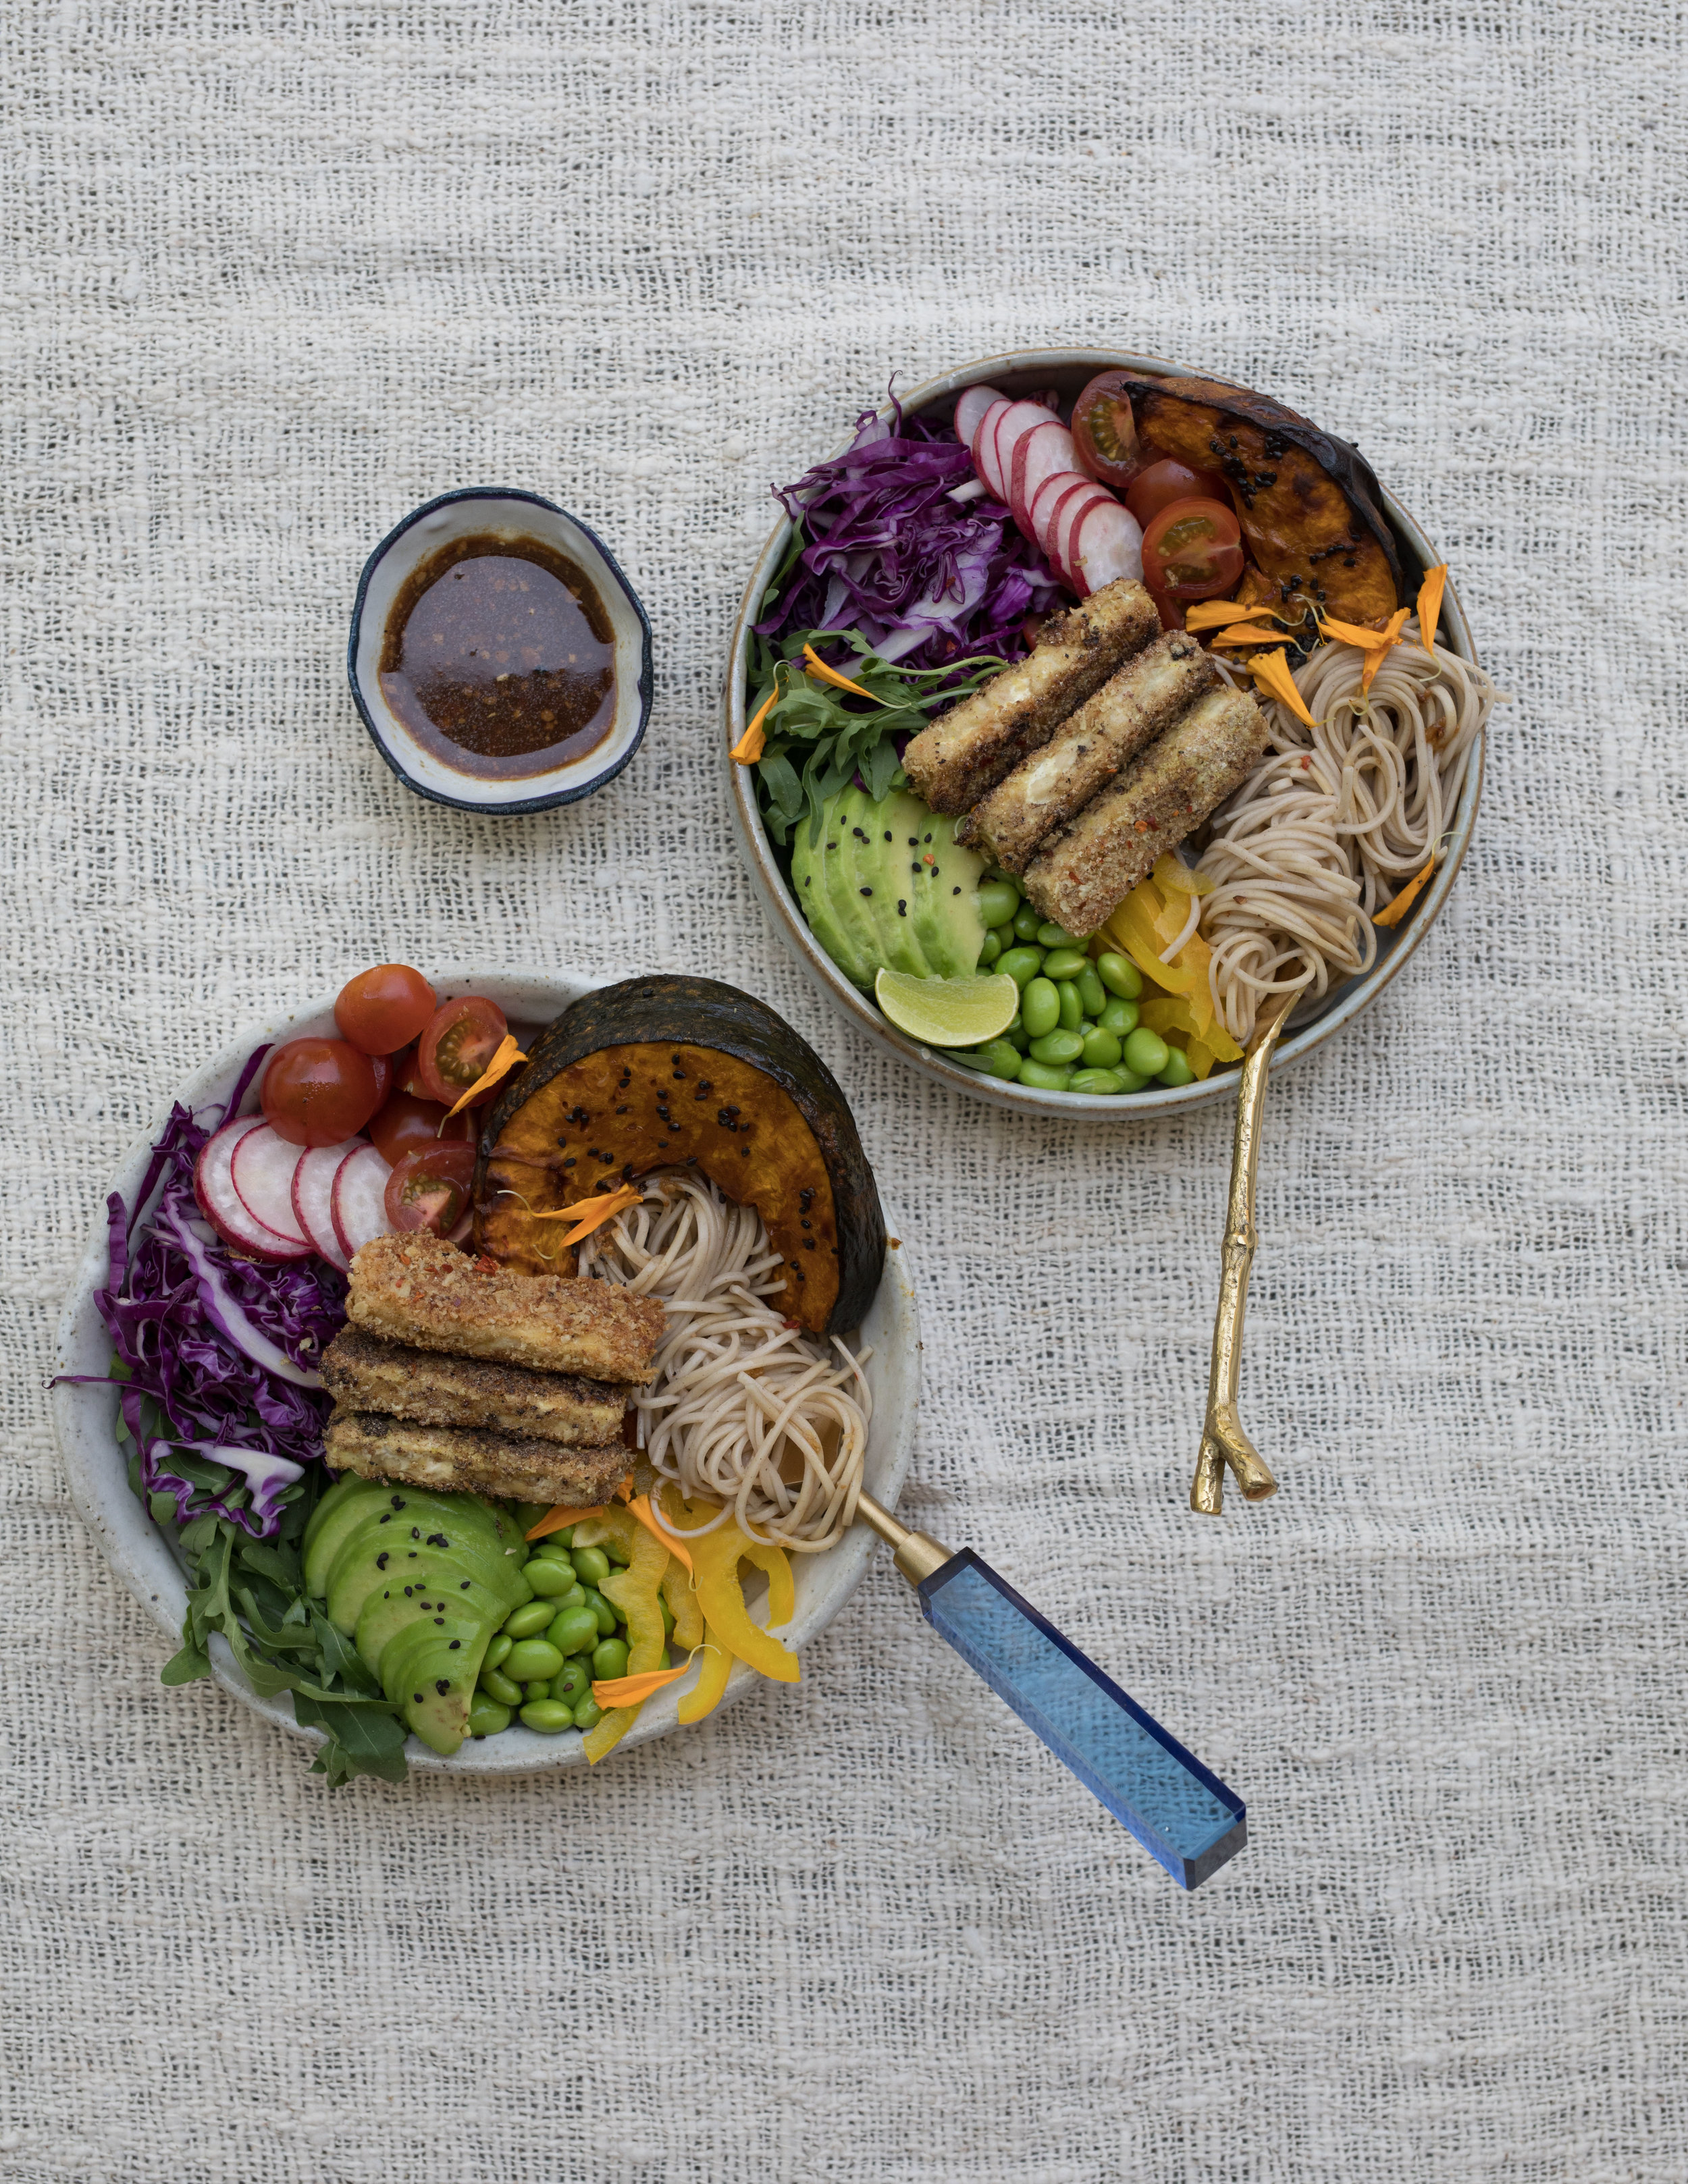
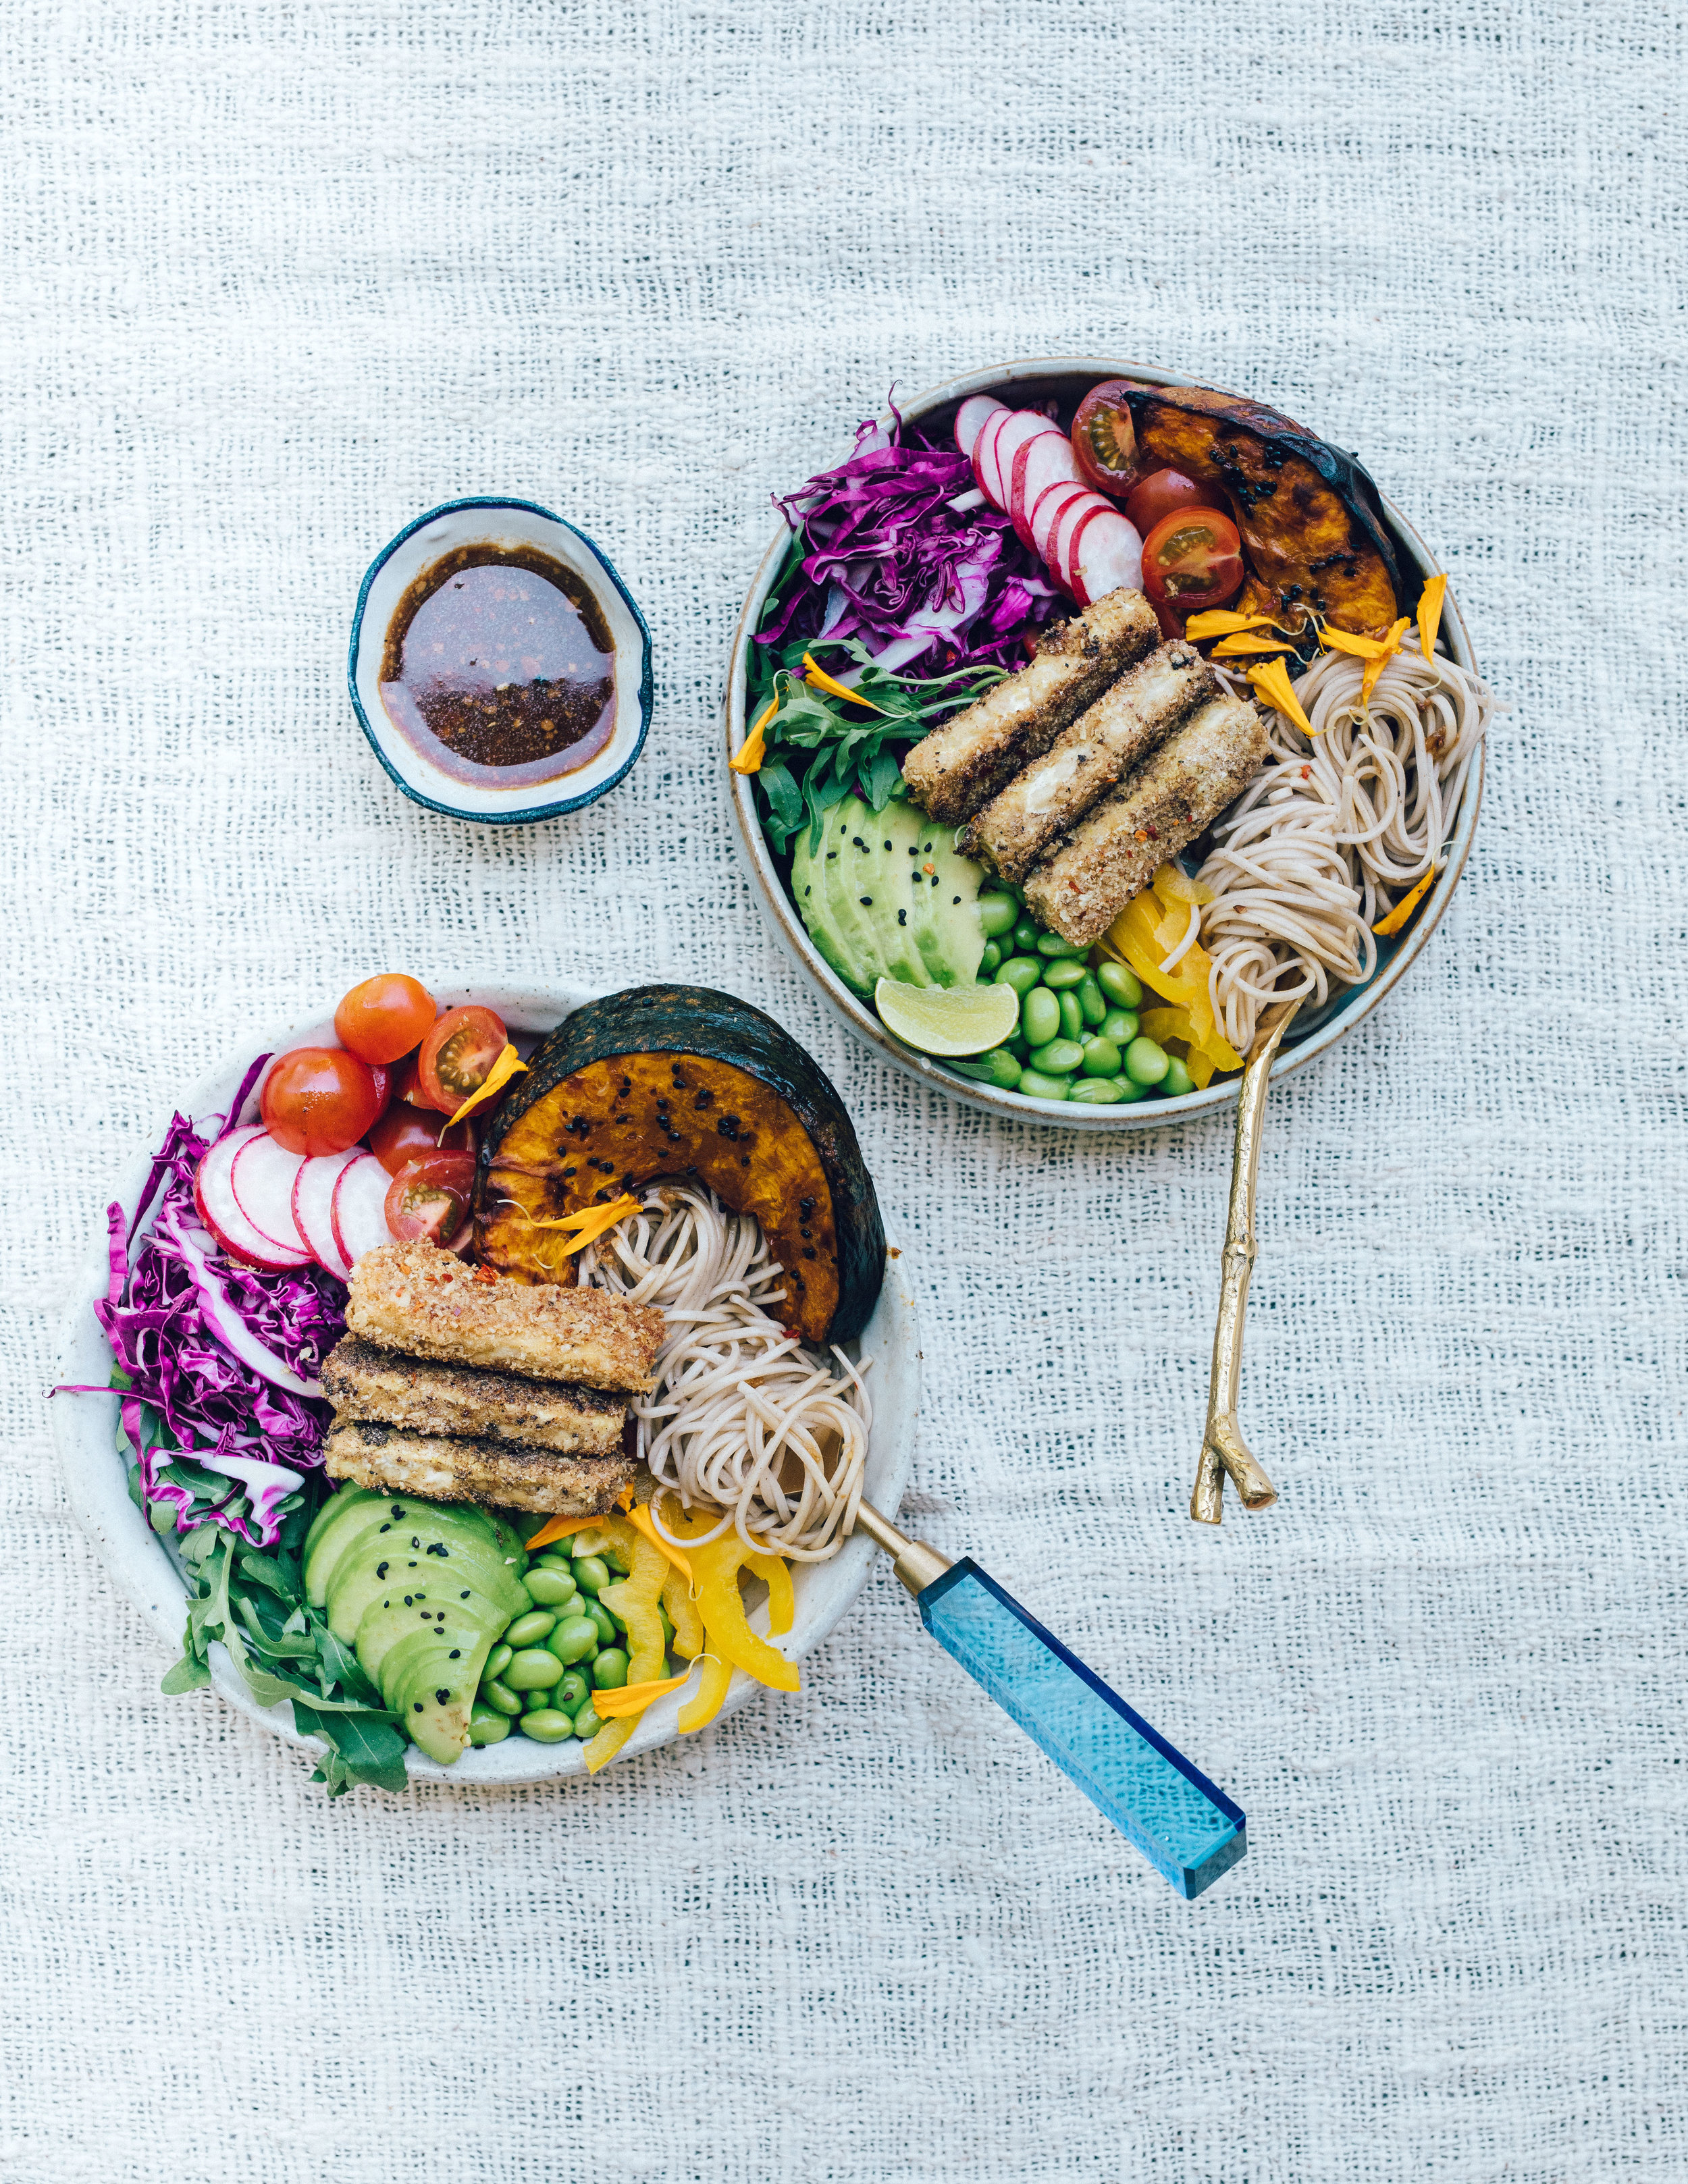
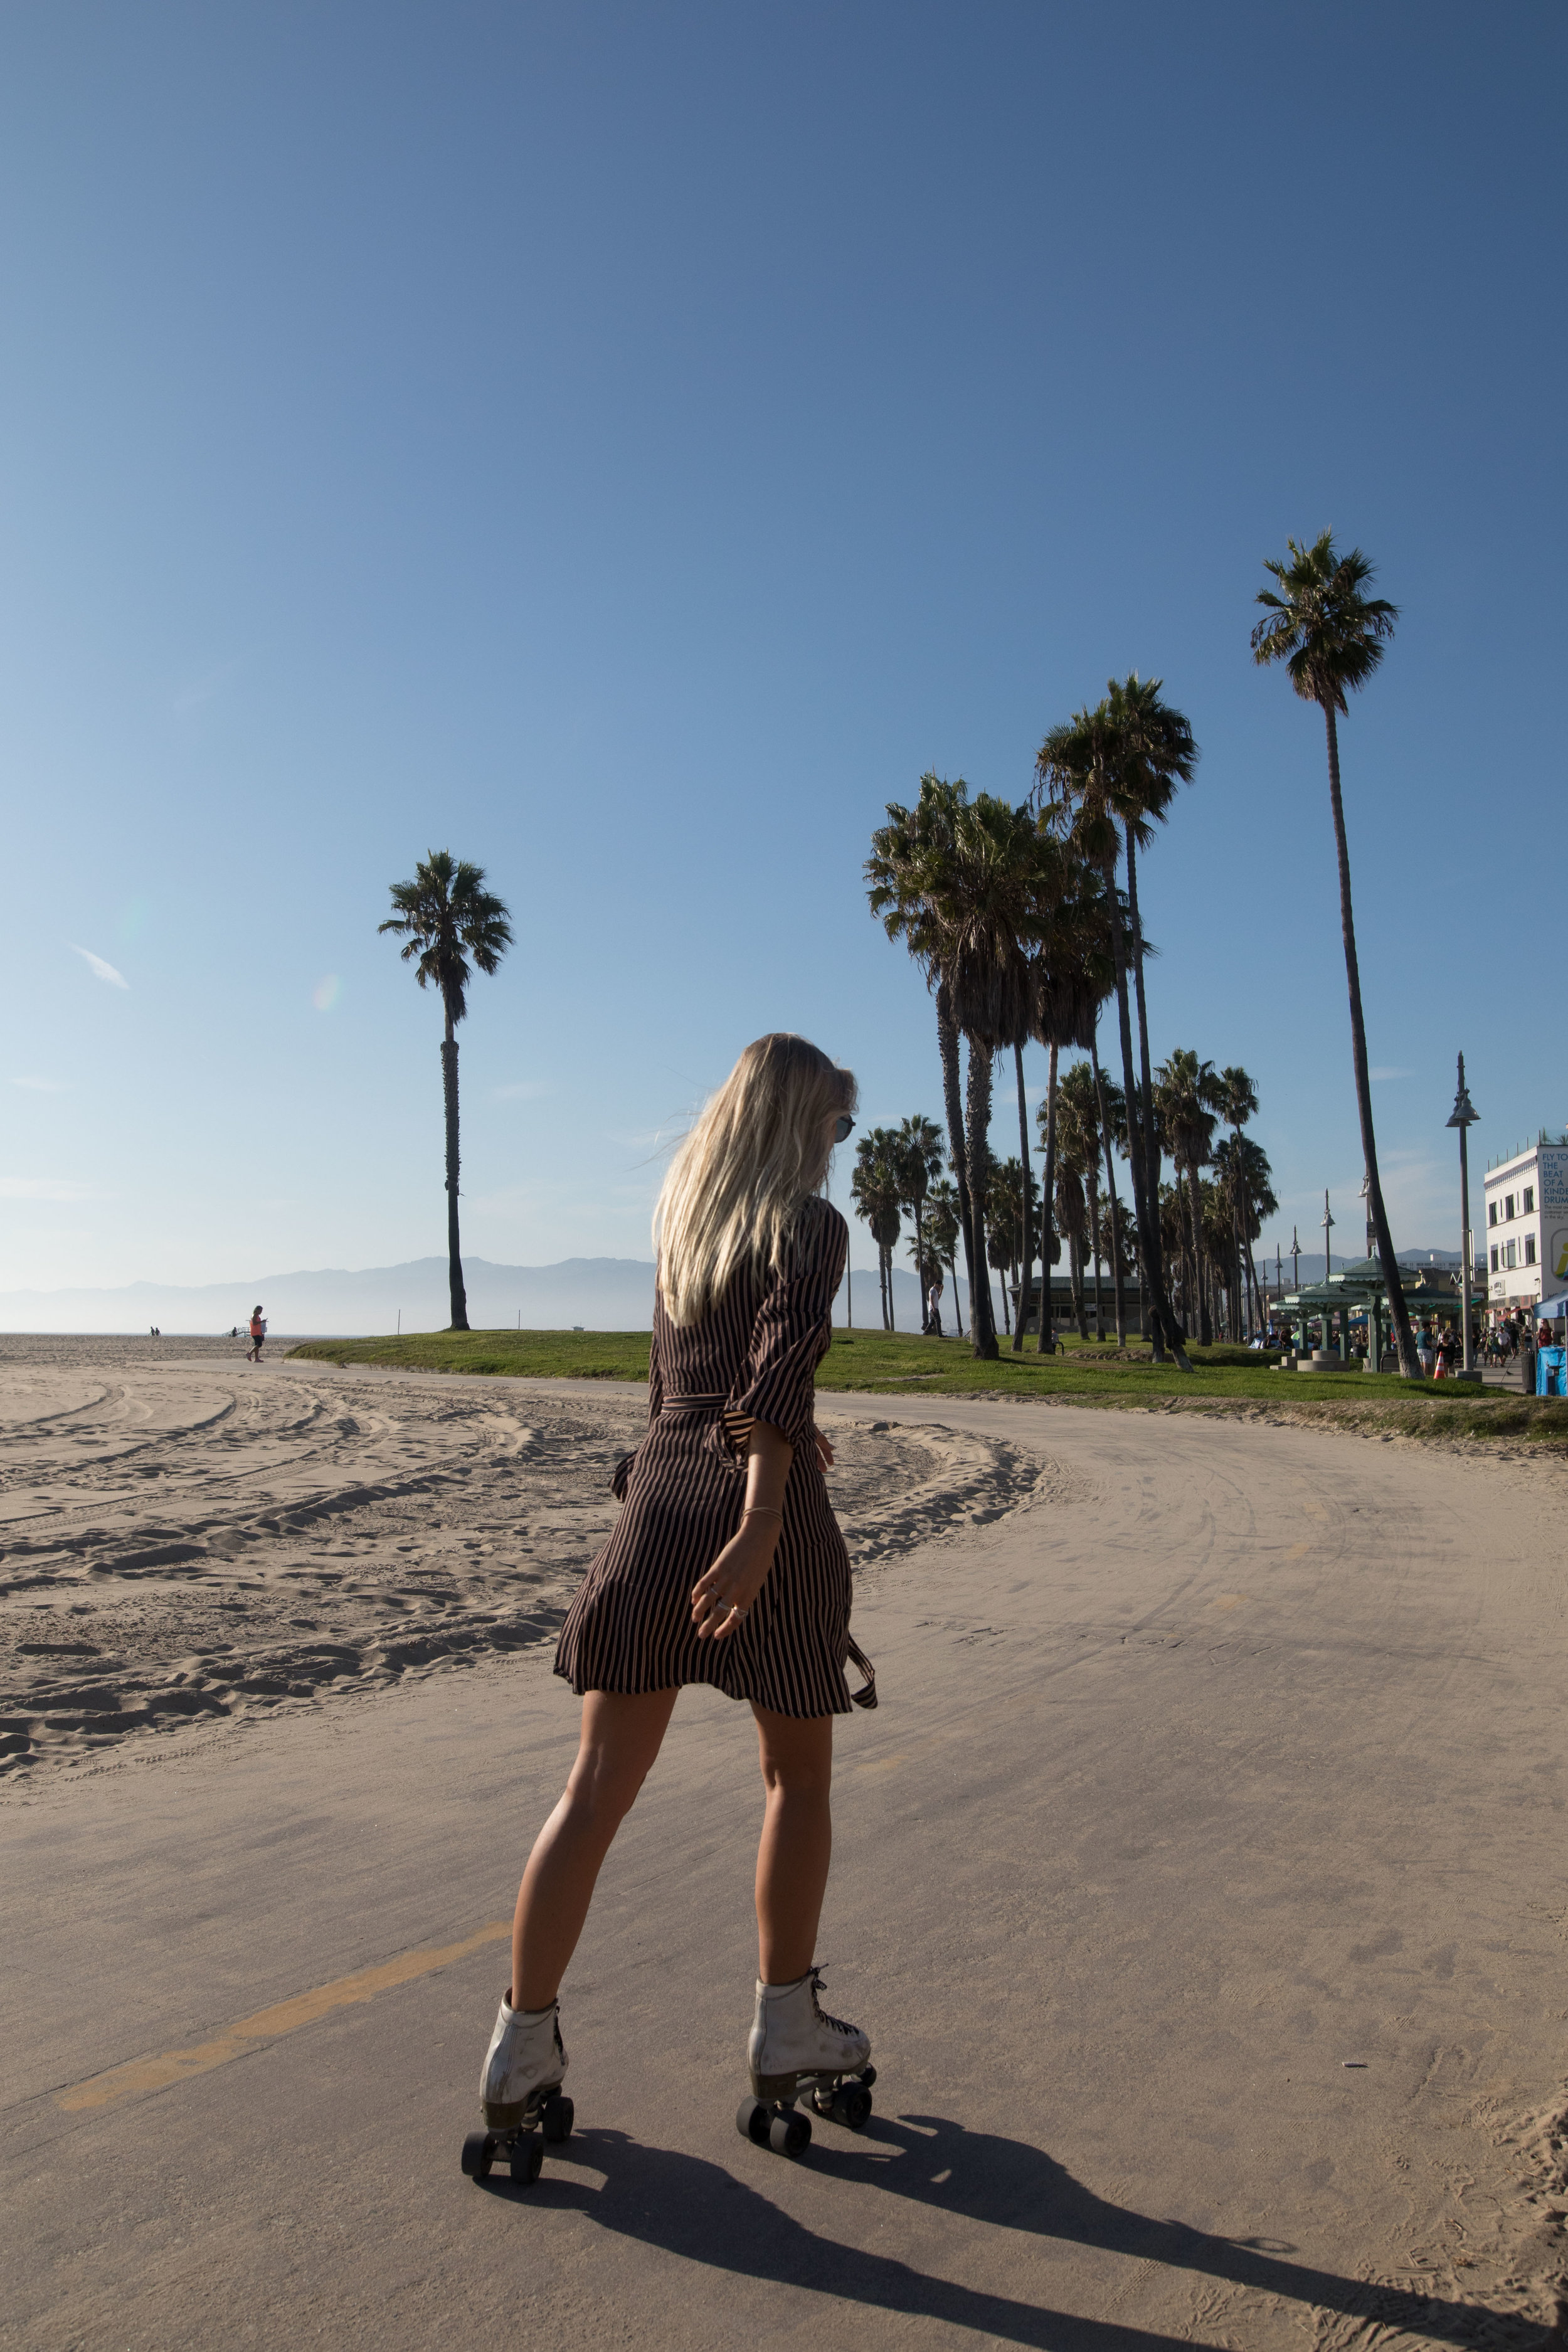
FD2 PRESET
FD3 PRESET

FD4 PRESET
FD5 PRESET
FD6 PRESET
FD7 PRESET


FD8 PRESET
FD9 PRESET

FD10 PRESET
EXPORT AND TRANSFER
Once I apply my filter, and make any minor adjustments (if necessary) and I am happy with my image I will export the file to a folder on my desktop and airdrop it straight to my iPhone.
Sorry but if you don't have Apple, and don't know about AirDrop... then wow!! it saves me SO much time! Instant photo sharing to my phone is sooo much quicker then trying to email high resolution images to myself. Thank-you Apple for this feature!!
iPHONE EDITING APPS
Okay, now for the FINAL touches! As you can see its a pretty big job, definitely not simply snapping that iPhone pic and uploading right away with an Instagram filter. I like to give my images a last little edit using the VSCO app. I sometimes (but not always) add a filter but reduce it to about 4/12. Otherwise they can make my photos look too filtered. My favourite ones are the 'A' series and I often add a little bit of extra grain, especially to my travel photos.
This is also how I edit my iPhone photos for my Instagram story - except I will also play around with the contrast exposure, grain, and temperature on these images as they haven't undergone my Lightroom presets.
UPDATE:
i have now release a new COLLECTION of mobile presets on www.doyoutravelpresets.com
this is what I now use for all of my IG stories and even some of my IG posts. You do not require a subscription to lightroom and you can use them on the lightroom app just like a preset!
They are called the FOODIE MOBILE COLLECTION and come with all instructions on how to add to the app and use like a preset.
Finally my image will be ready for posting! I post my photo to Instagram directly, rather than using automated scheduling or posting apps and the only last minute adjustments I might make are cropping or tilting/straightening. Add my caption, geotag and tag any relevant accounts and POST! Some of you are probably reading like 'are you efffinnggg kidding, all that for a photo on Instagram!?' haha YEP! don't worry, it's actually not that long of a process when I'm in the groove ;)
I hope you find this blog post really useful! Perhaps in the future I will share a video on my YouTube channel showing you how I edit a photo from start to finish so you can pick up a few extra tips. Leave a comment below if you have any further questions or if it has helped you!
Don't forget to check out my preset pack! and tag me on instagram/use my hashtag #ELSASWHOLESOMELIFE so I can see my presets on your photos!!
Elsa, xx